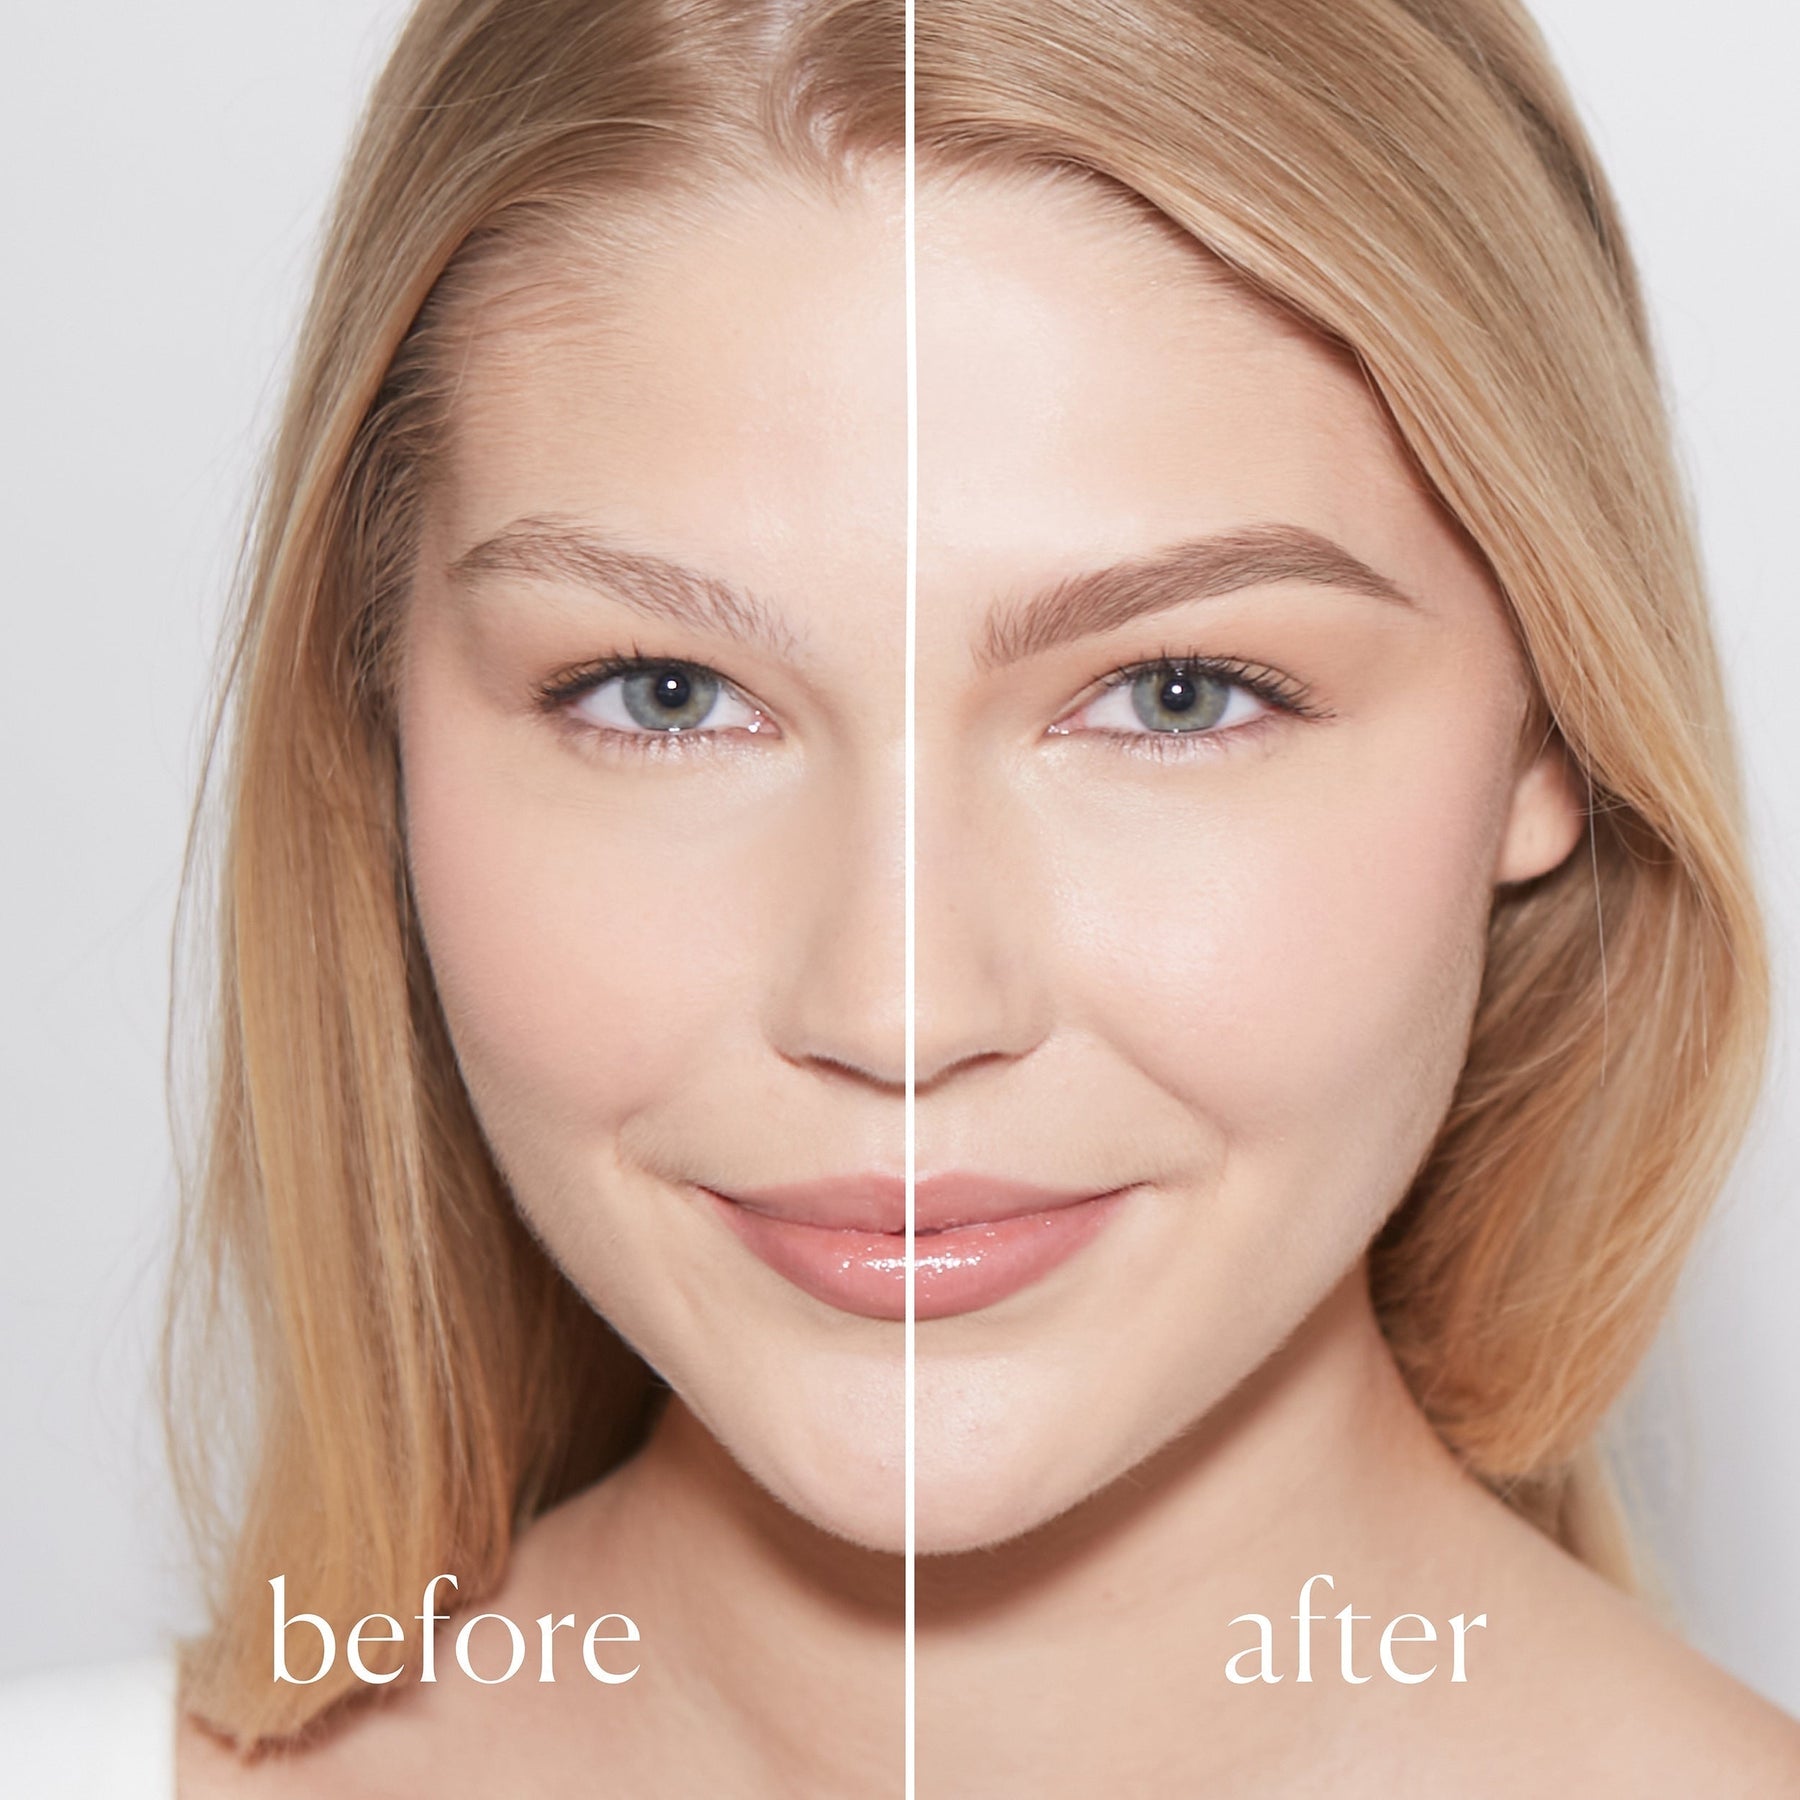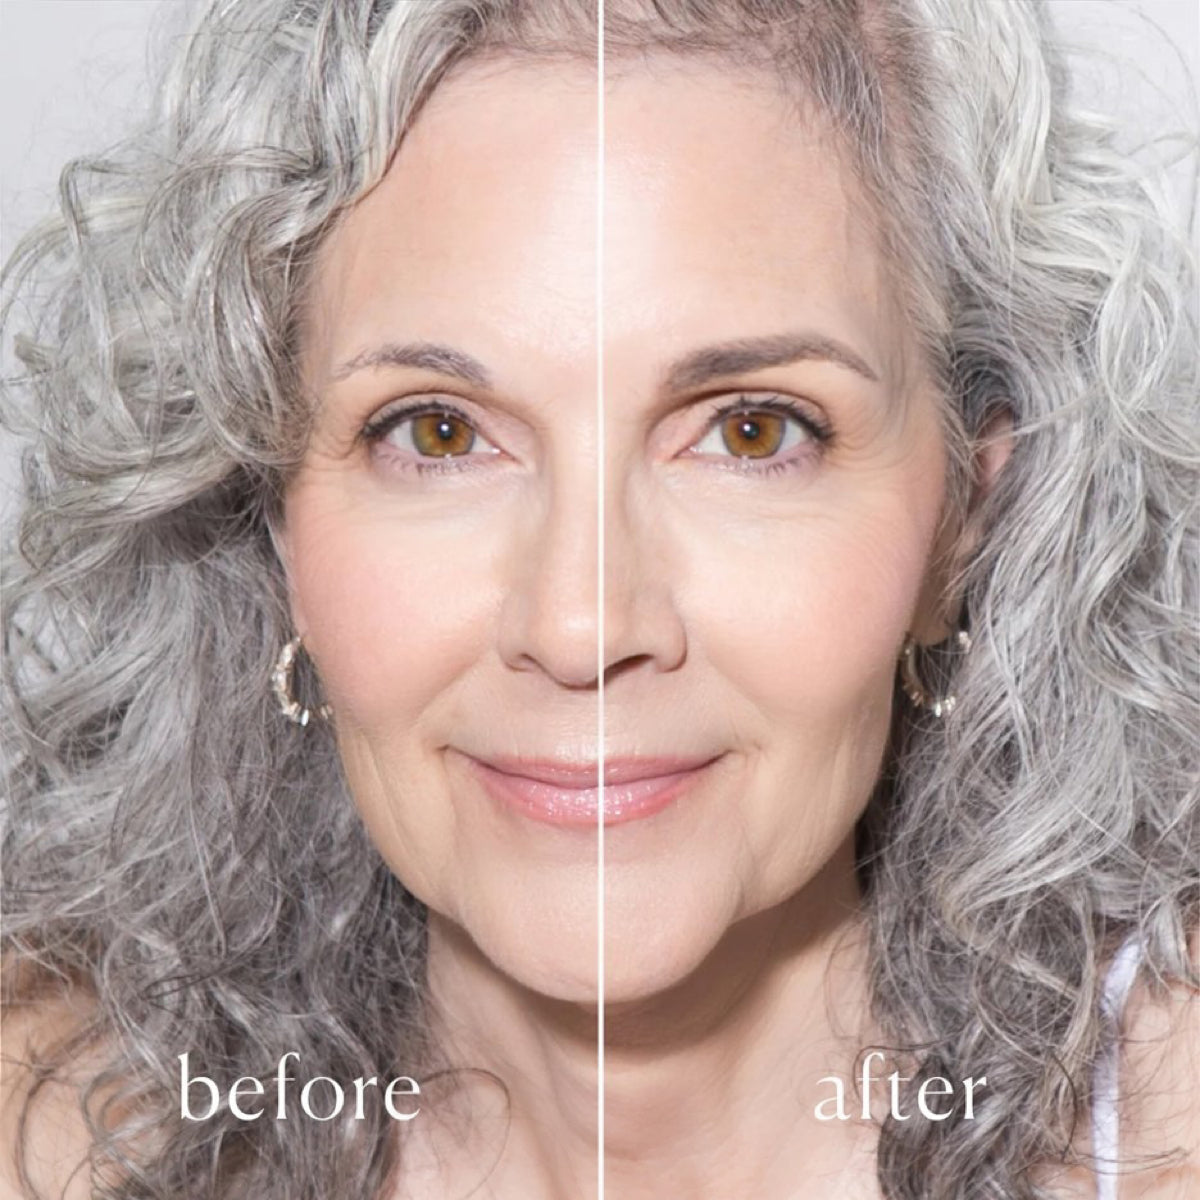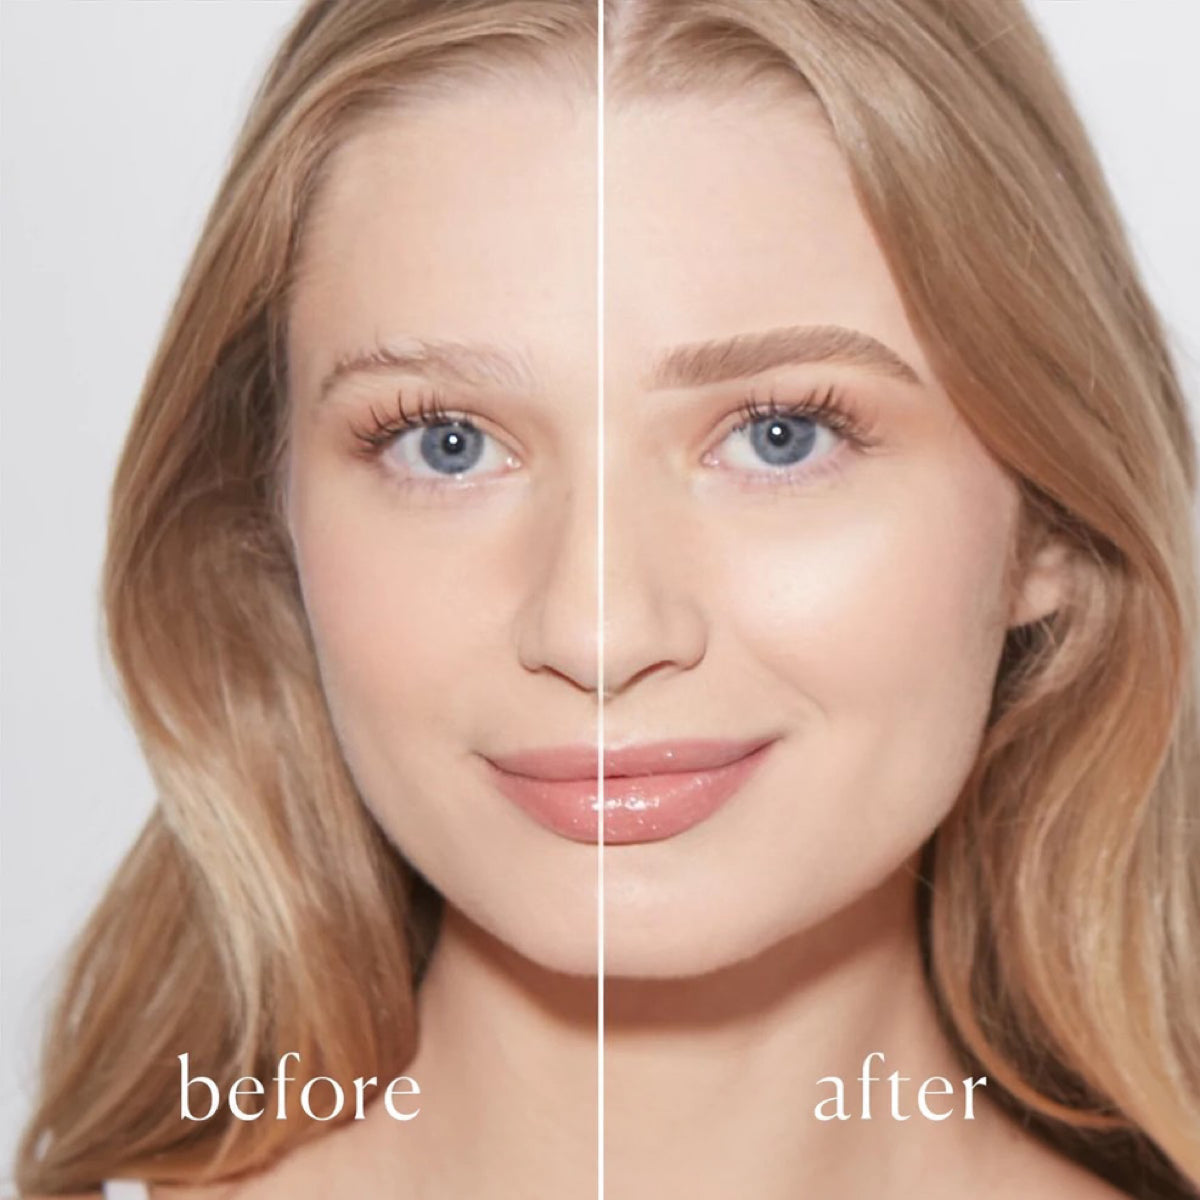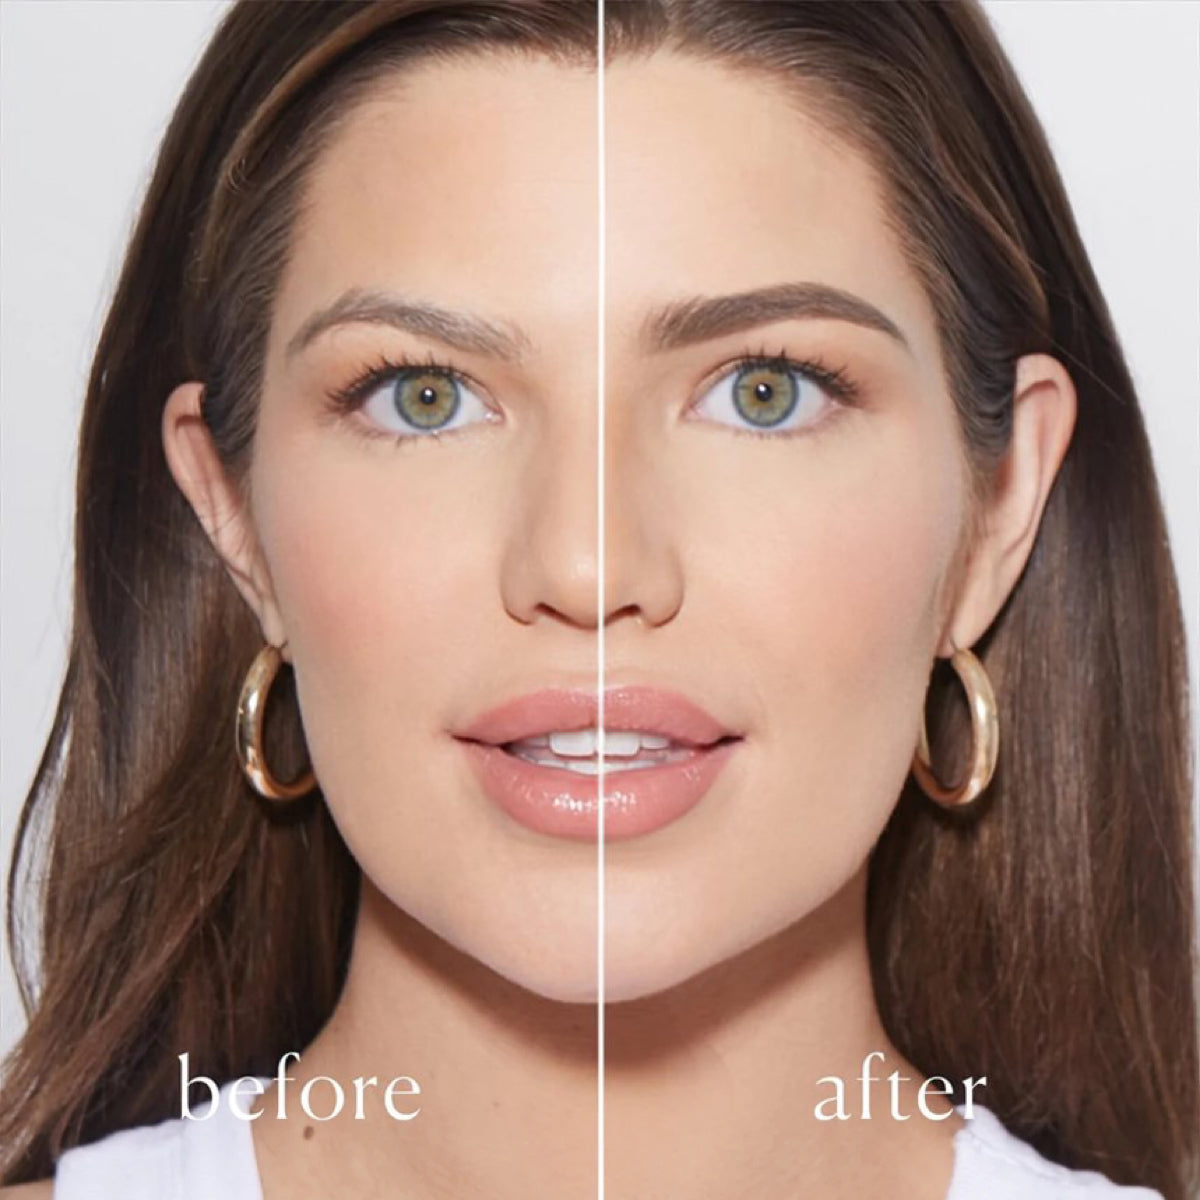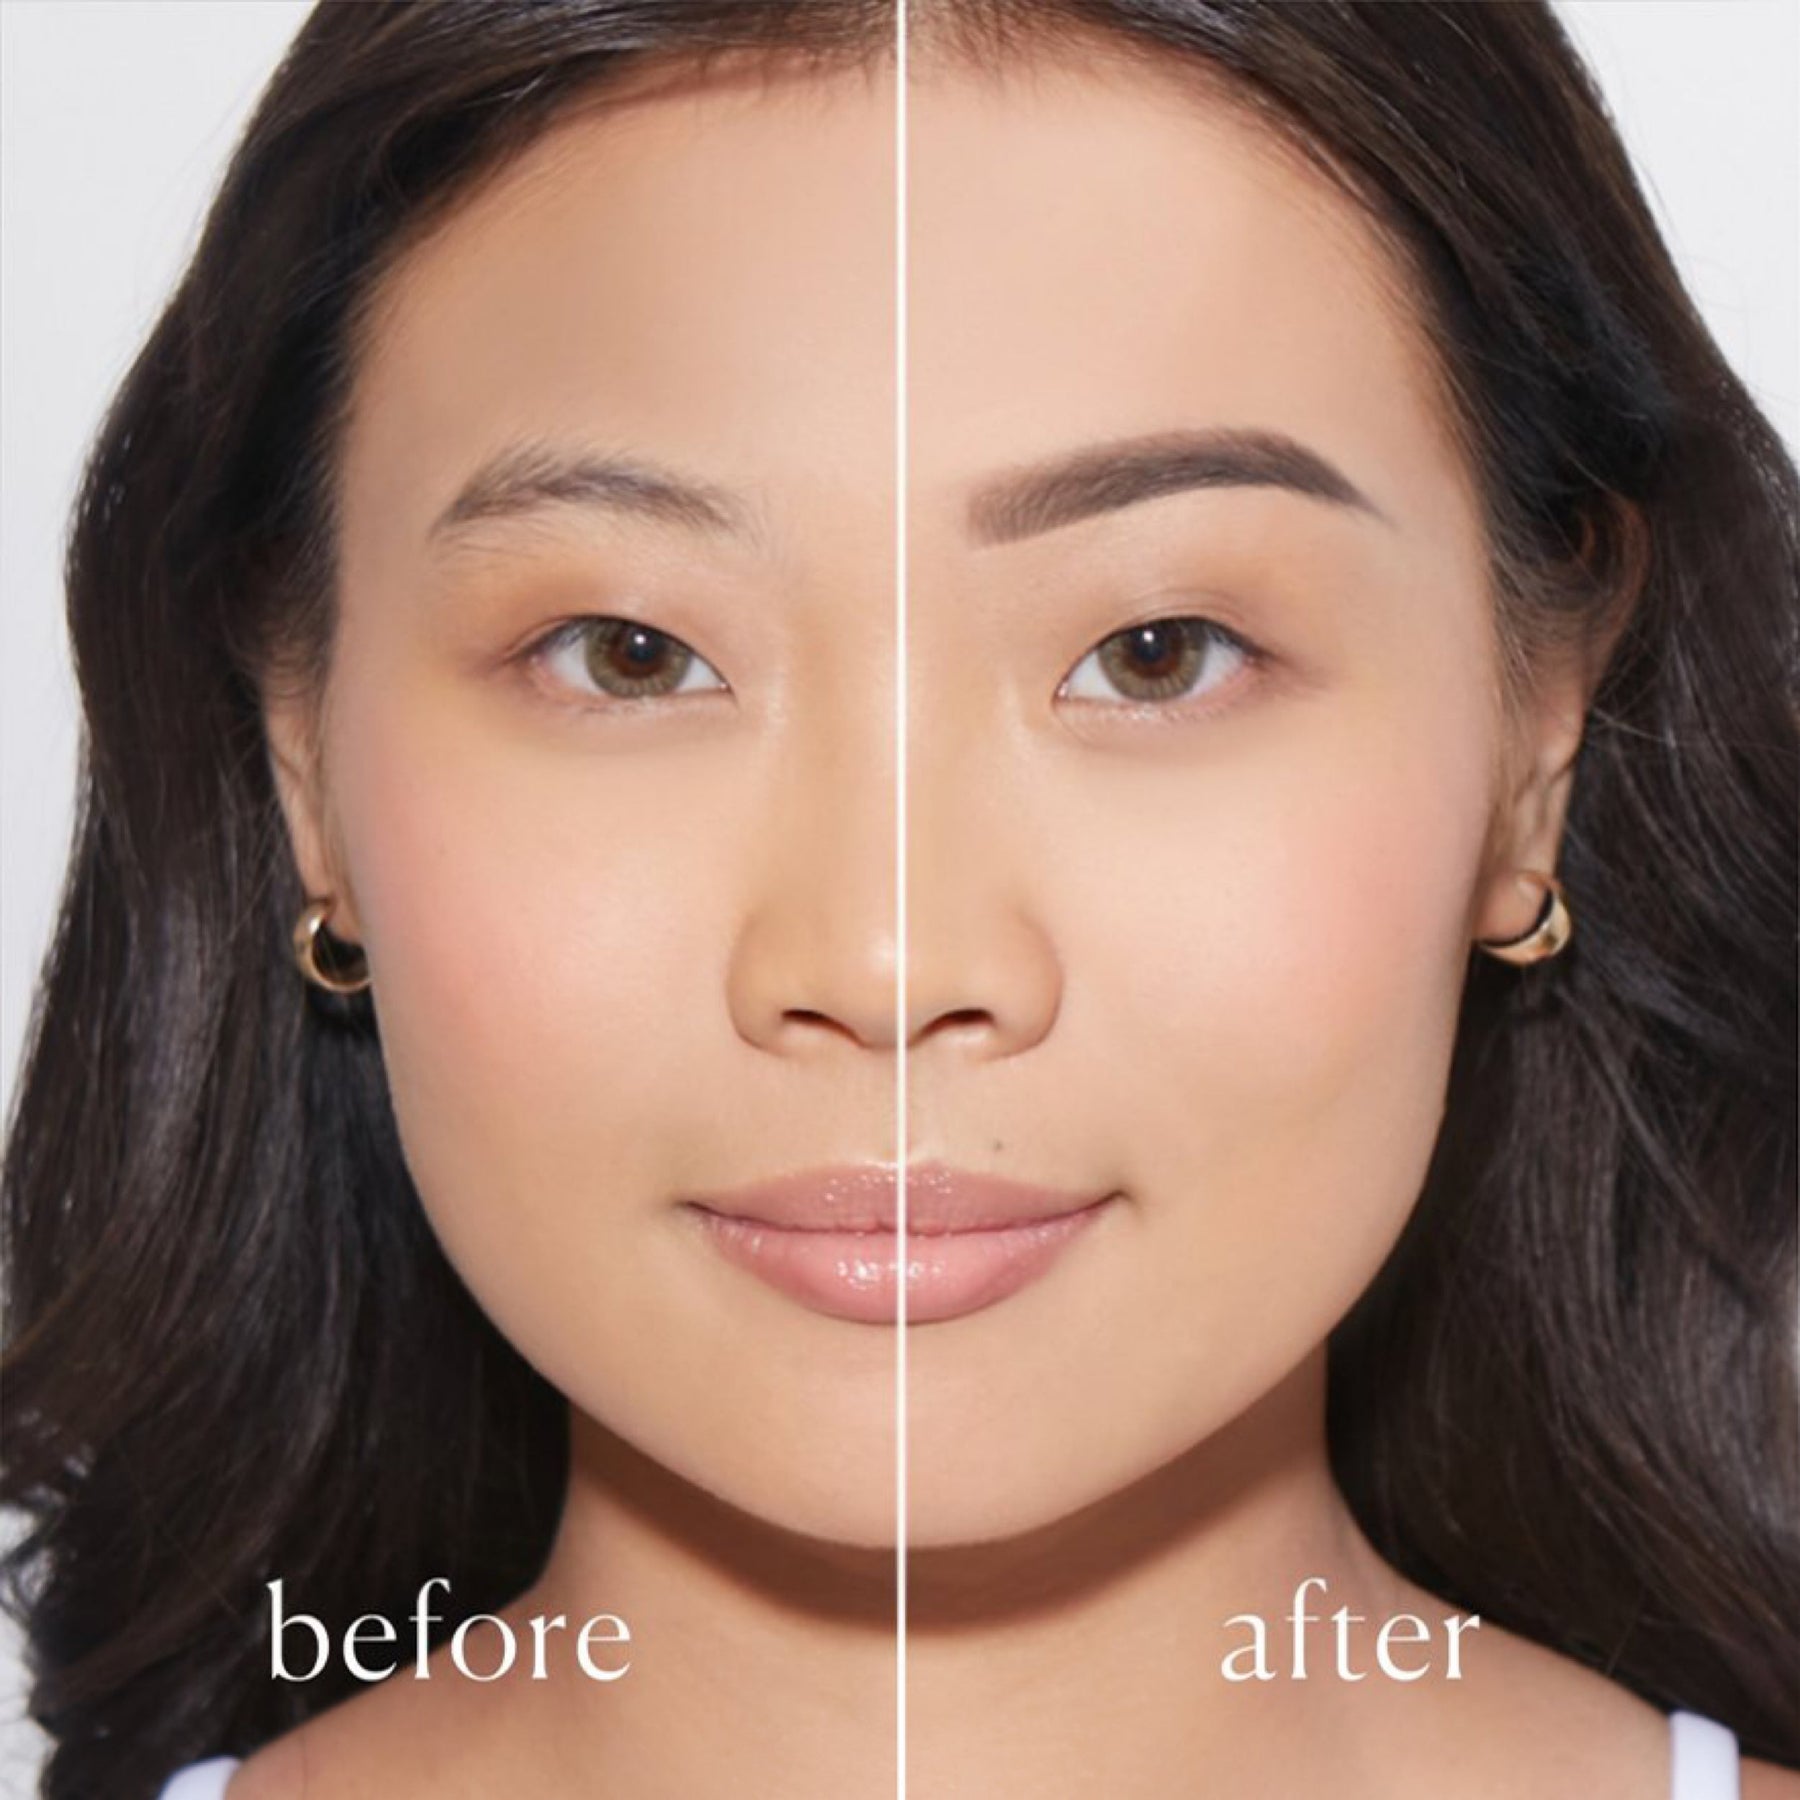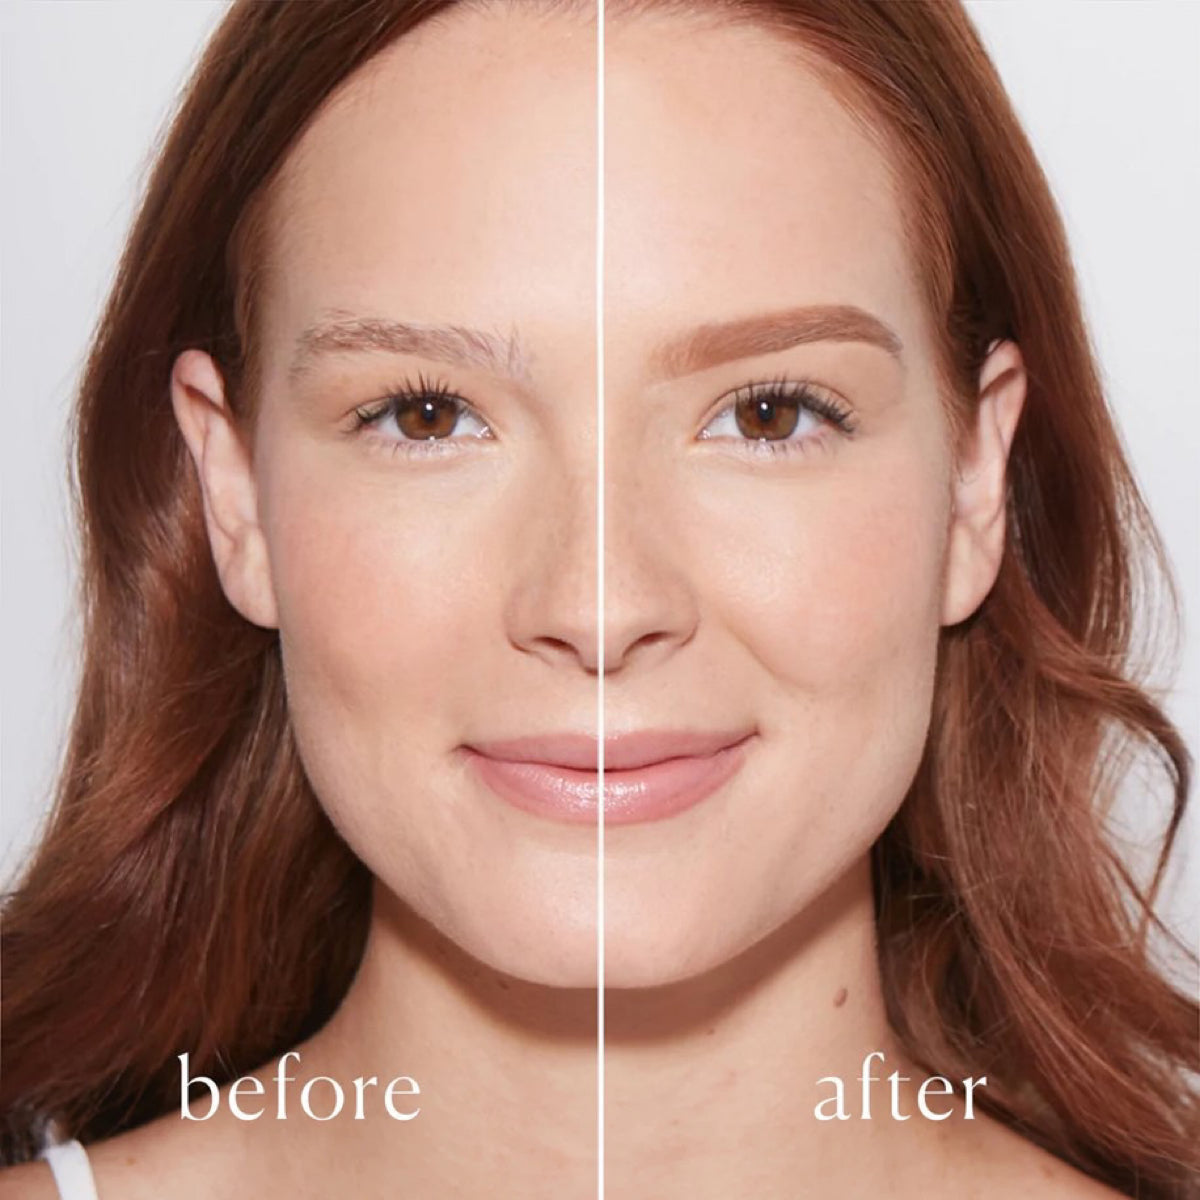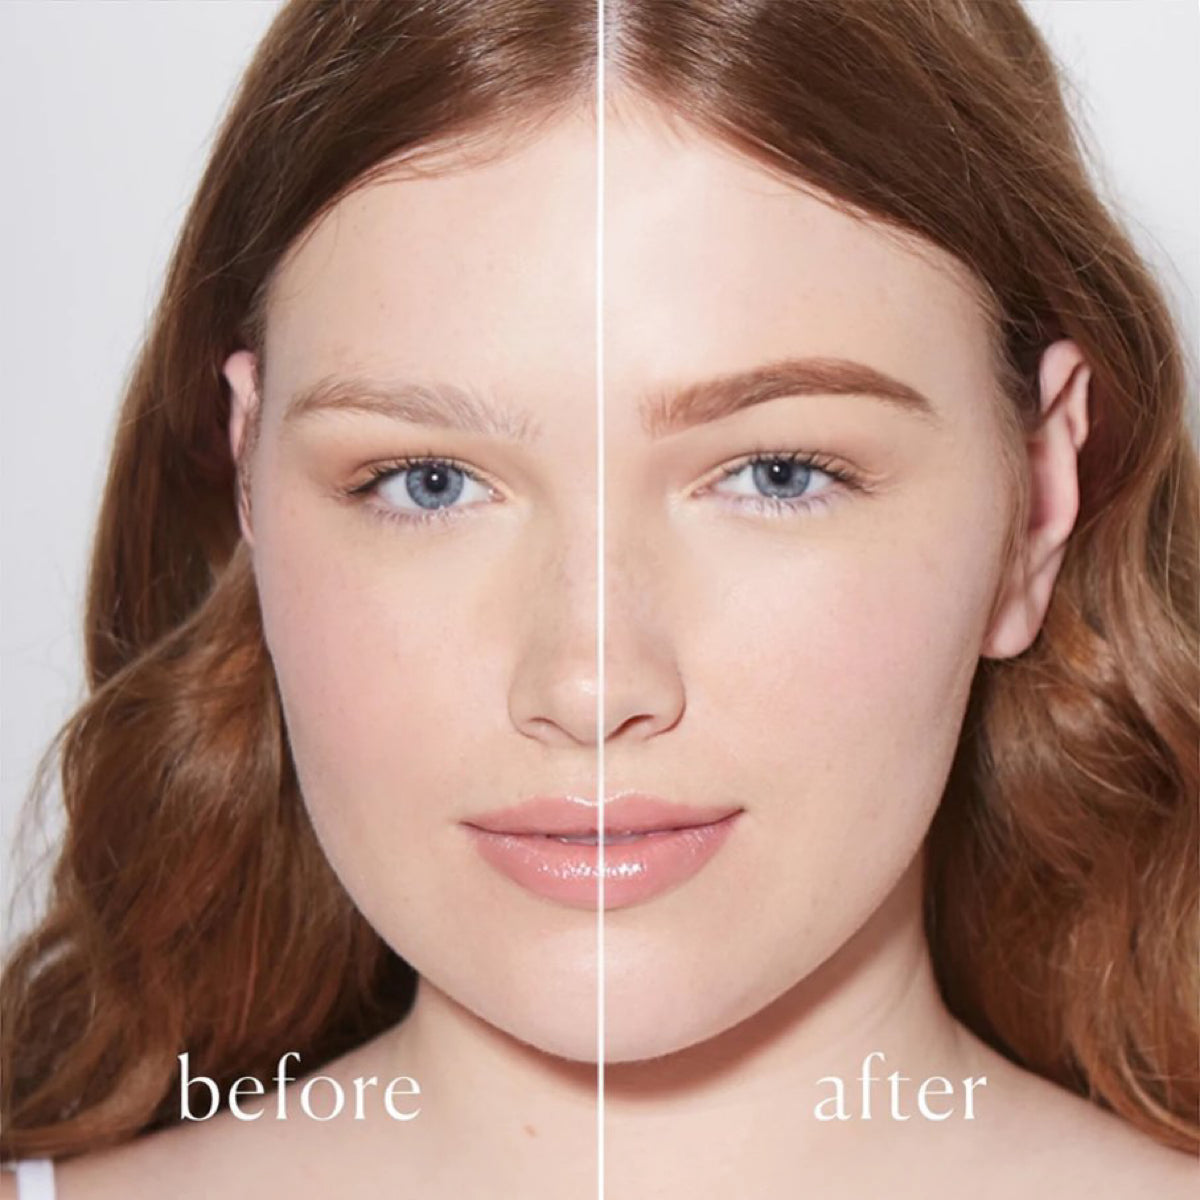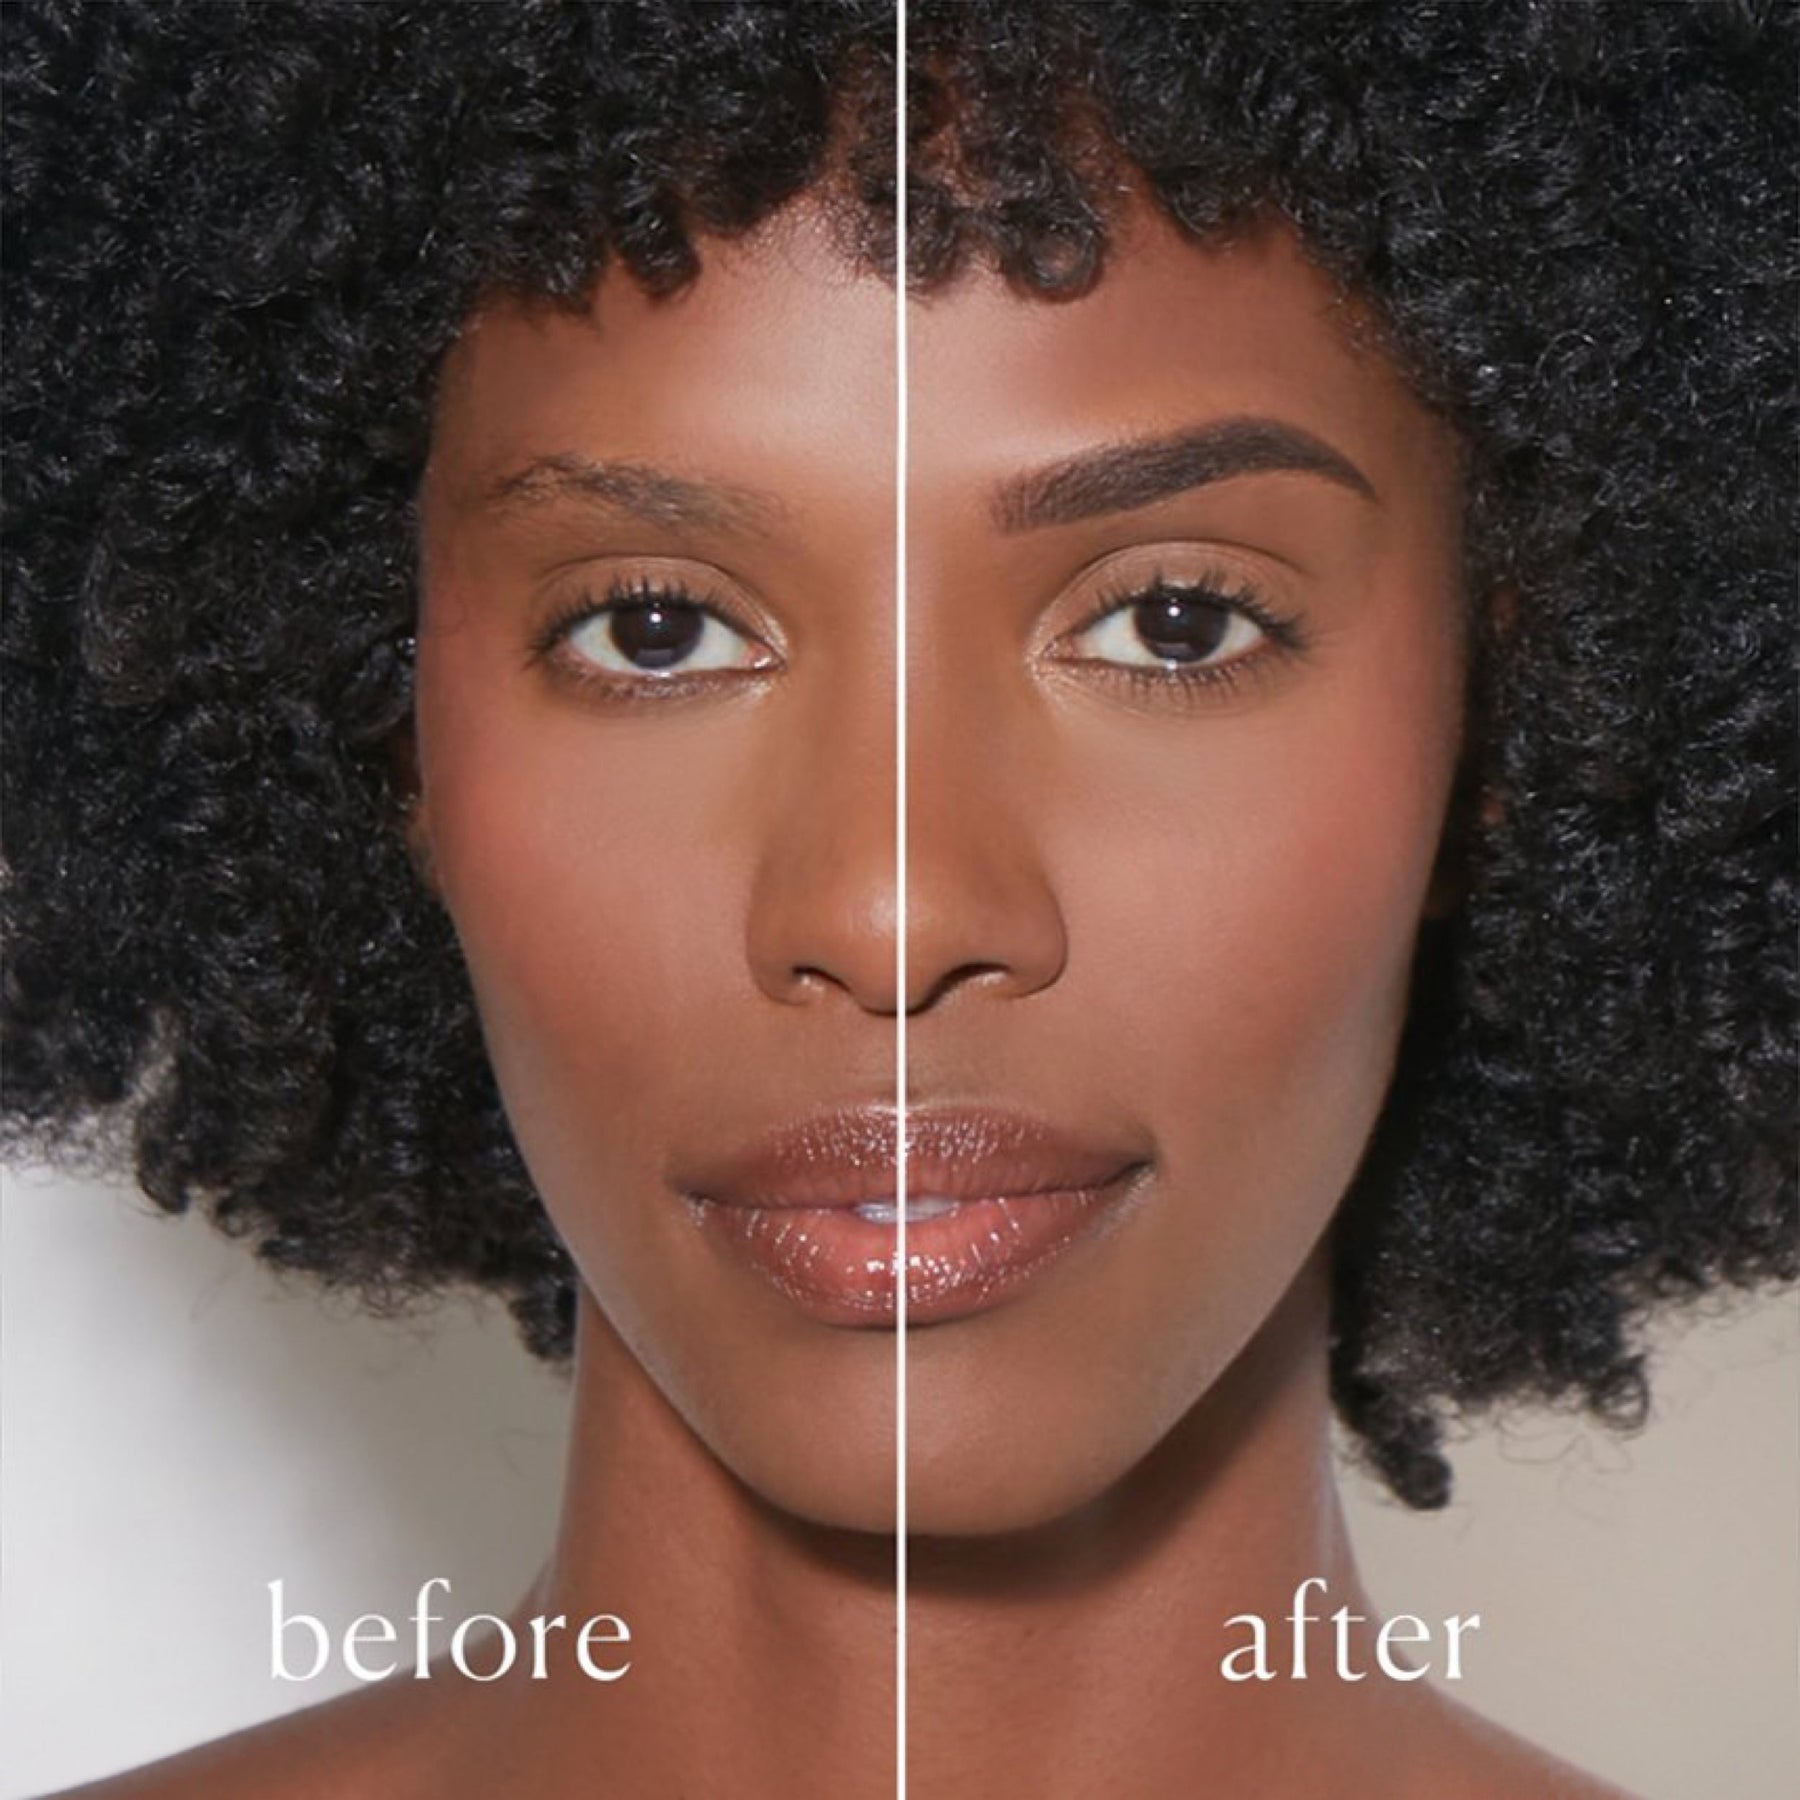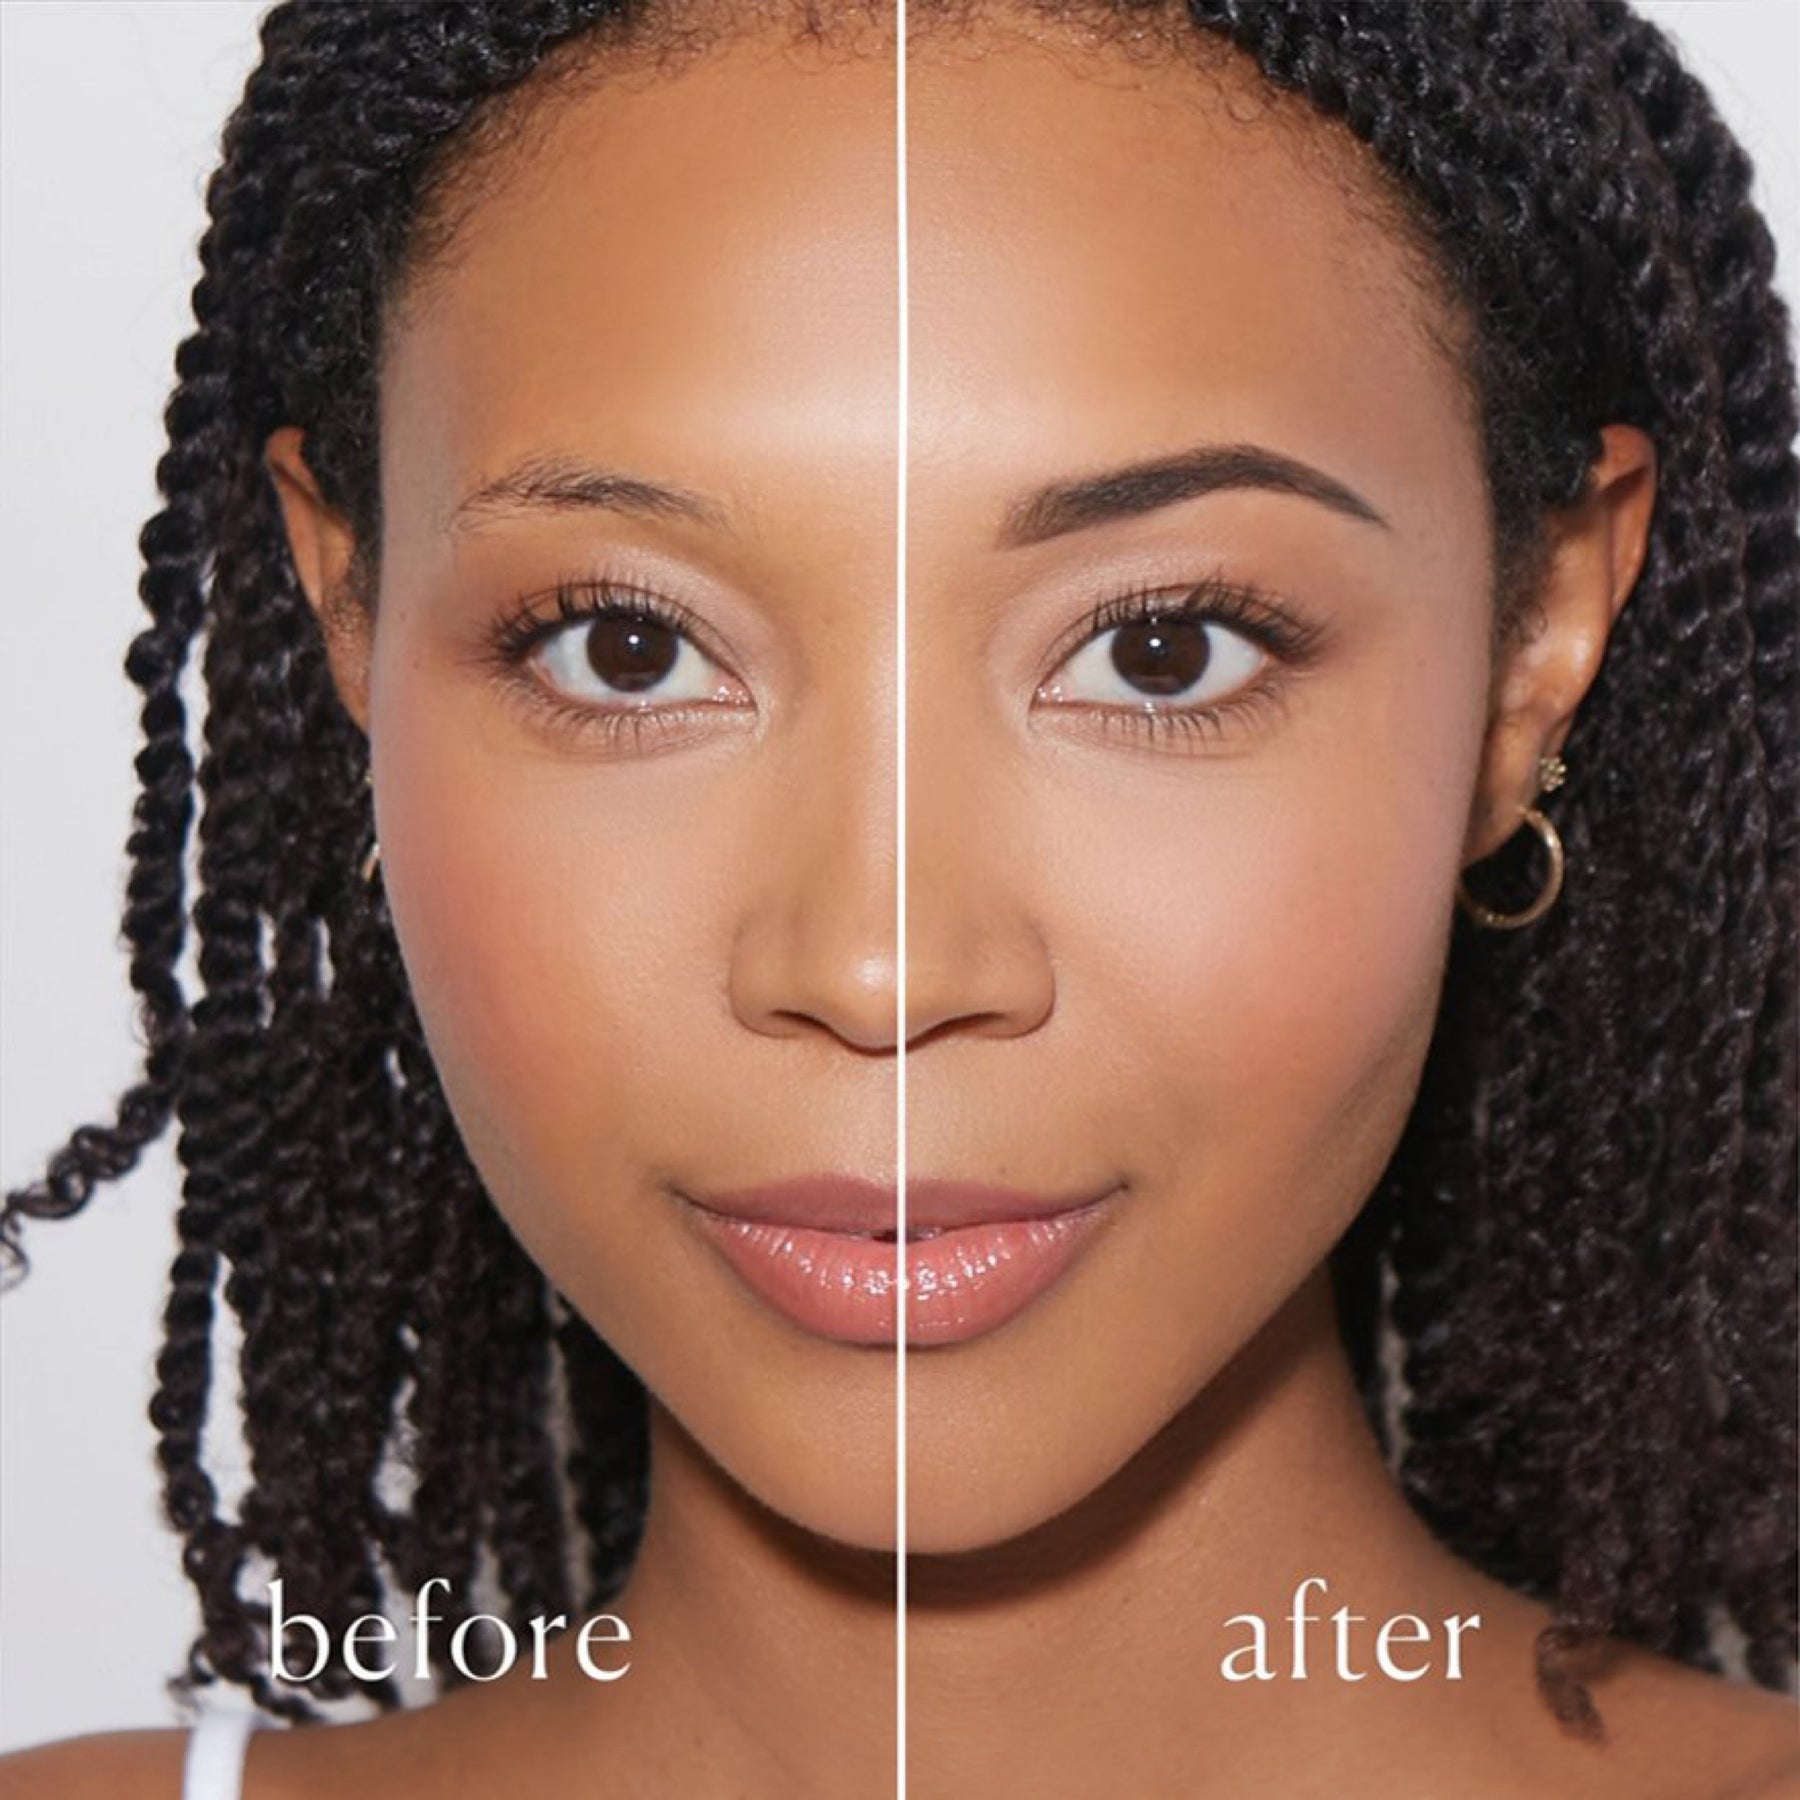
Learning how to fill in your brows naturally can be one of the most game-changing makeup techniques you can ever master. It can help to frame and define your face, and transform your makeup look.
Shaping and filling in your brows can be a tricky balancing act and it can take some practice. Too much product, and you risk looking like you've drawn them on with a Sharpie; too little, and they'll disappear altogether. In addition, the procedure can be quite irritating at times. And that's why learning how to fill in your brows naturally is such a valuable skill.
In this complete guide, we'll walk you through everything you need to know about filling in your brows naturally, from finding the right product to perfecting your technique.
Start with a Pencil
If you are a beginner and need to get comfortable filling in your brows and working with brow makeup. We recommend starting with a brow pencil. Our Microfill Brow Pencil has a fine tip which lightly shades in brows with soft hair strokes. This is perfect for a natural look. Simply draw a line along the bottom of your brow and then fill in the rest of your brow according to that line.
Let our Brow Trio® : Stencil Kit Guide You

Microblading has become a popular semi-permanent procedure to create the look of a full brow. But it can be expensive, time consuming and sometimes painful.
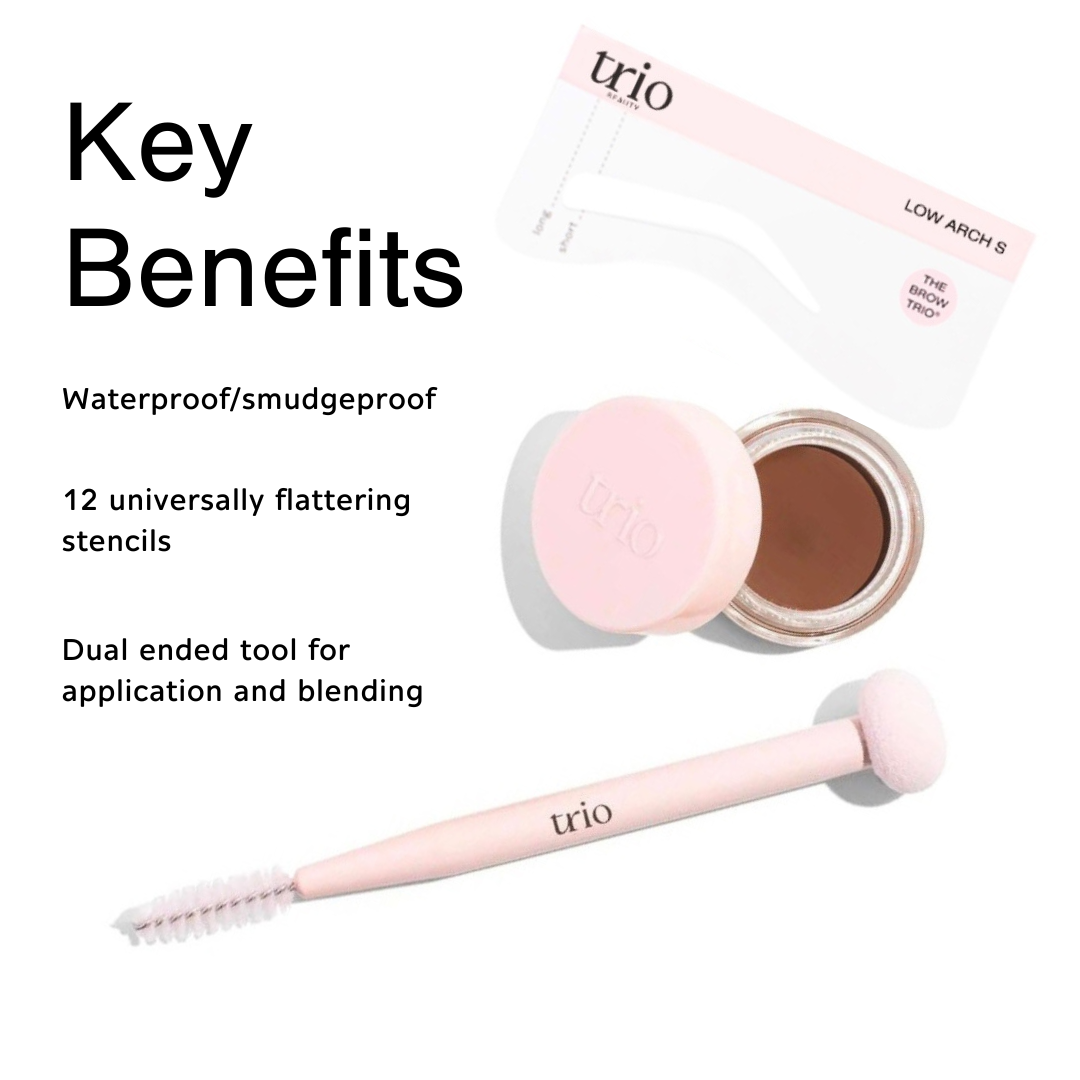
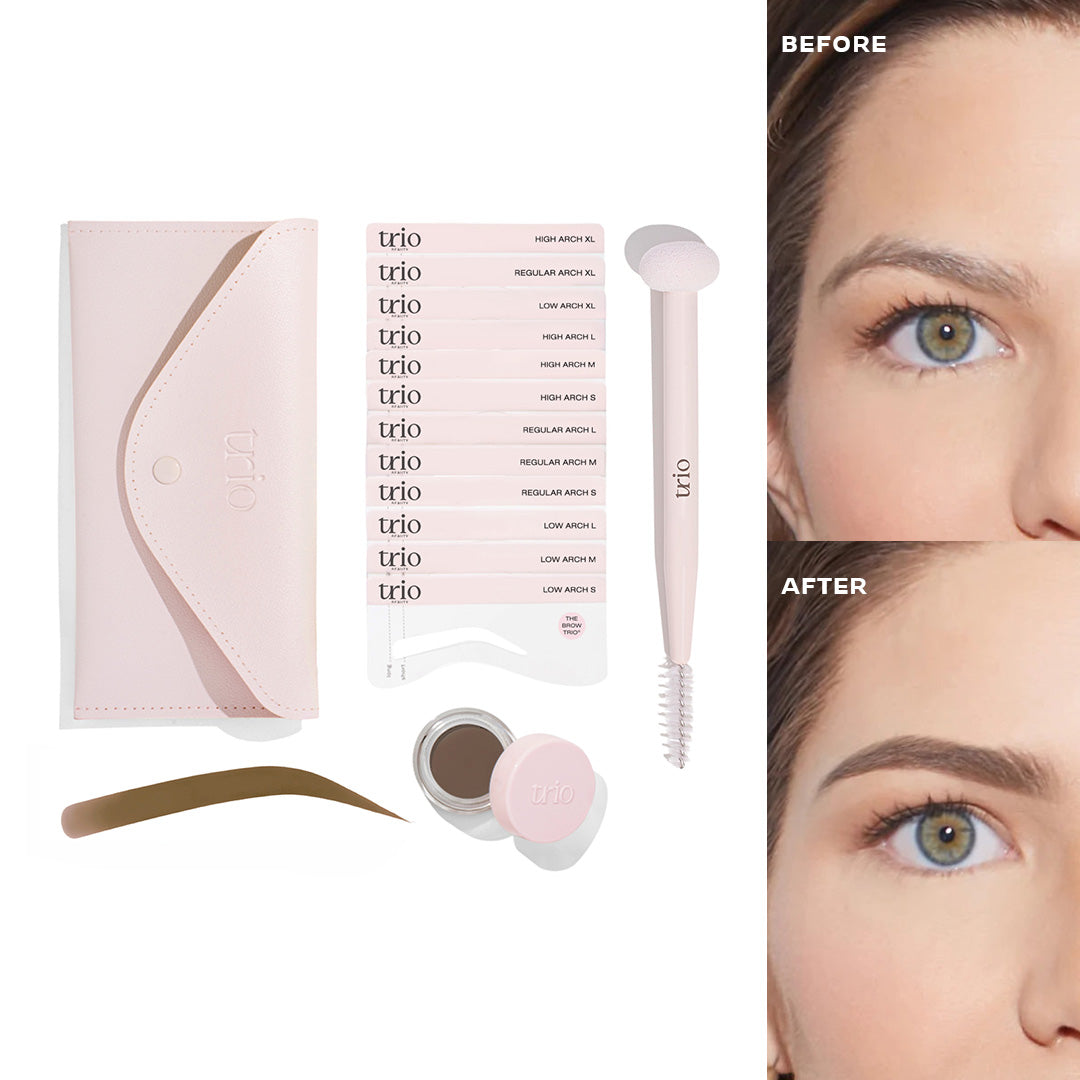
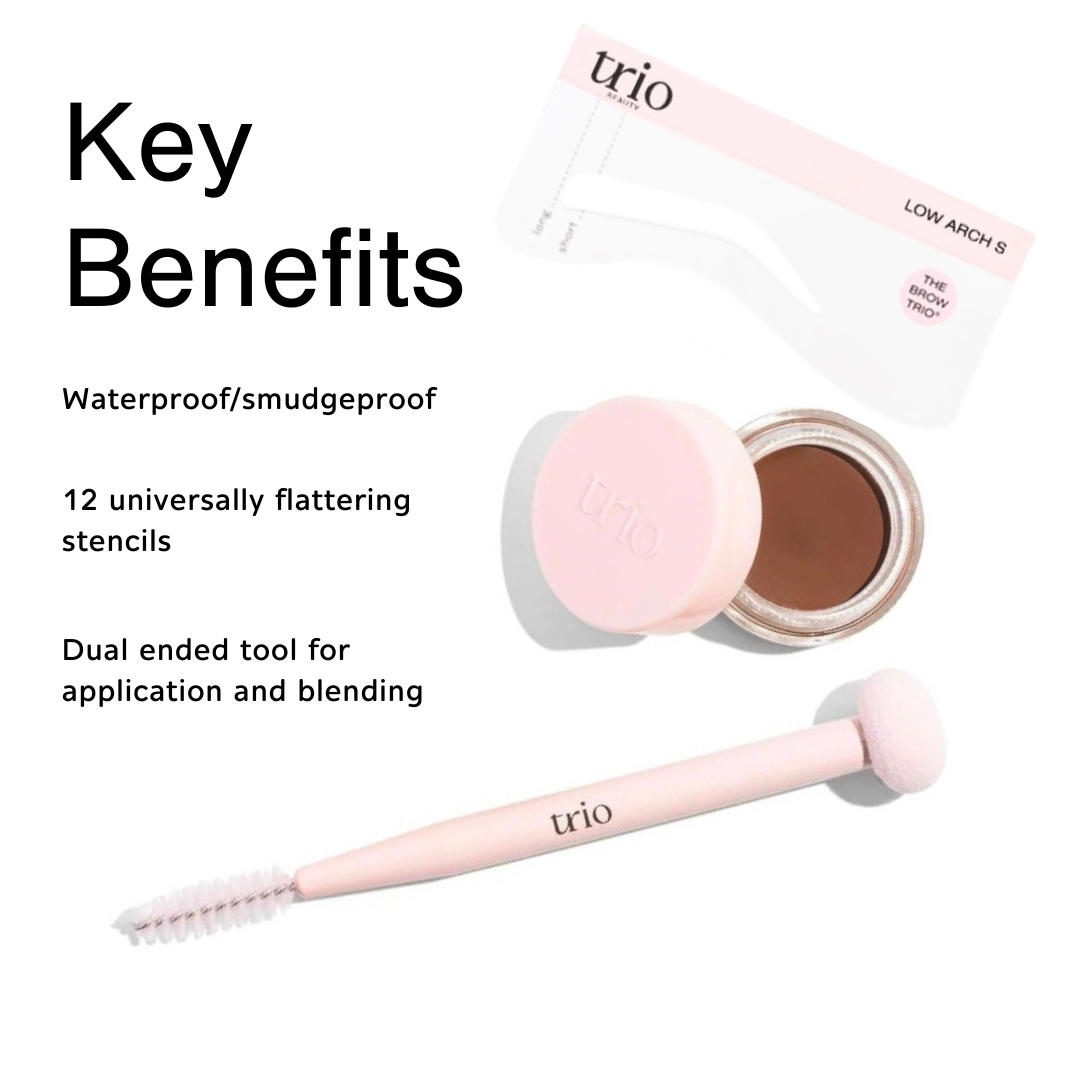
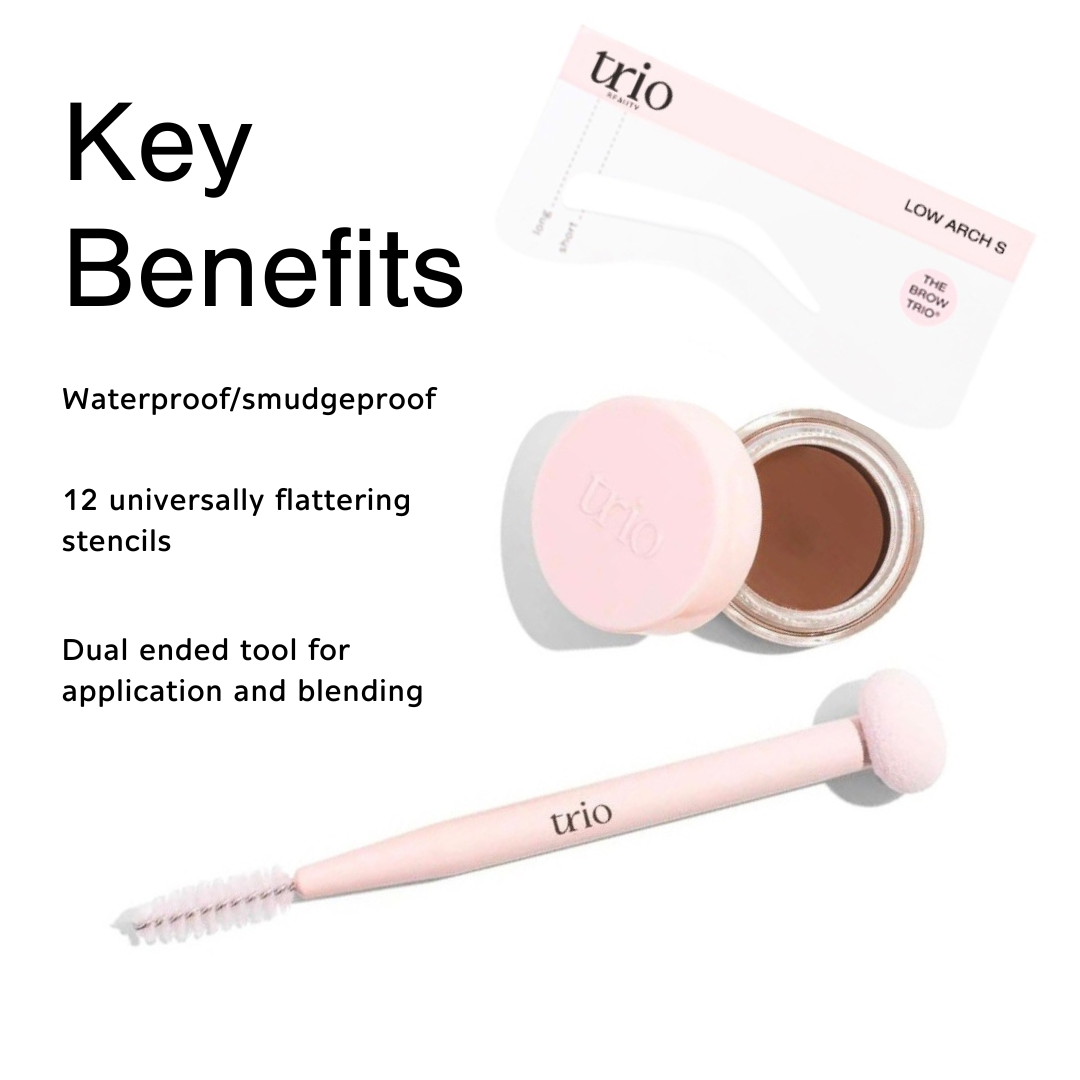
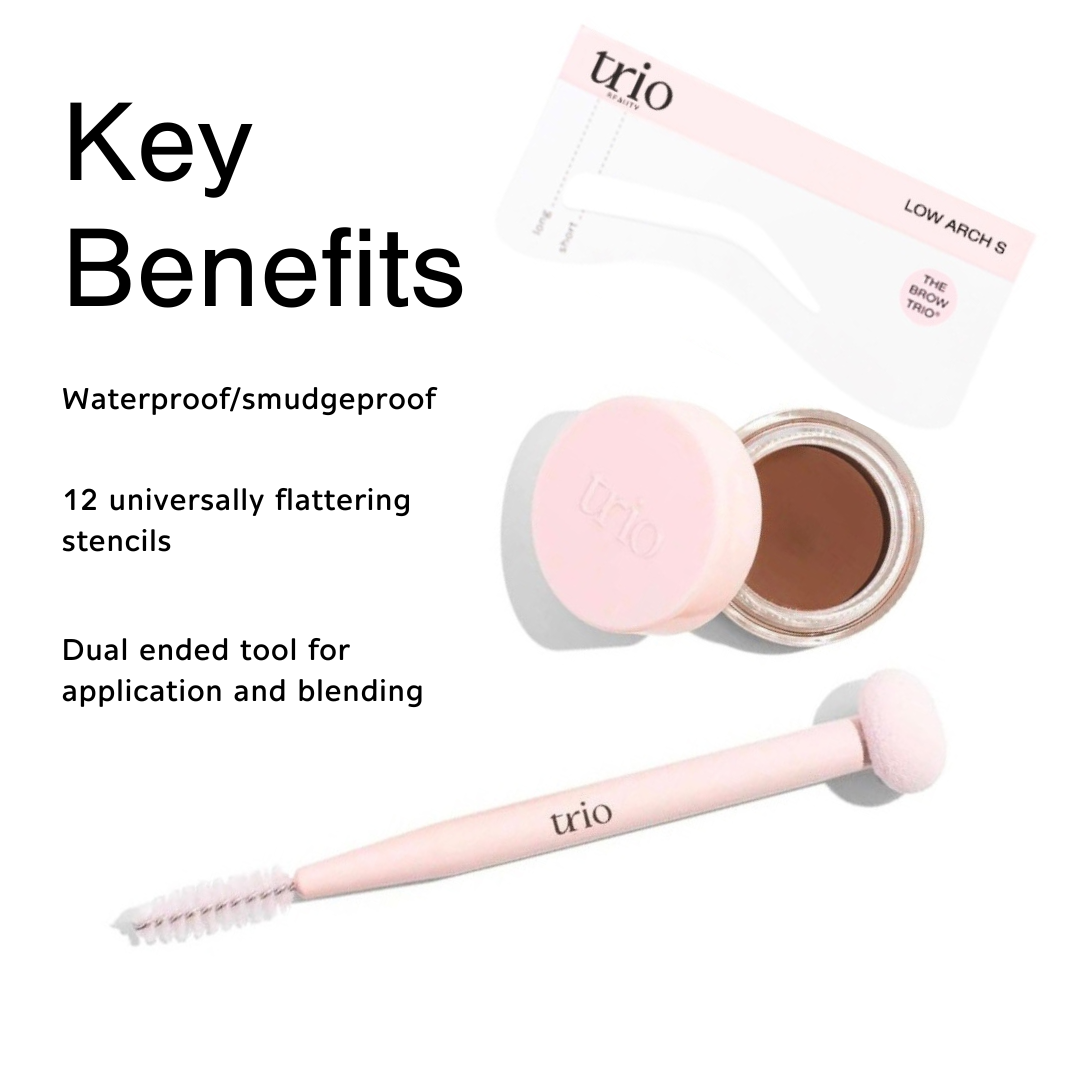
That's why we created our patent pending Brow Trio® – a three-component system that gives you all the benefits of brow tattooing and shaping without any of the drawbacks.
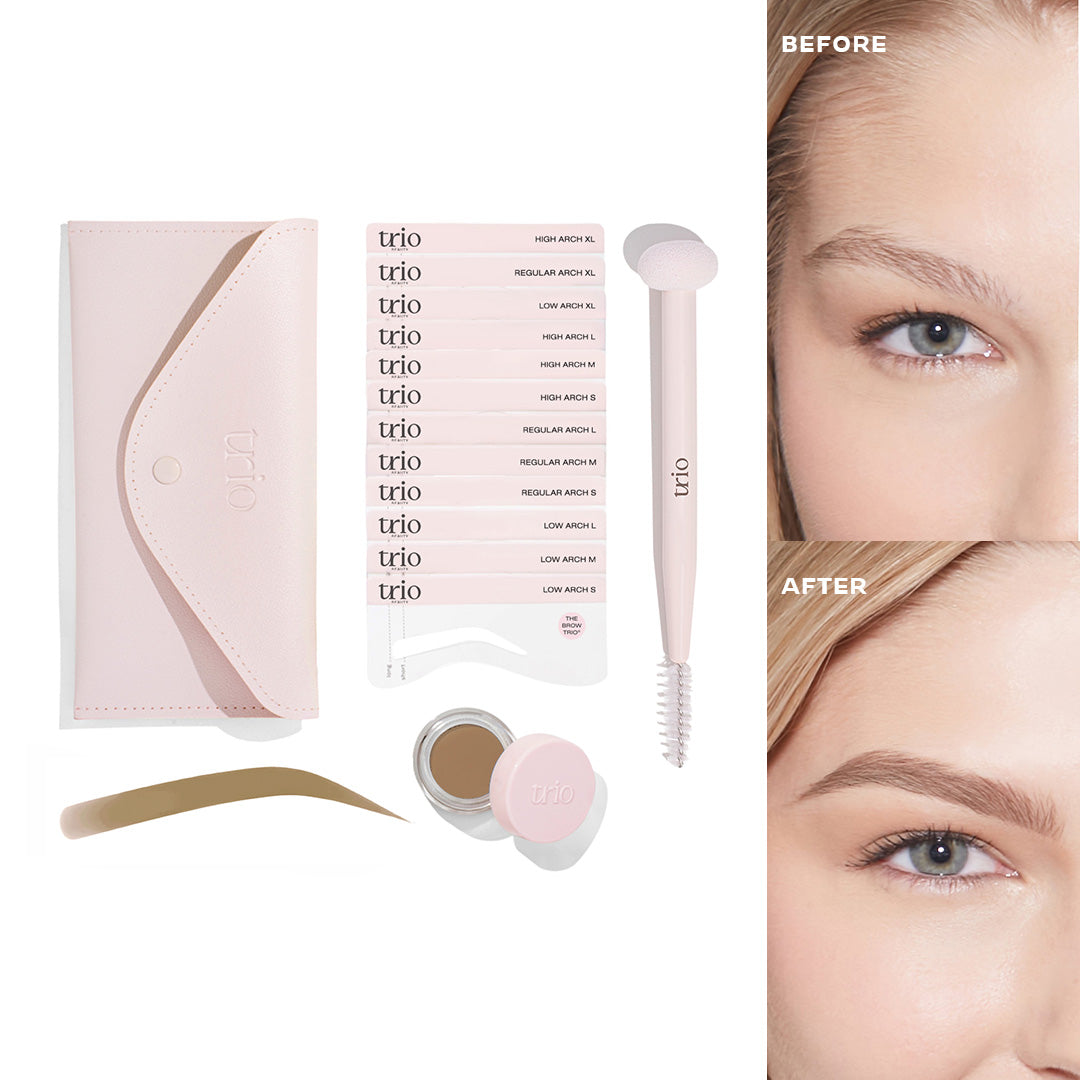
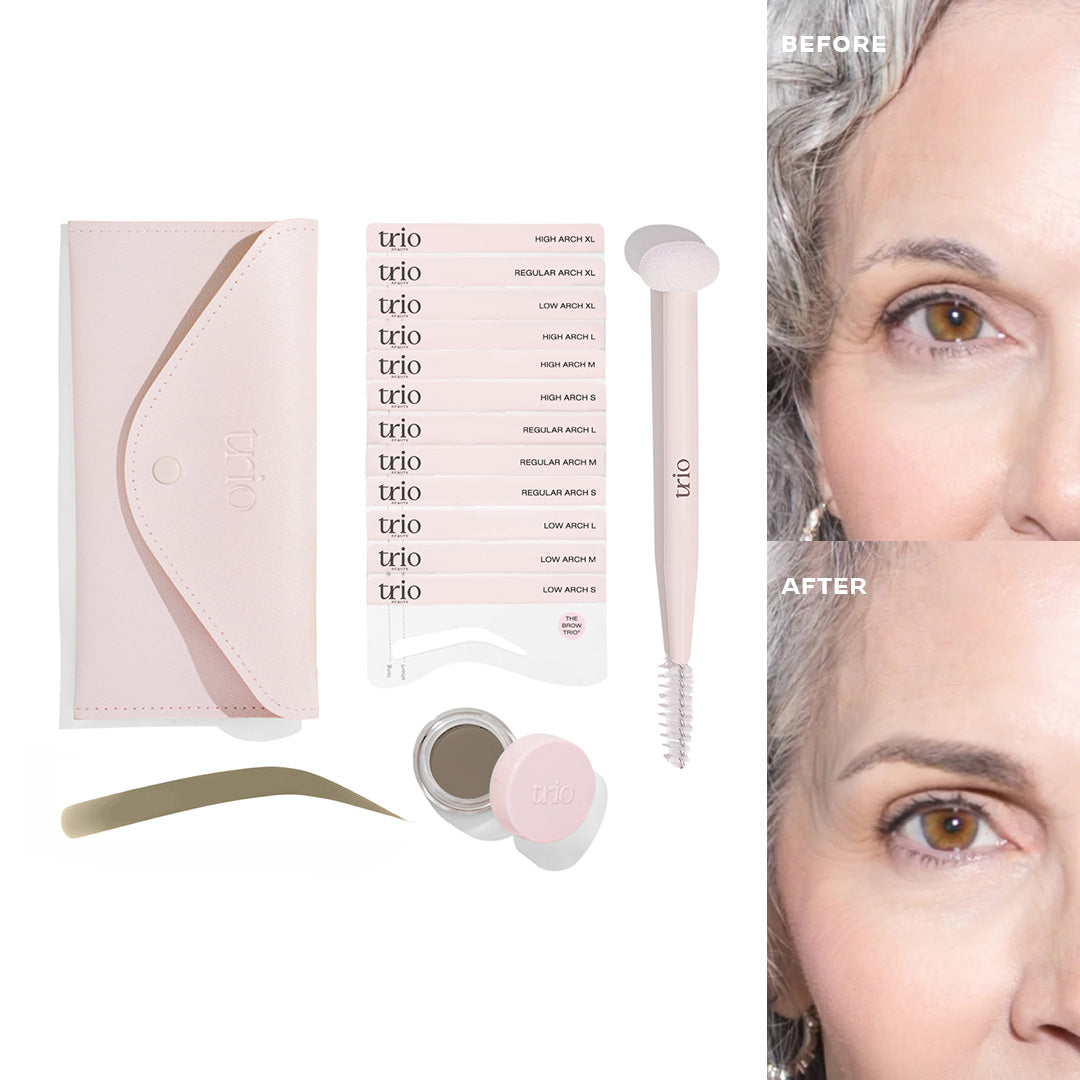
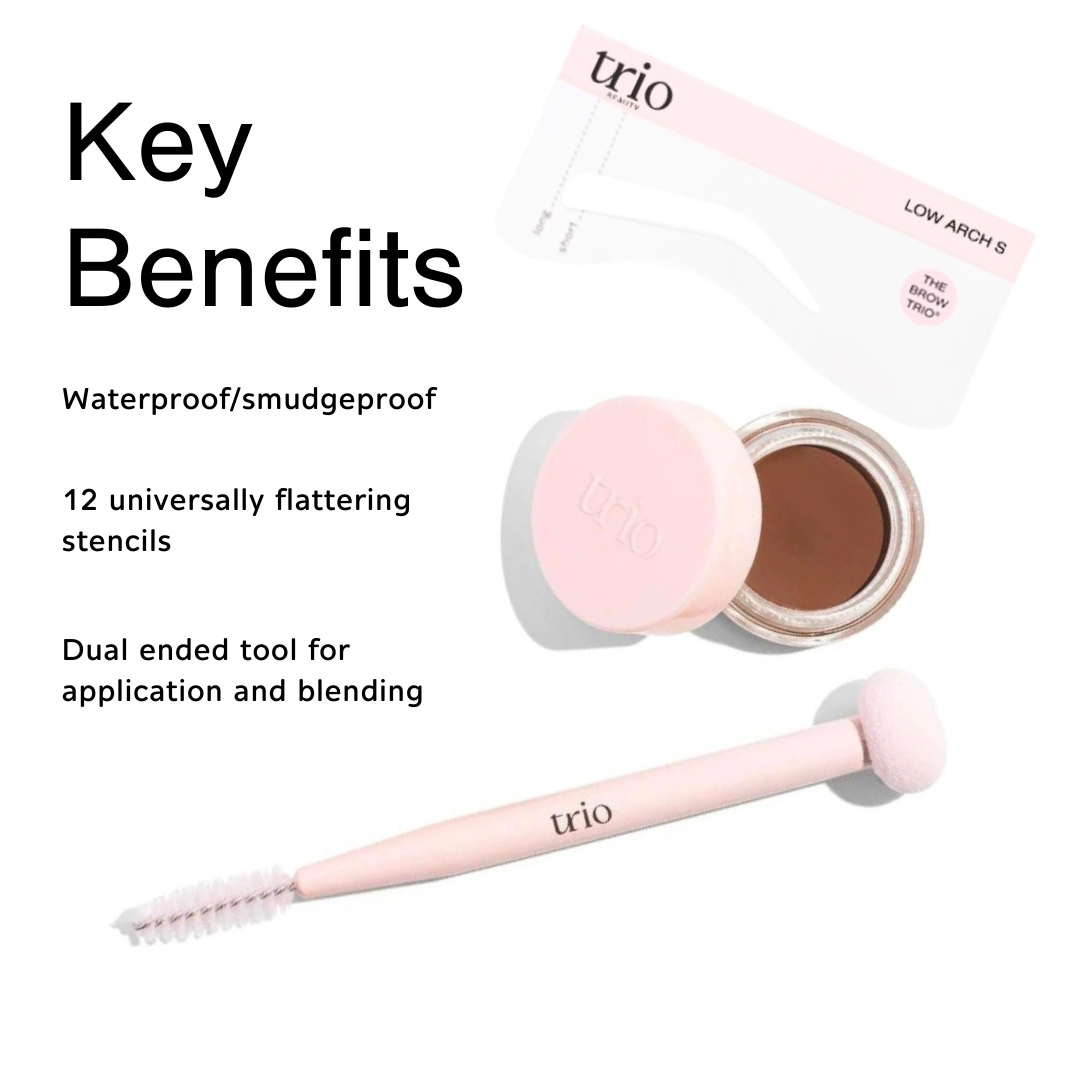
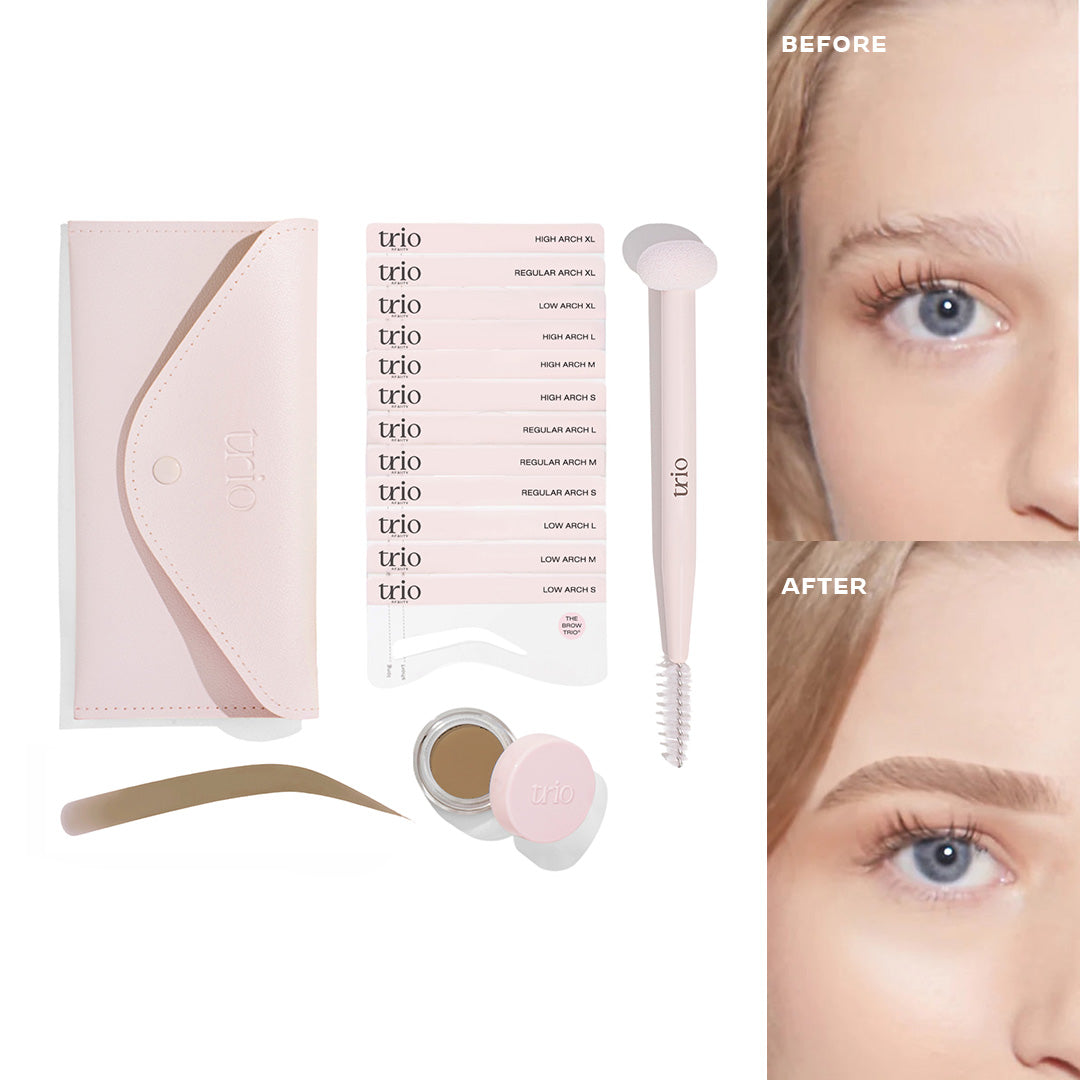
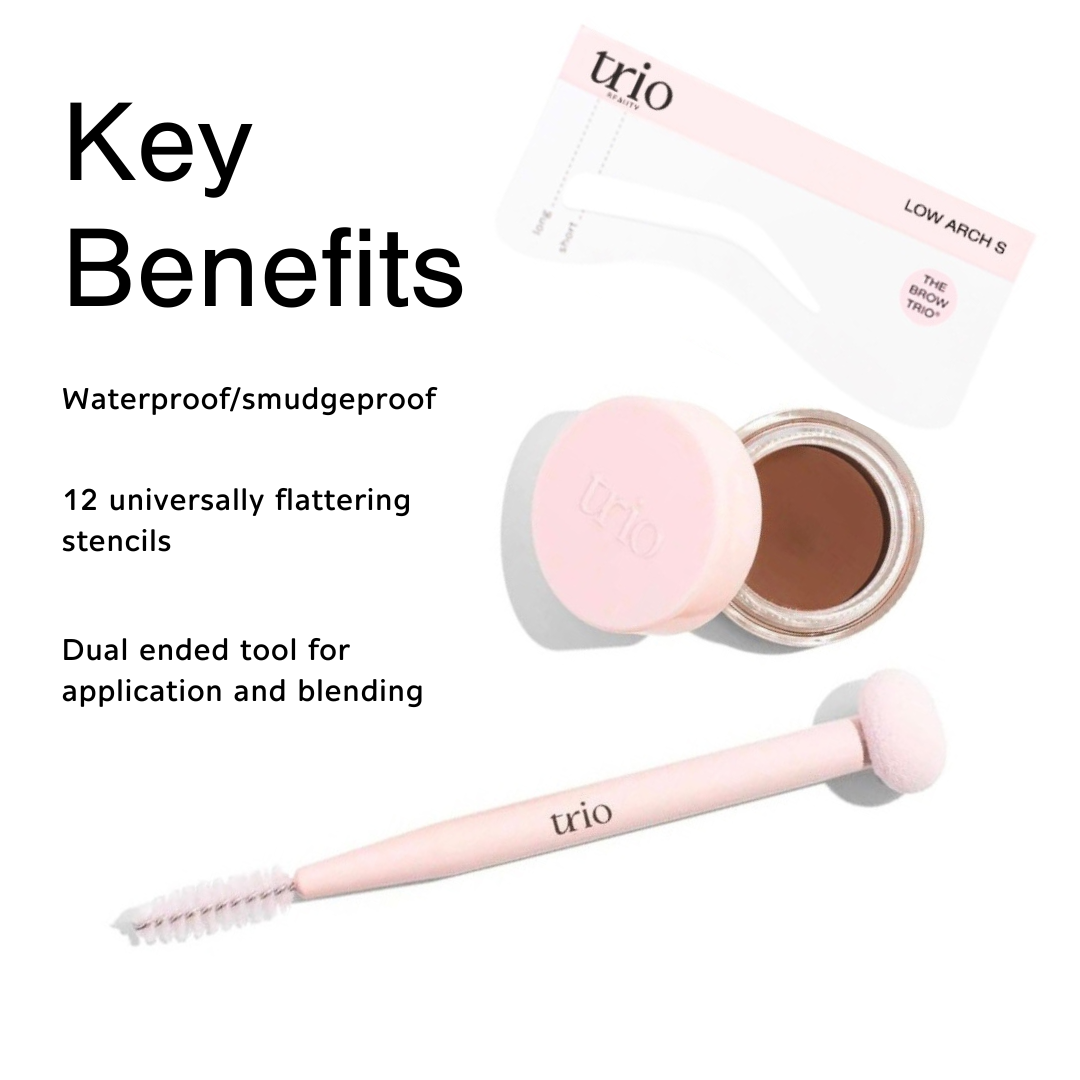
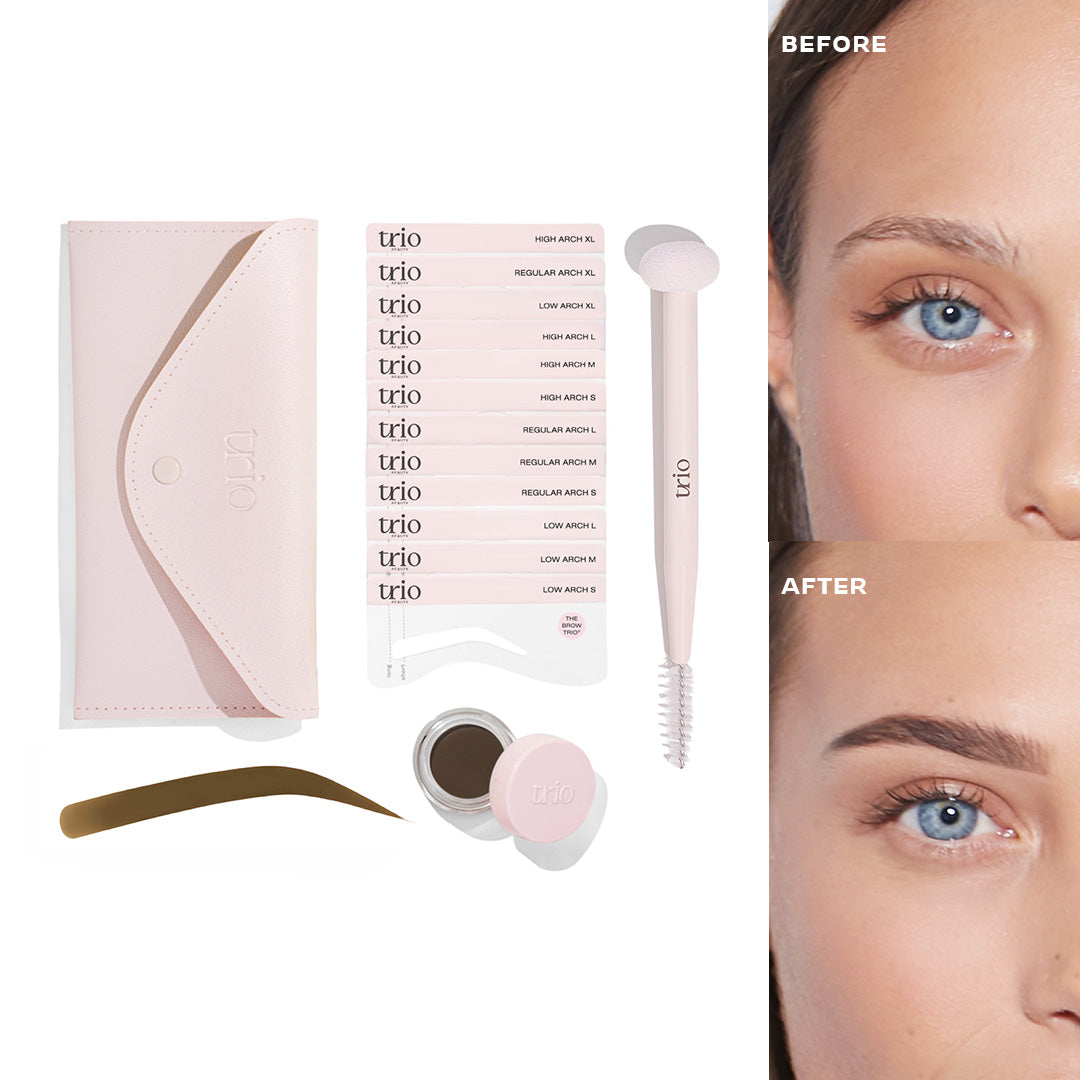
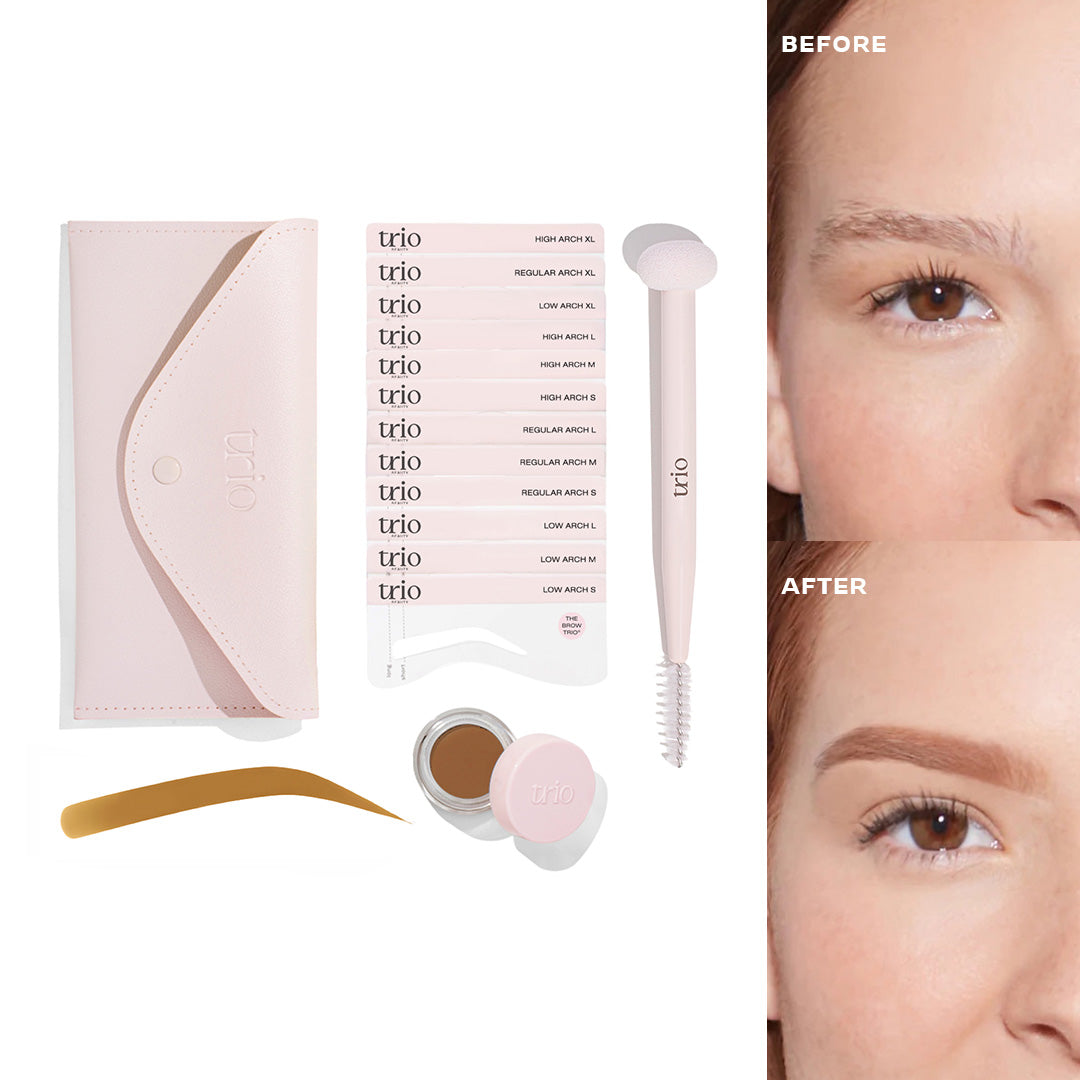
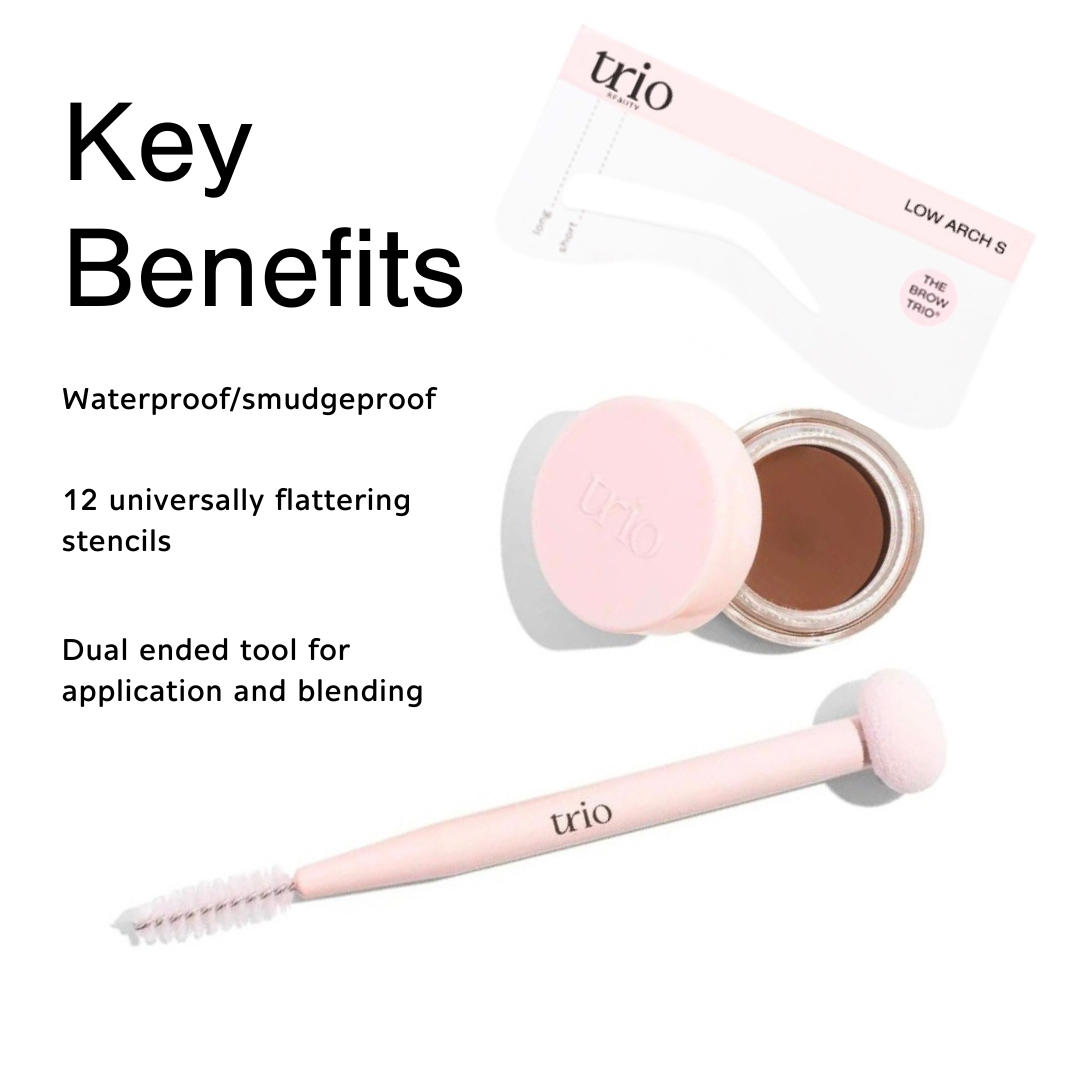
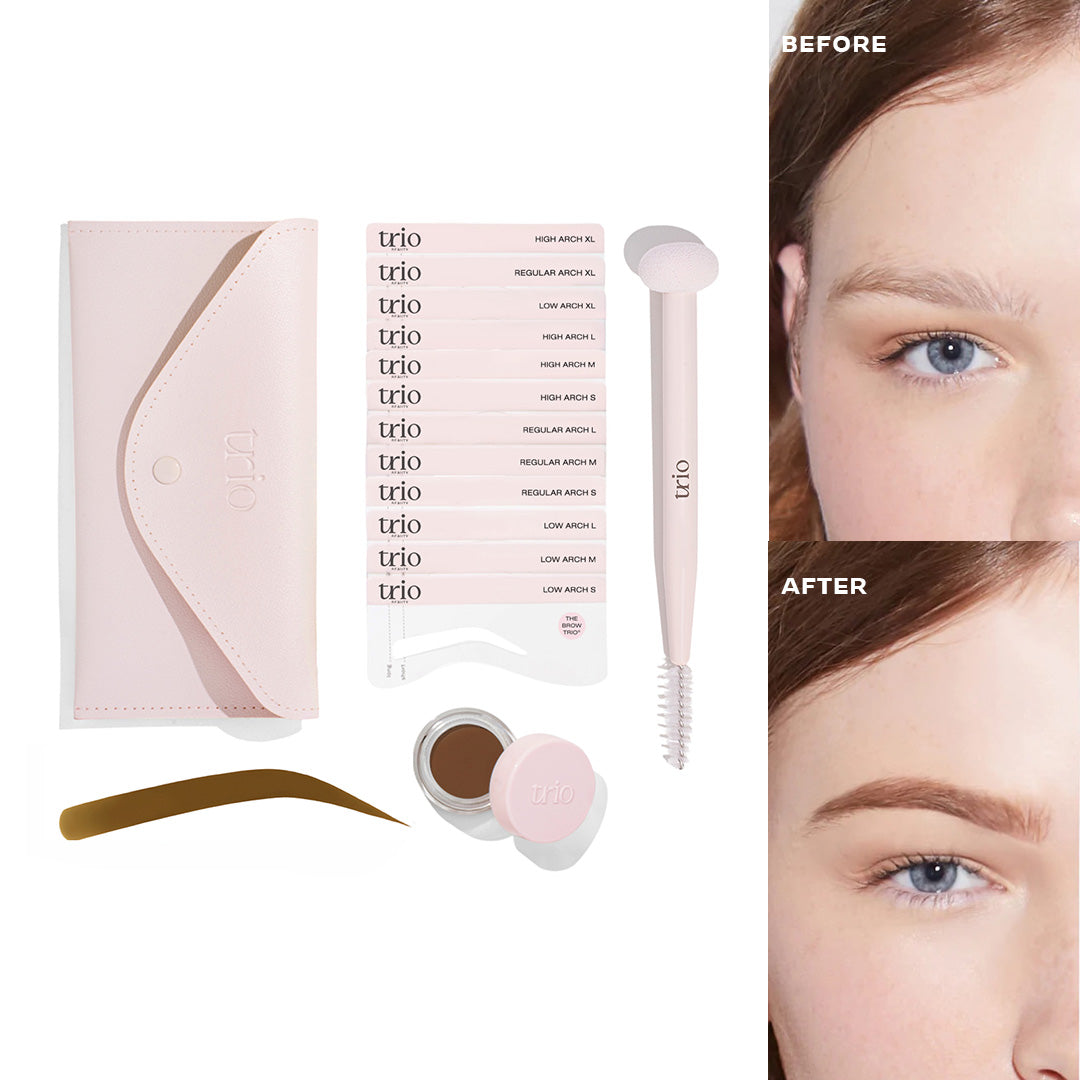
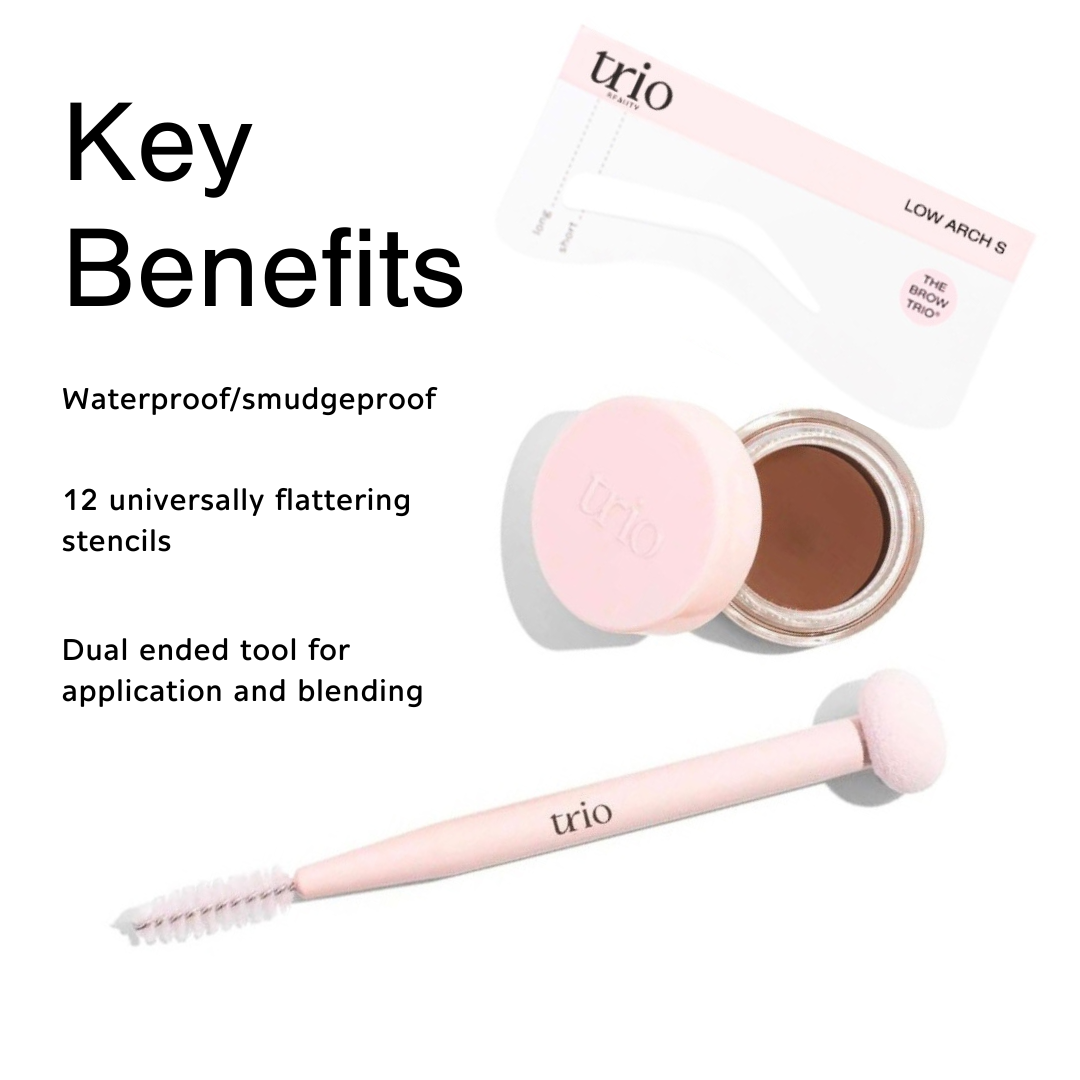
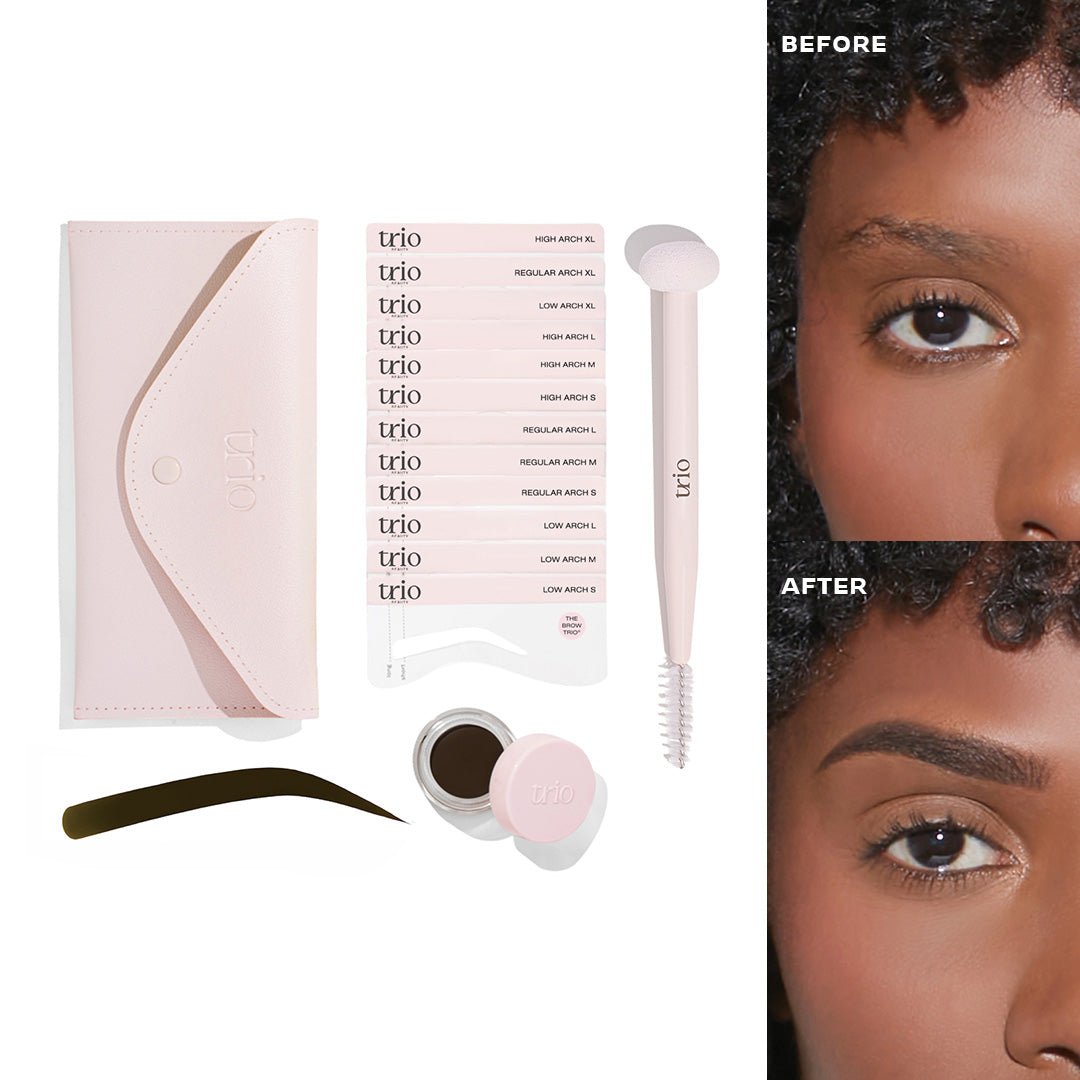
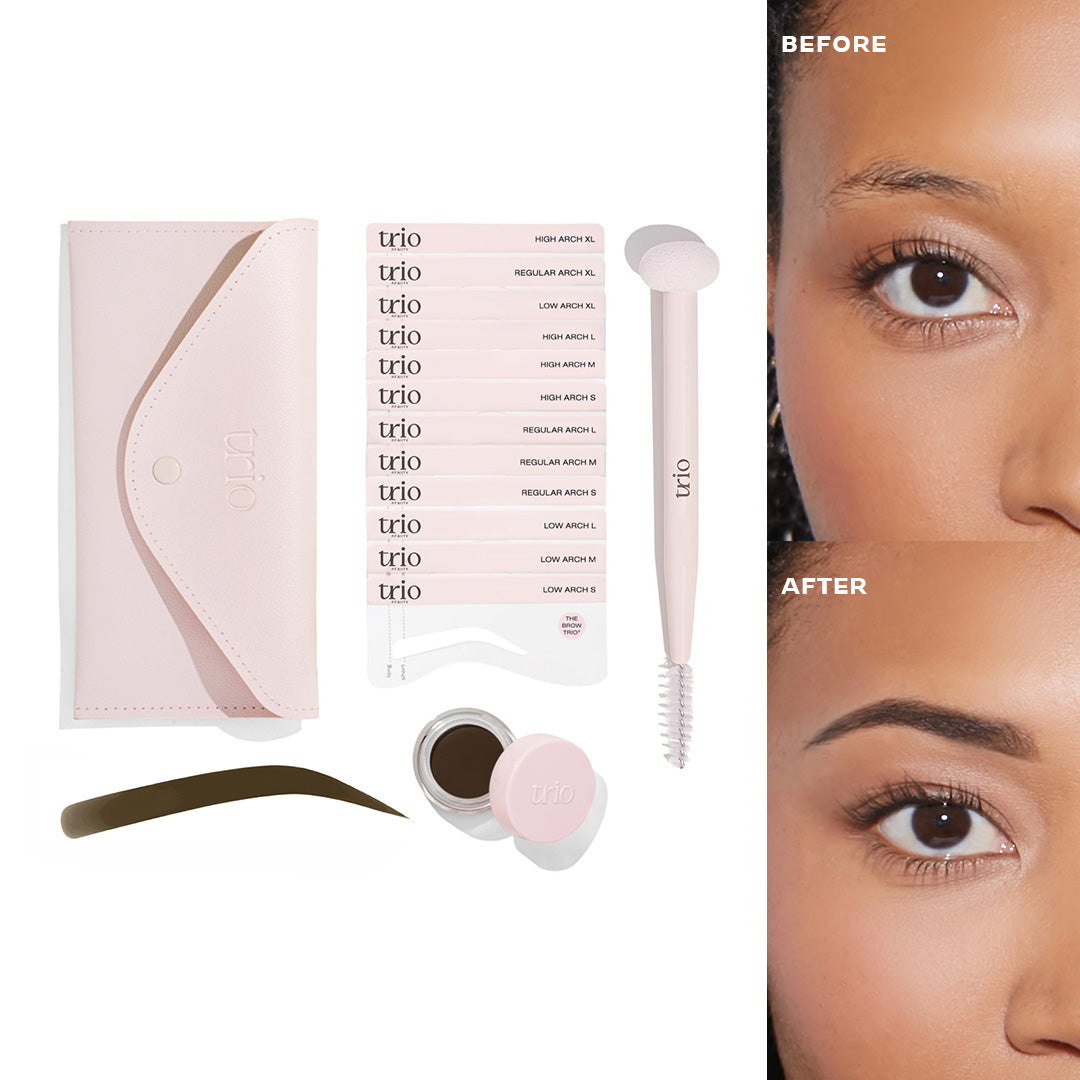
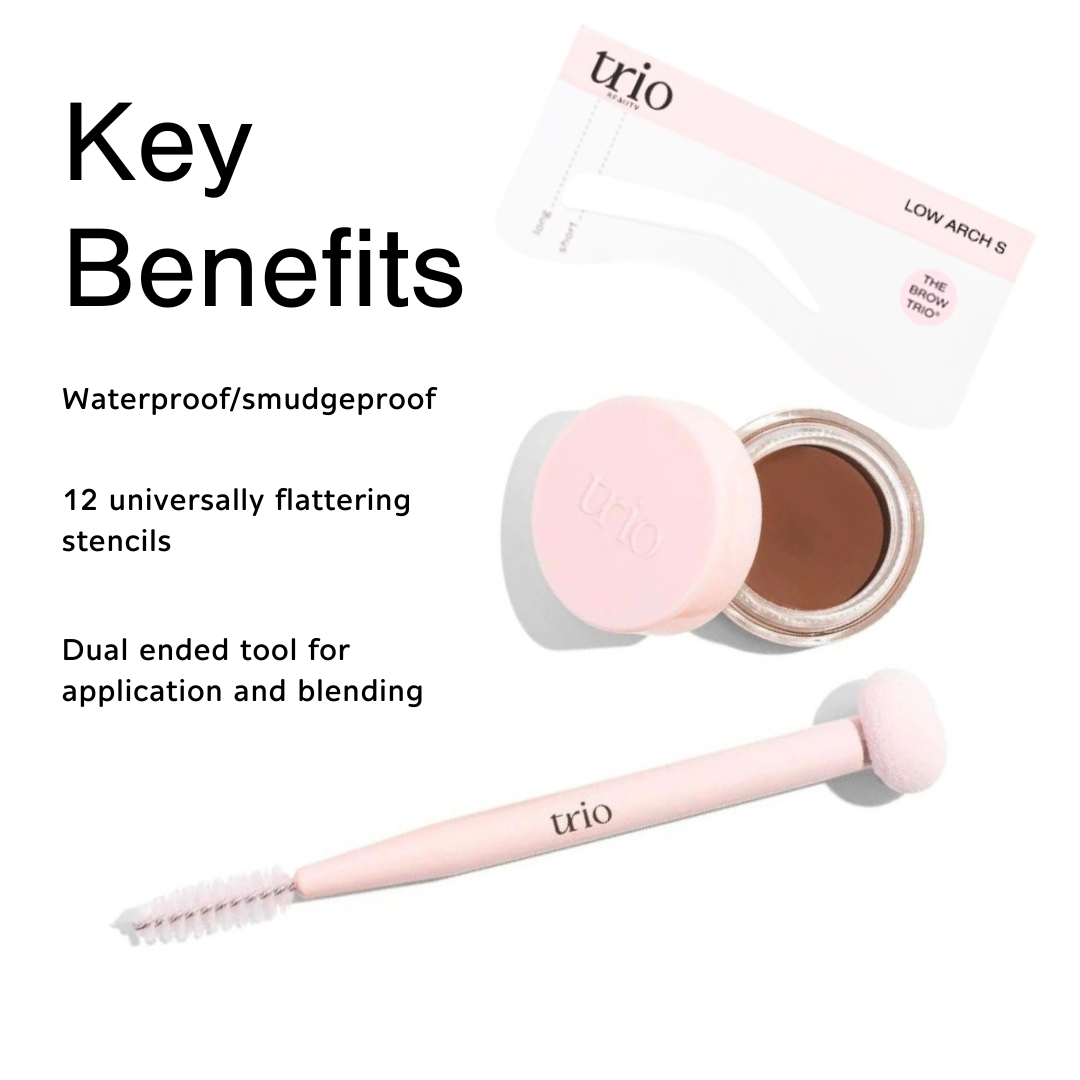
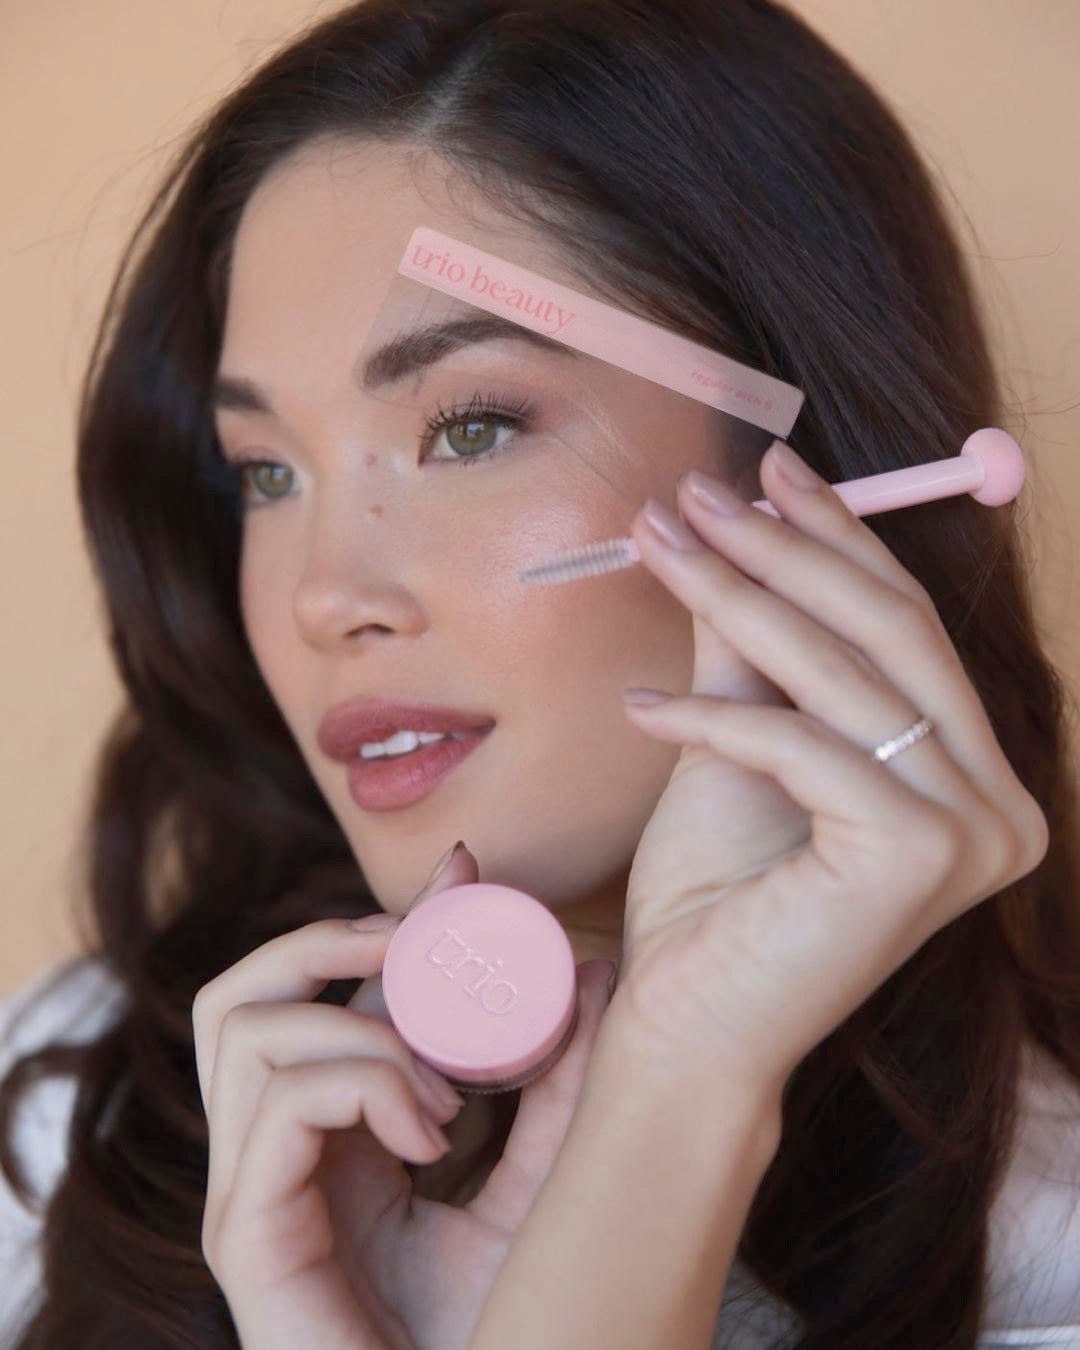
Brow Trio® consists of a brow pomade, 12 brow stencils, and a sponge applicator. It's beginner-friendly when it comes to learning how to fill in sparse brows naturally the first time. Here are a few tips to use our Brow Trio® : Stencil Kit for a natural look.
Start by choosing the right shade
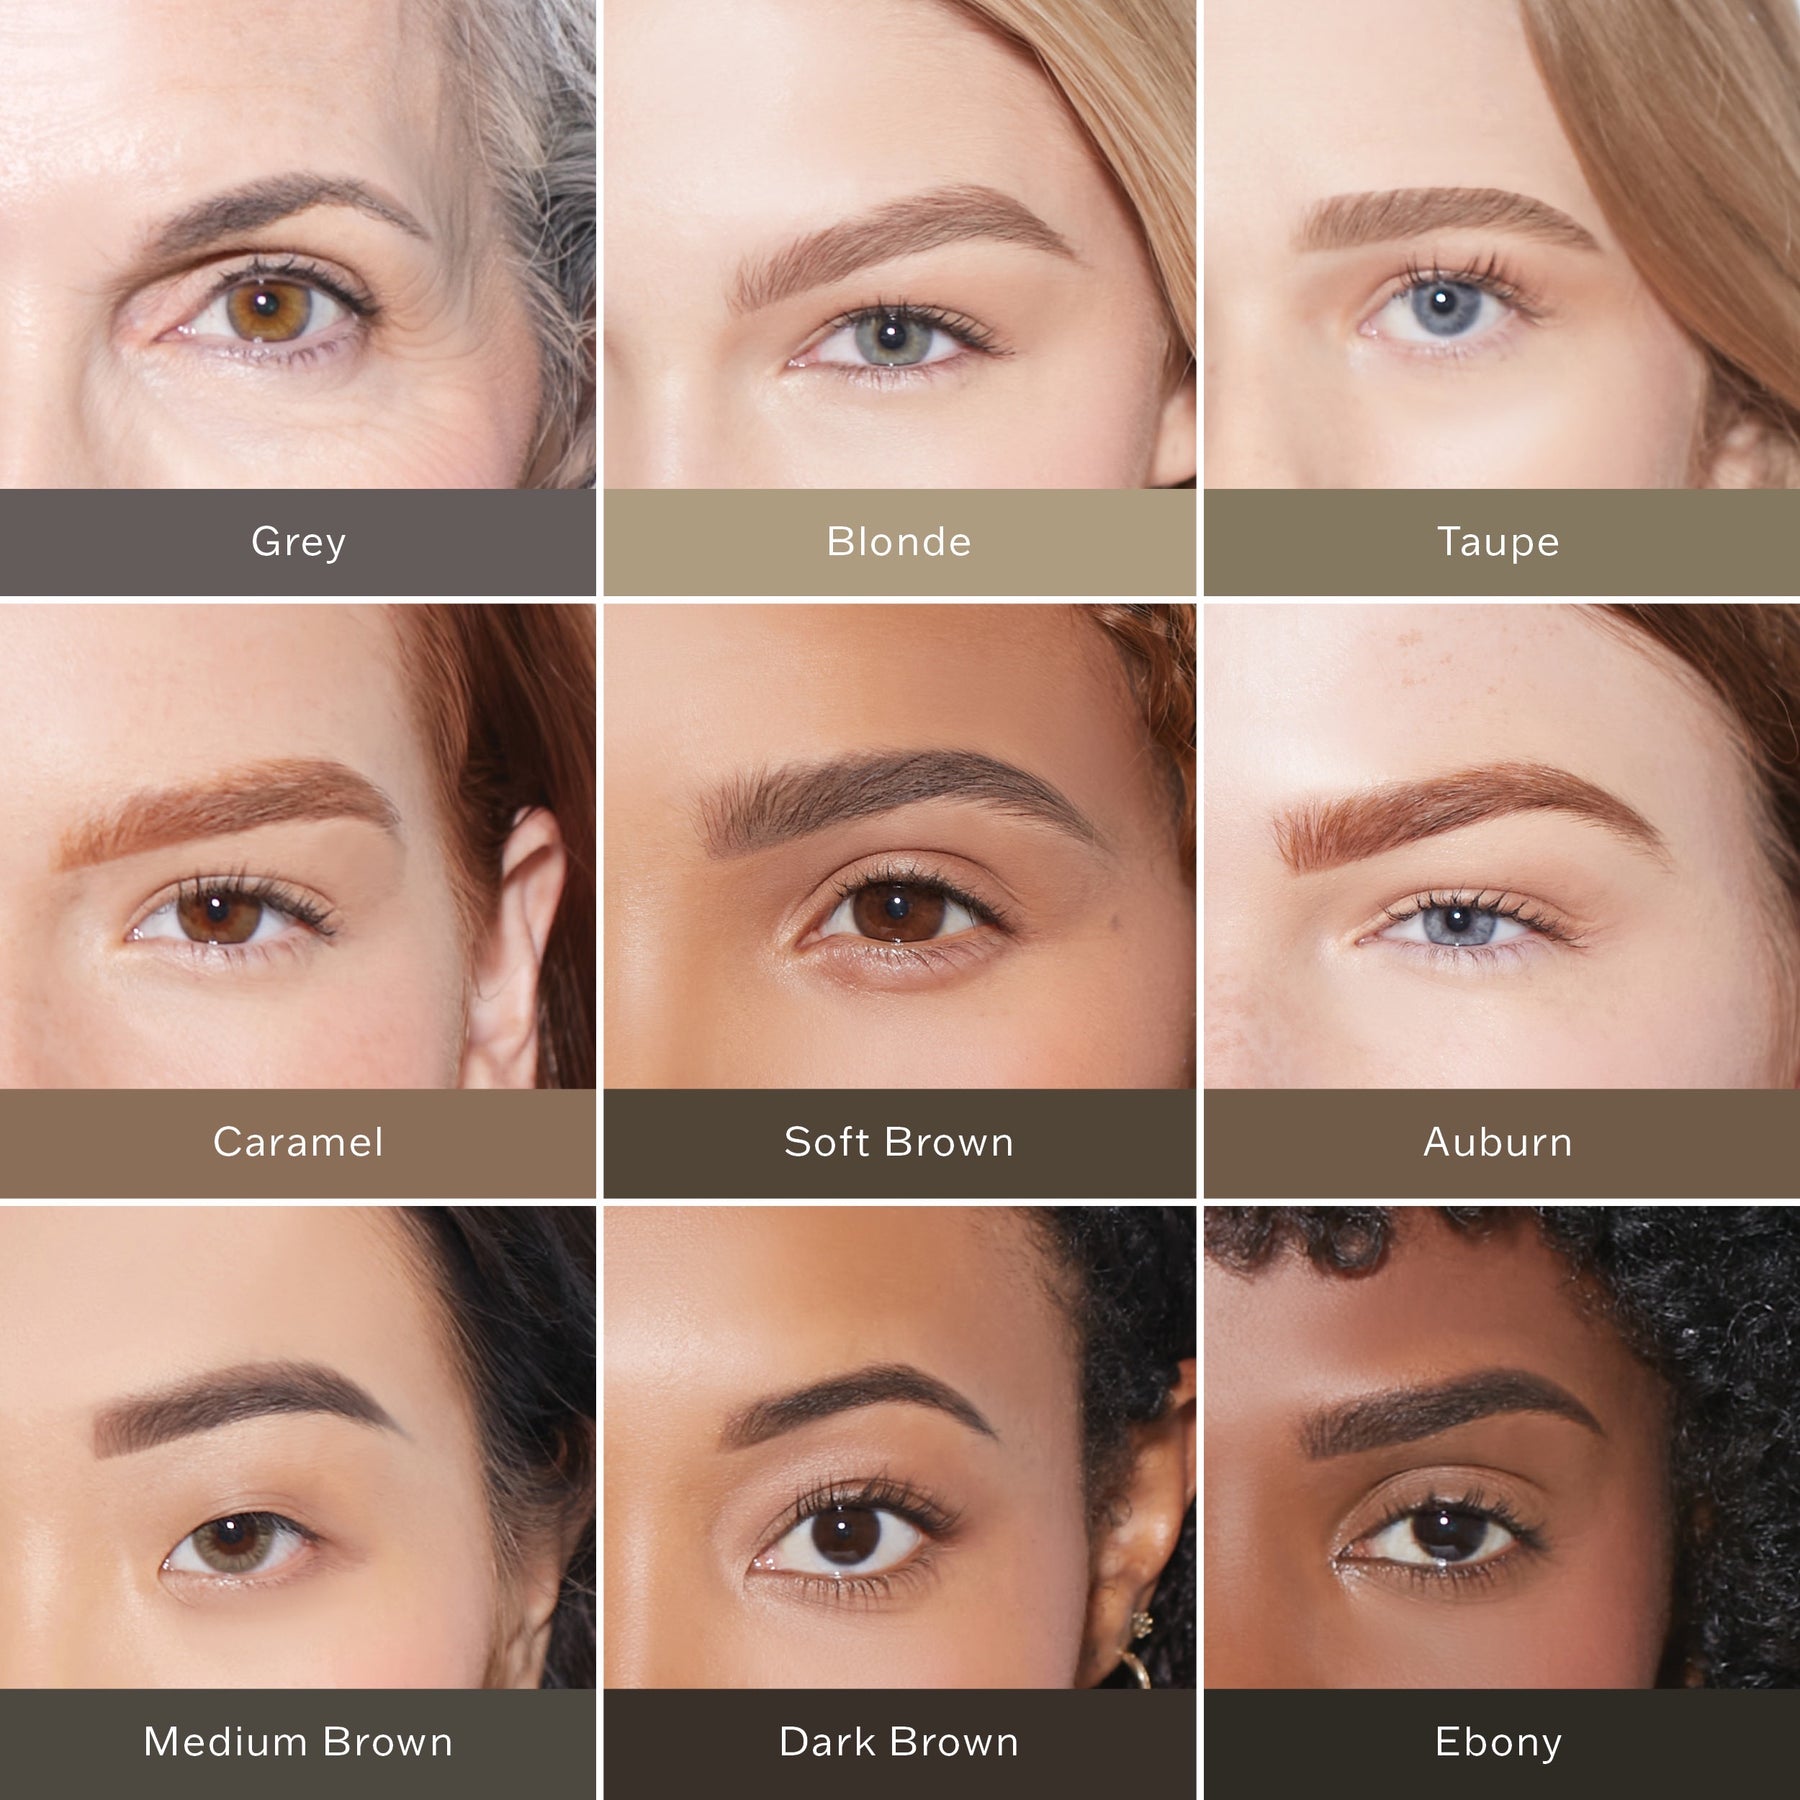
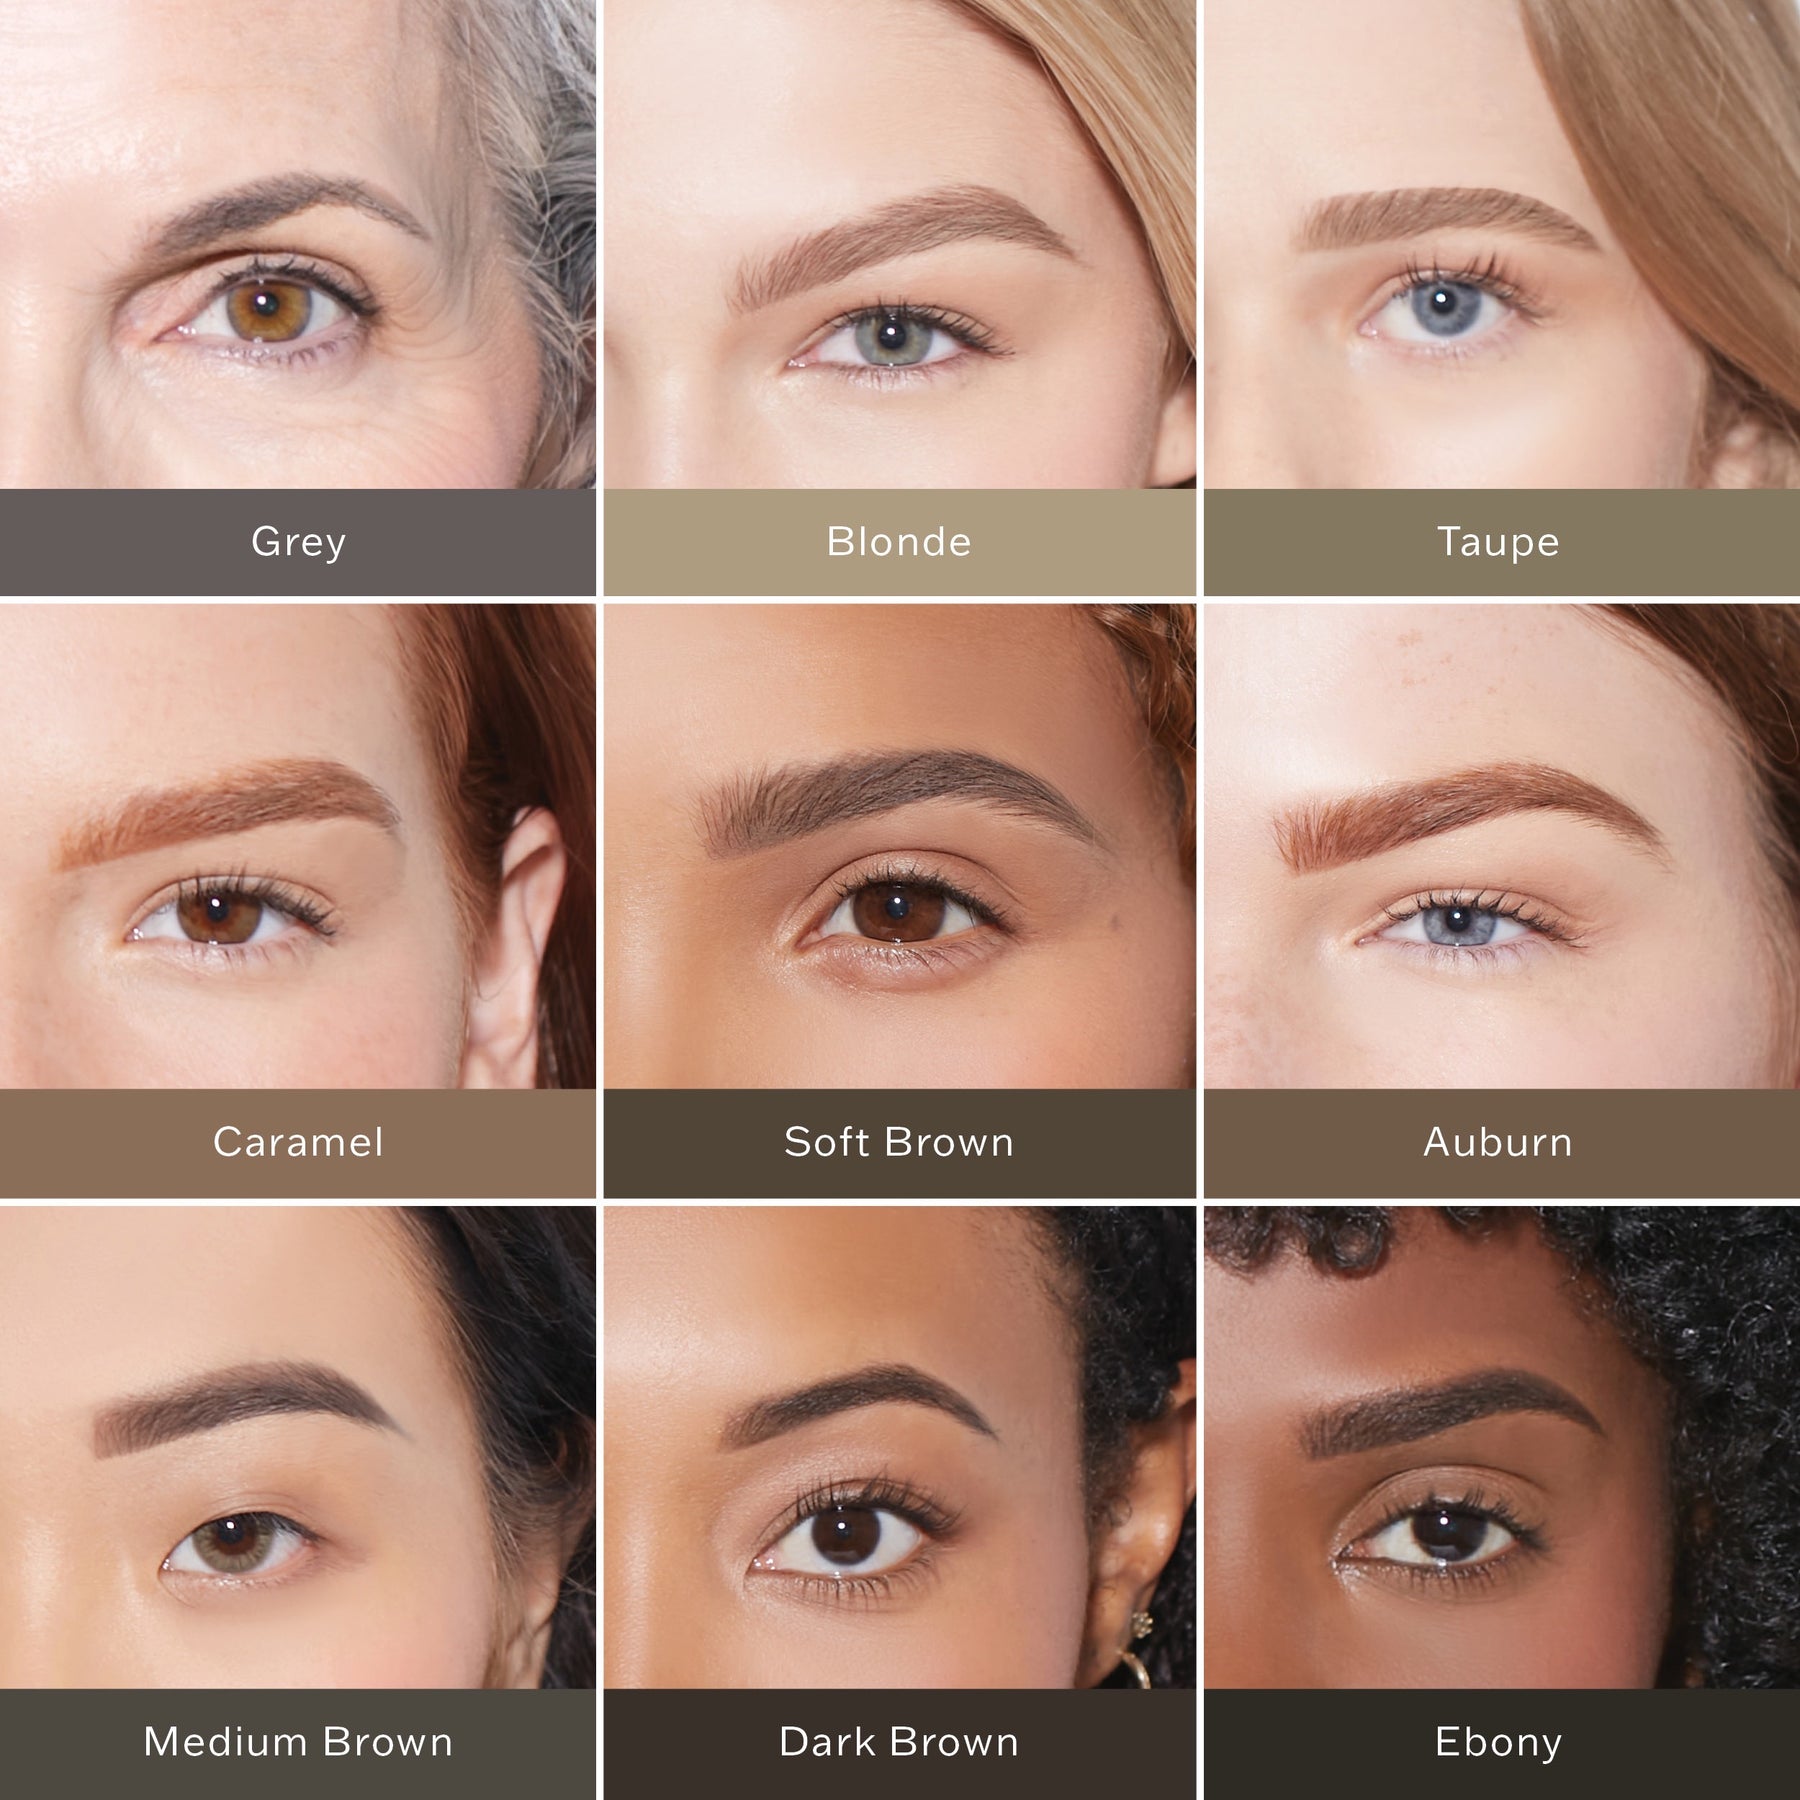
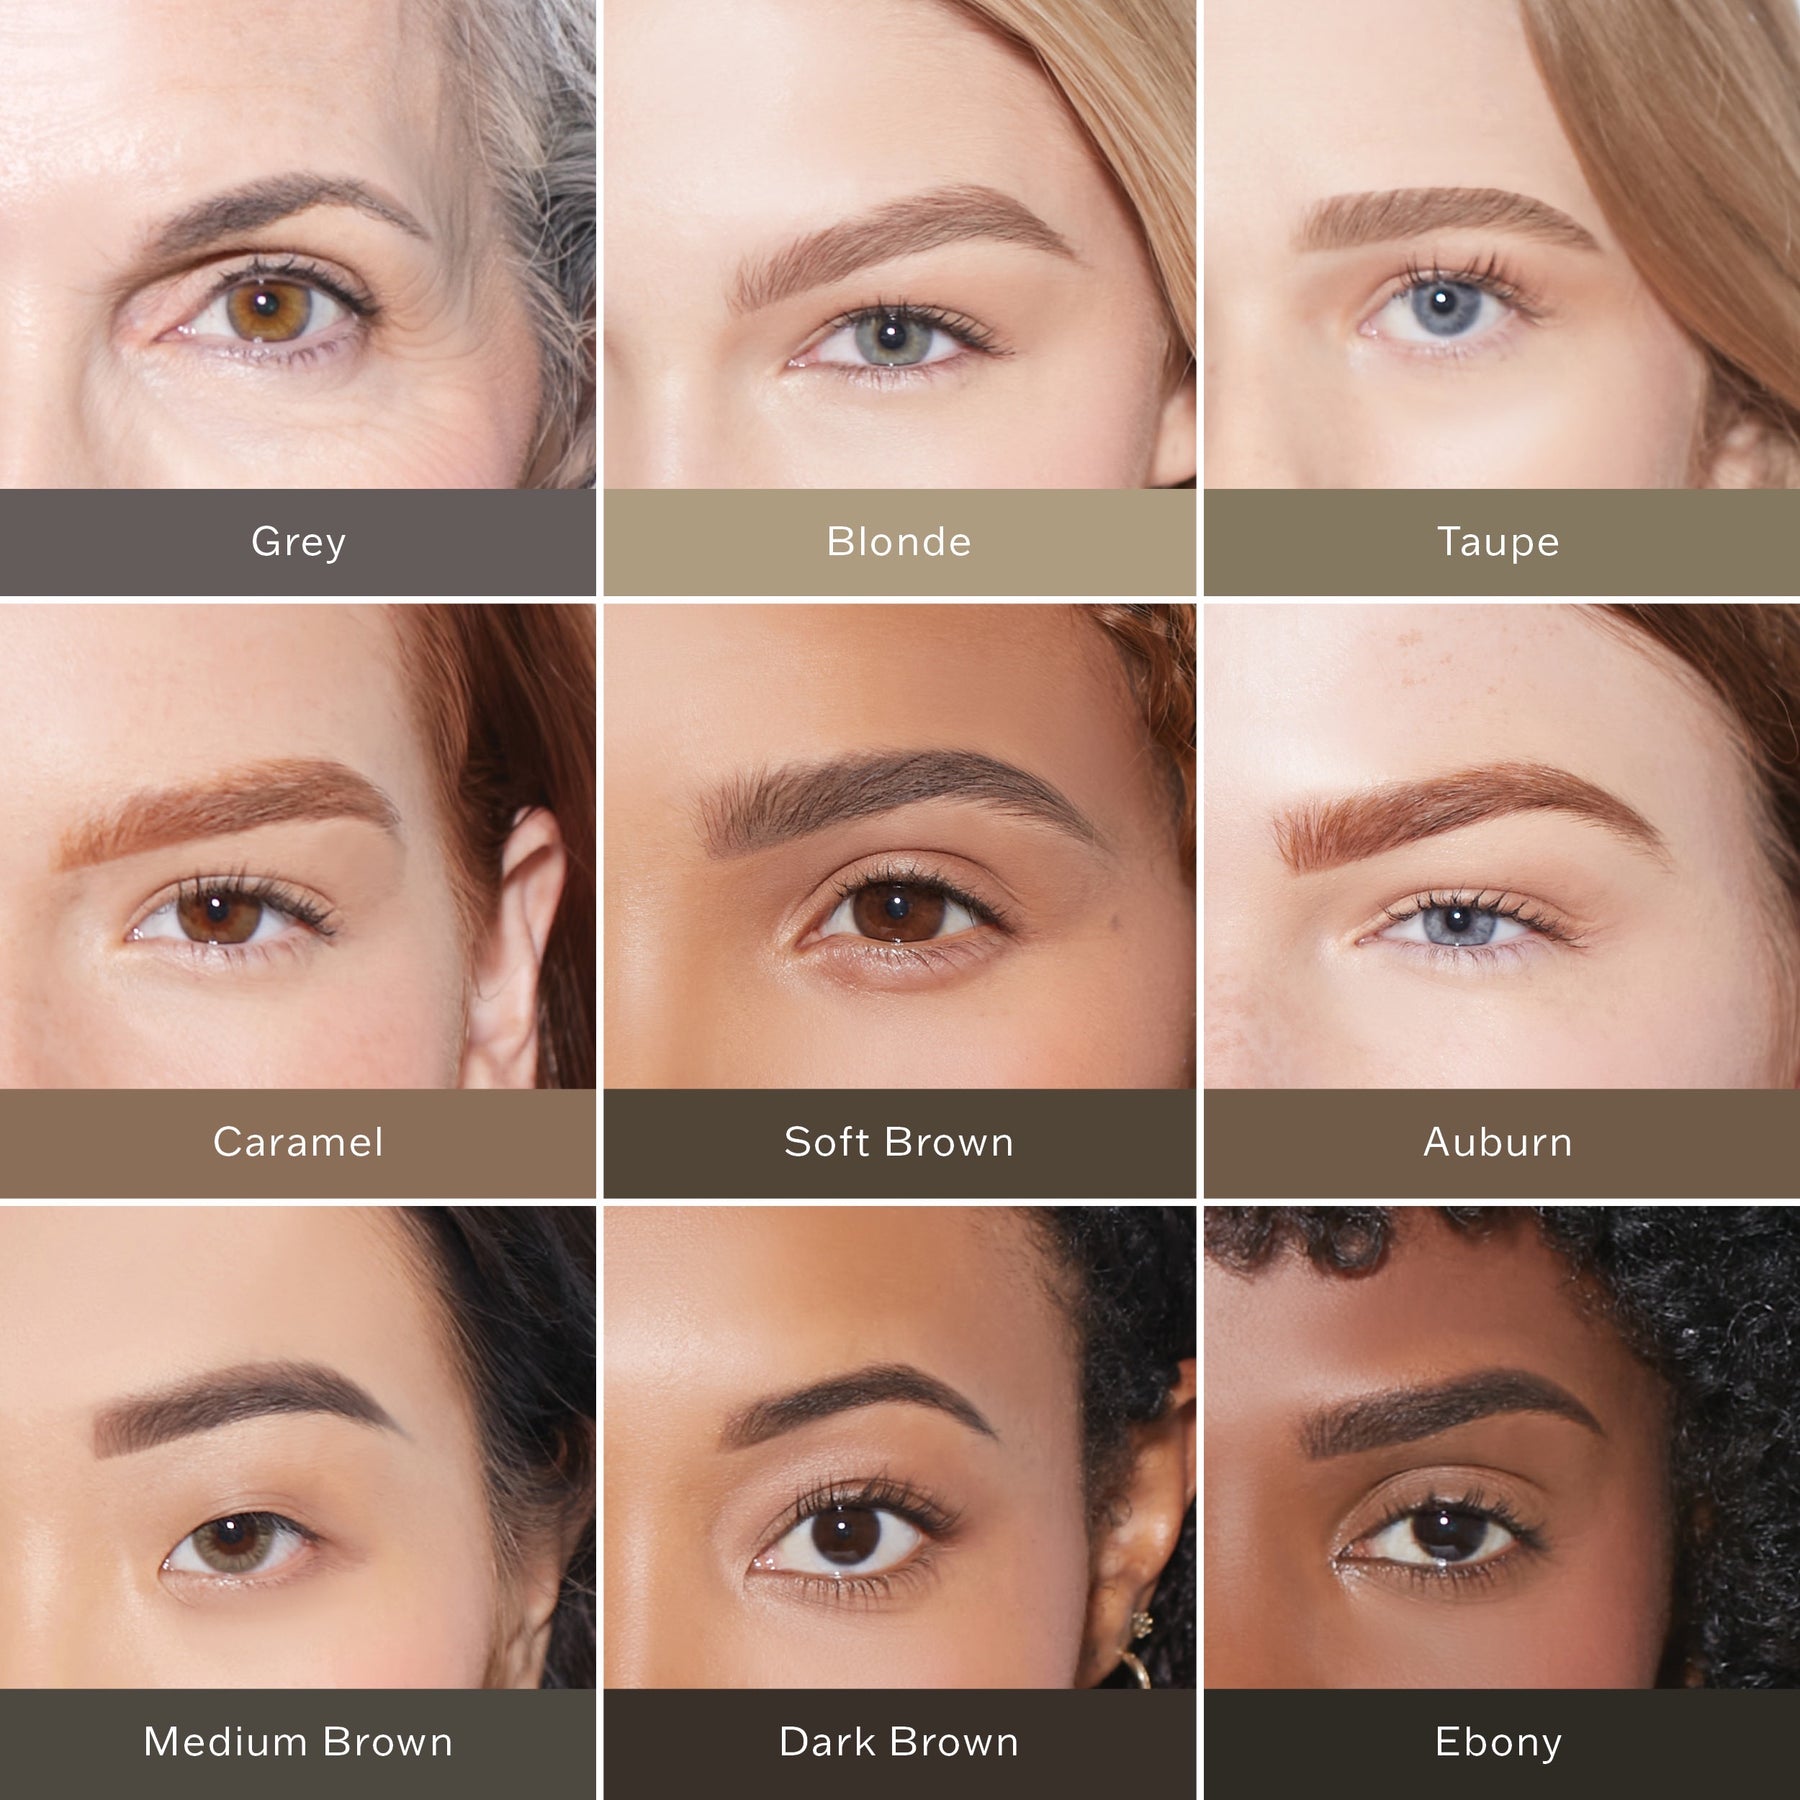
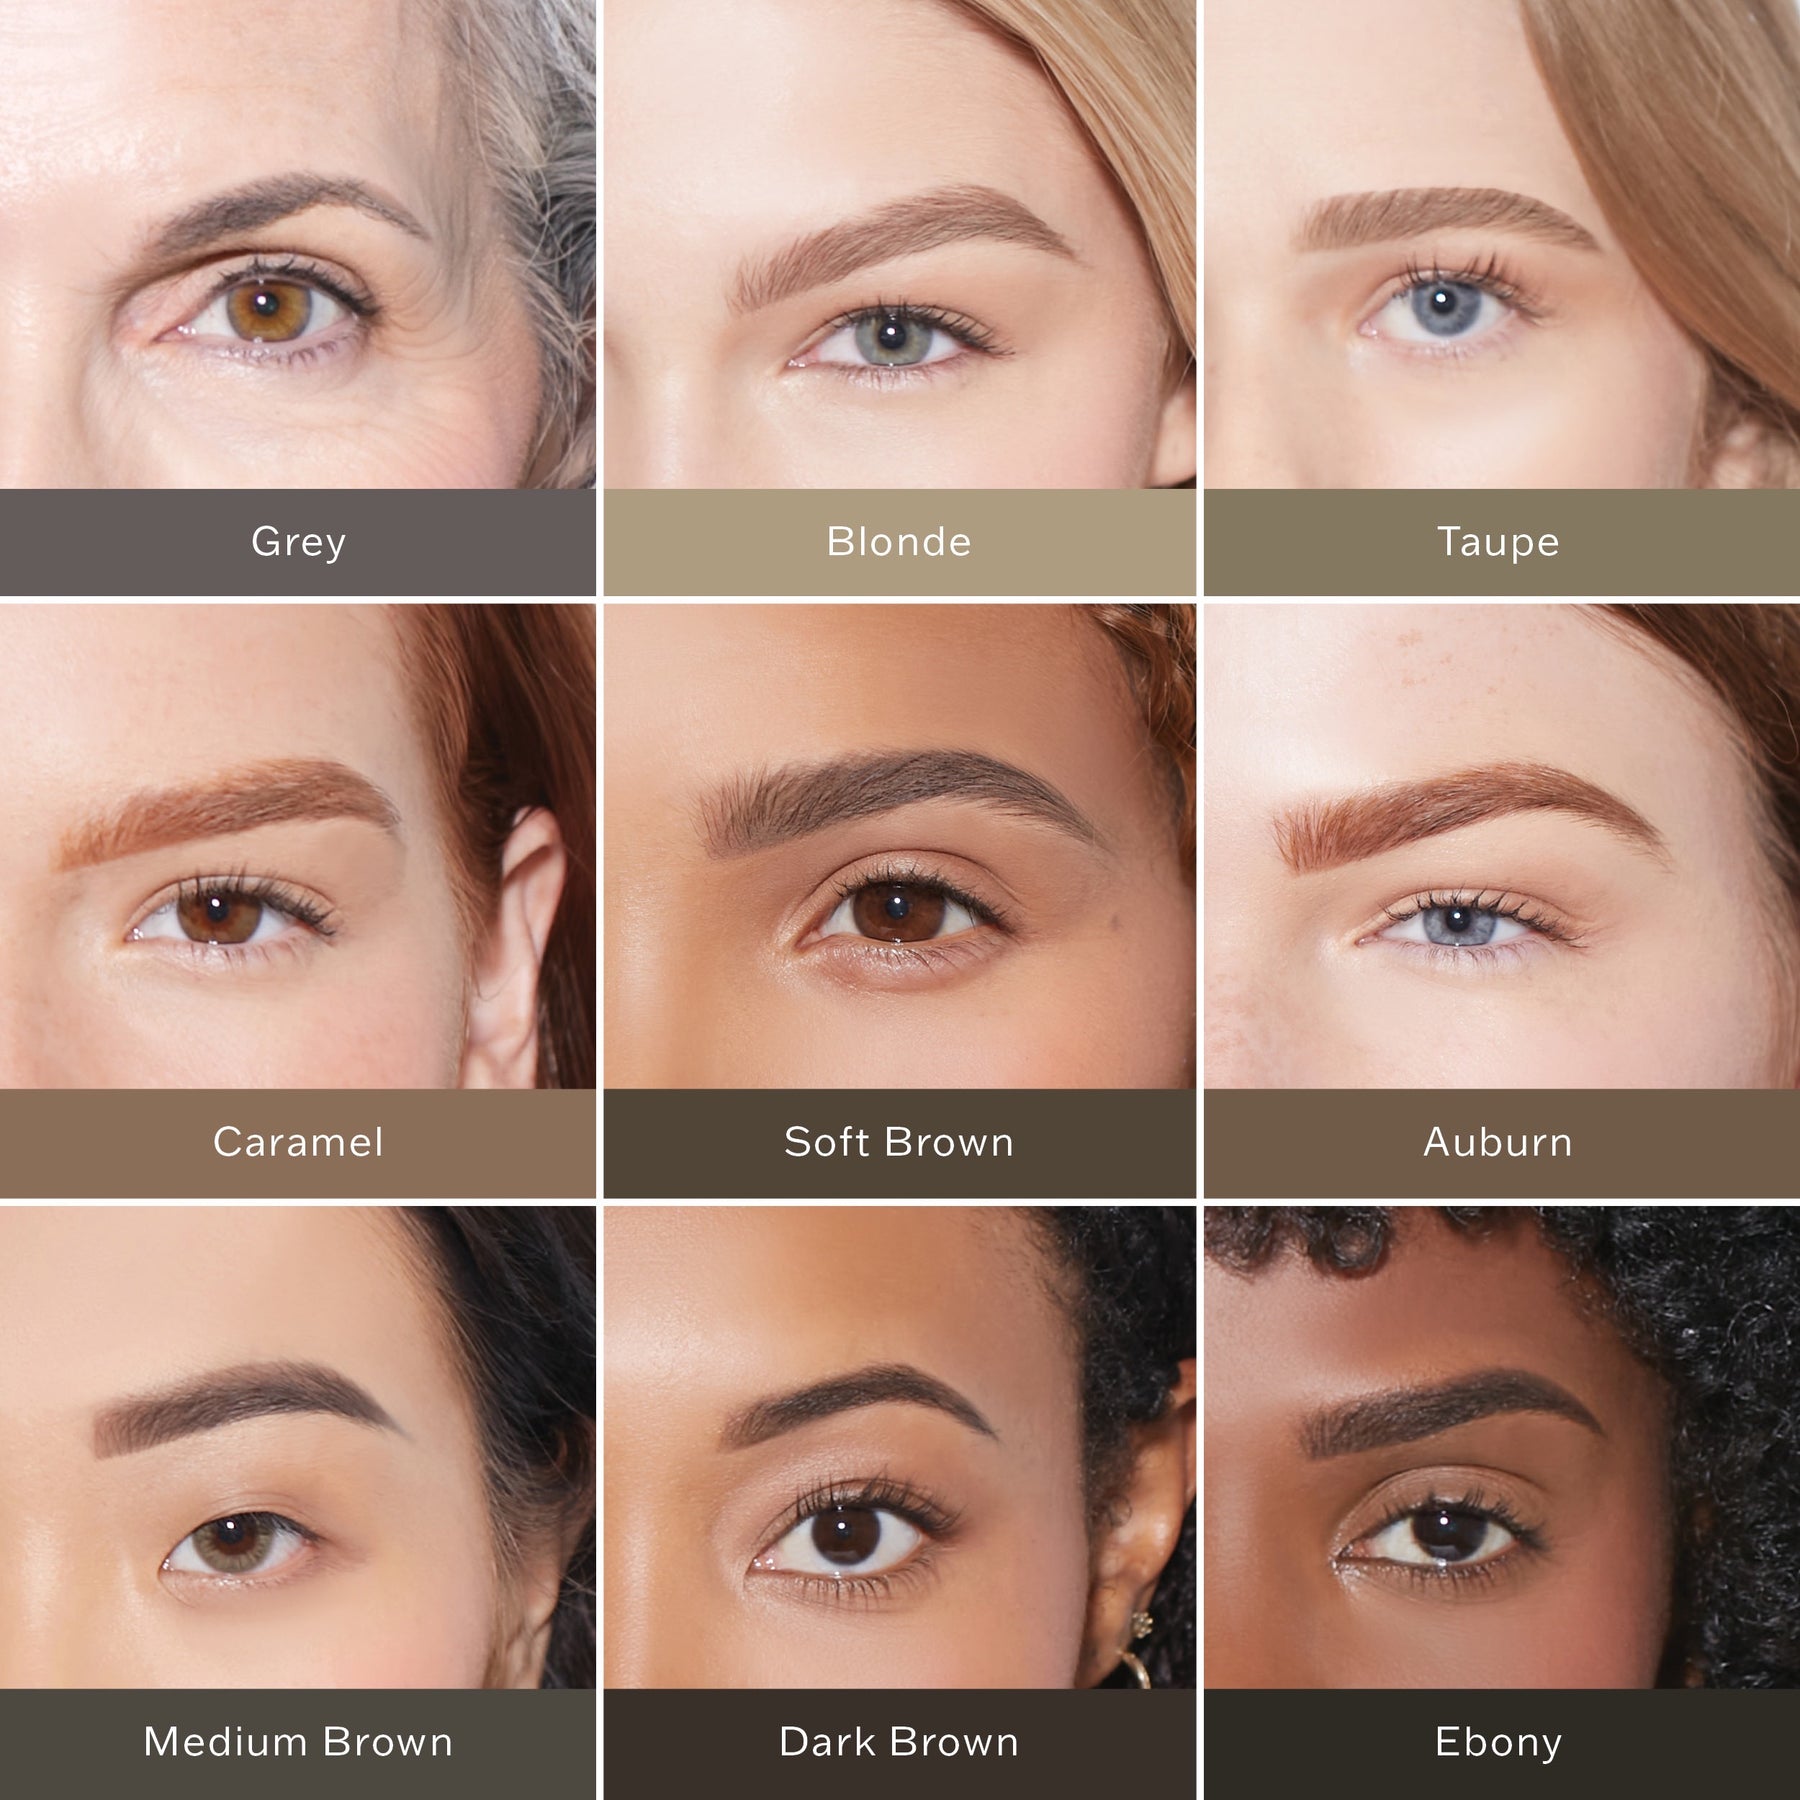
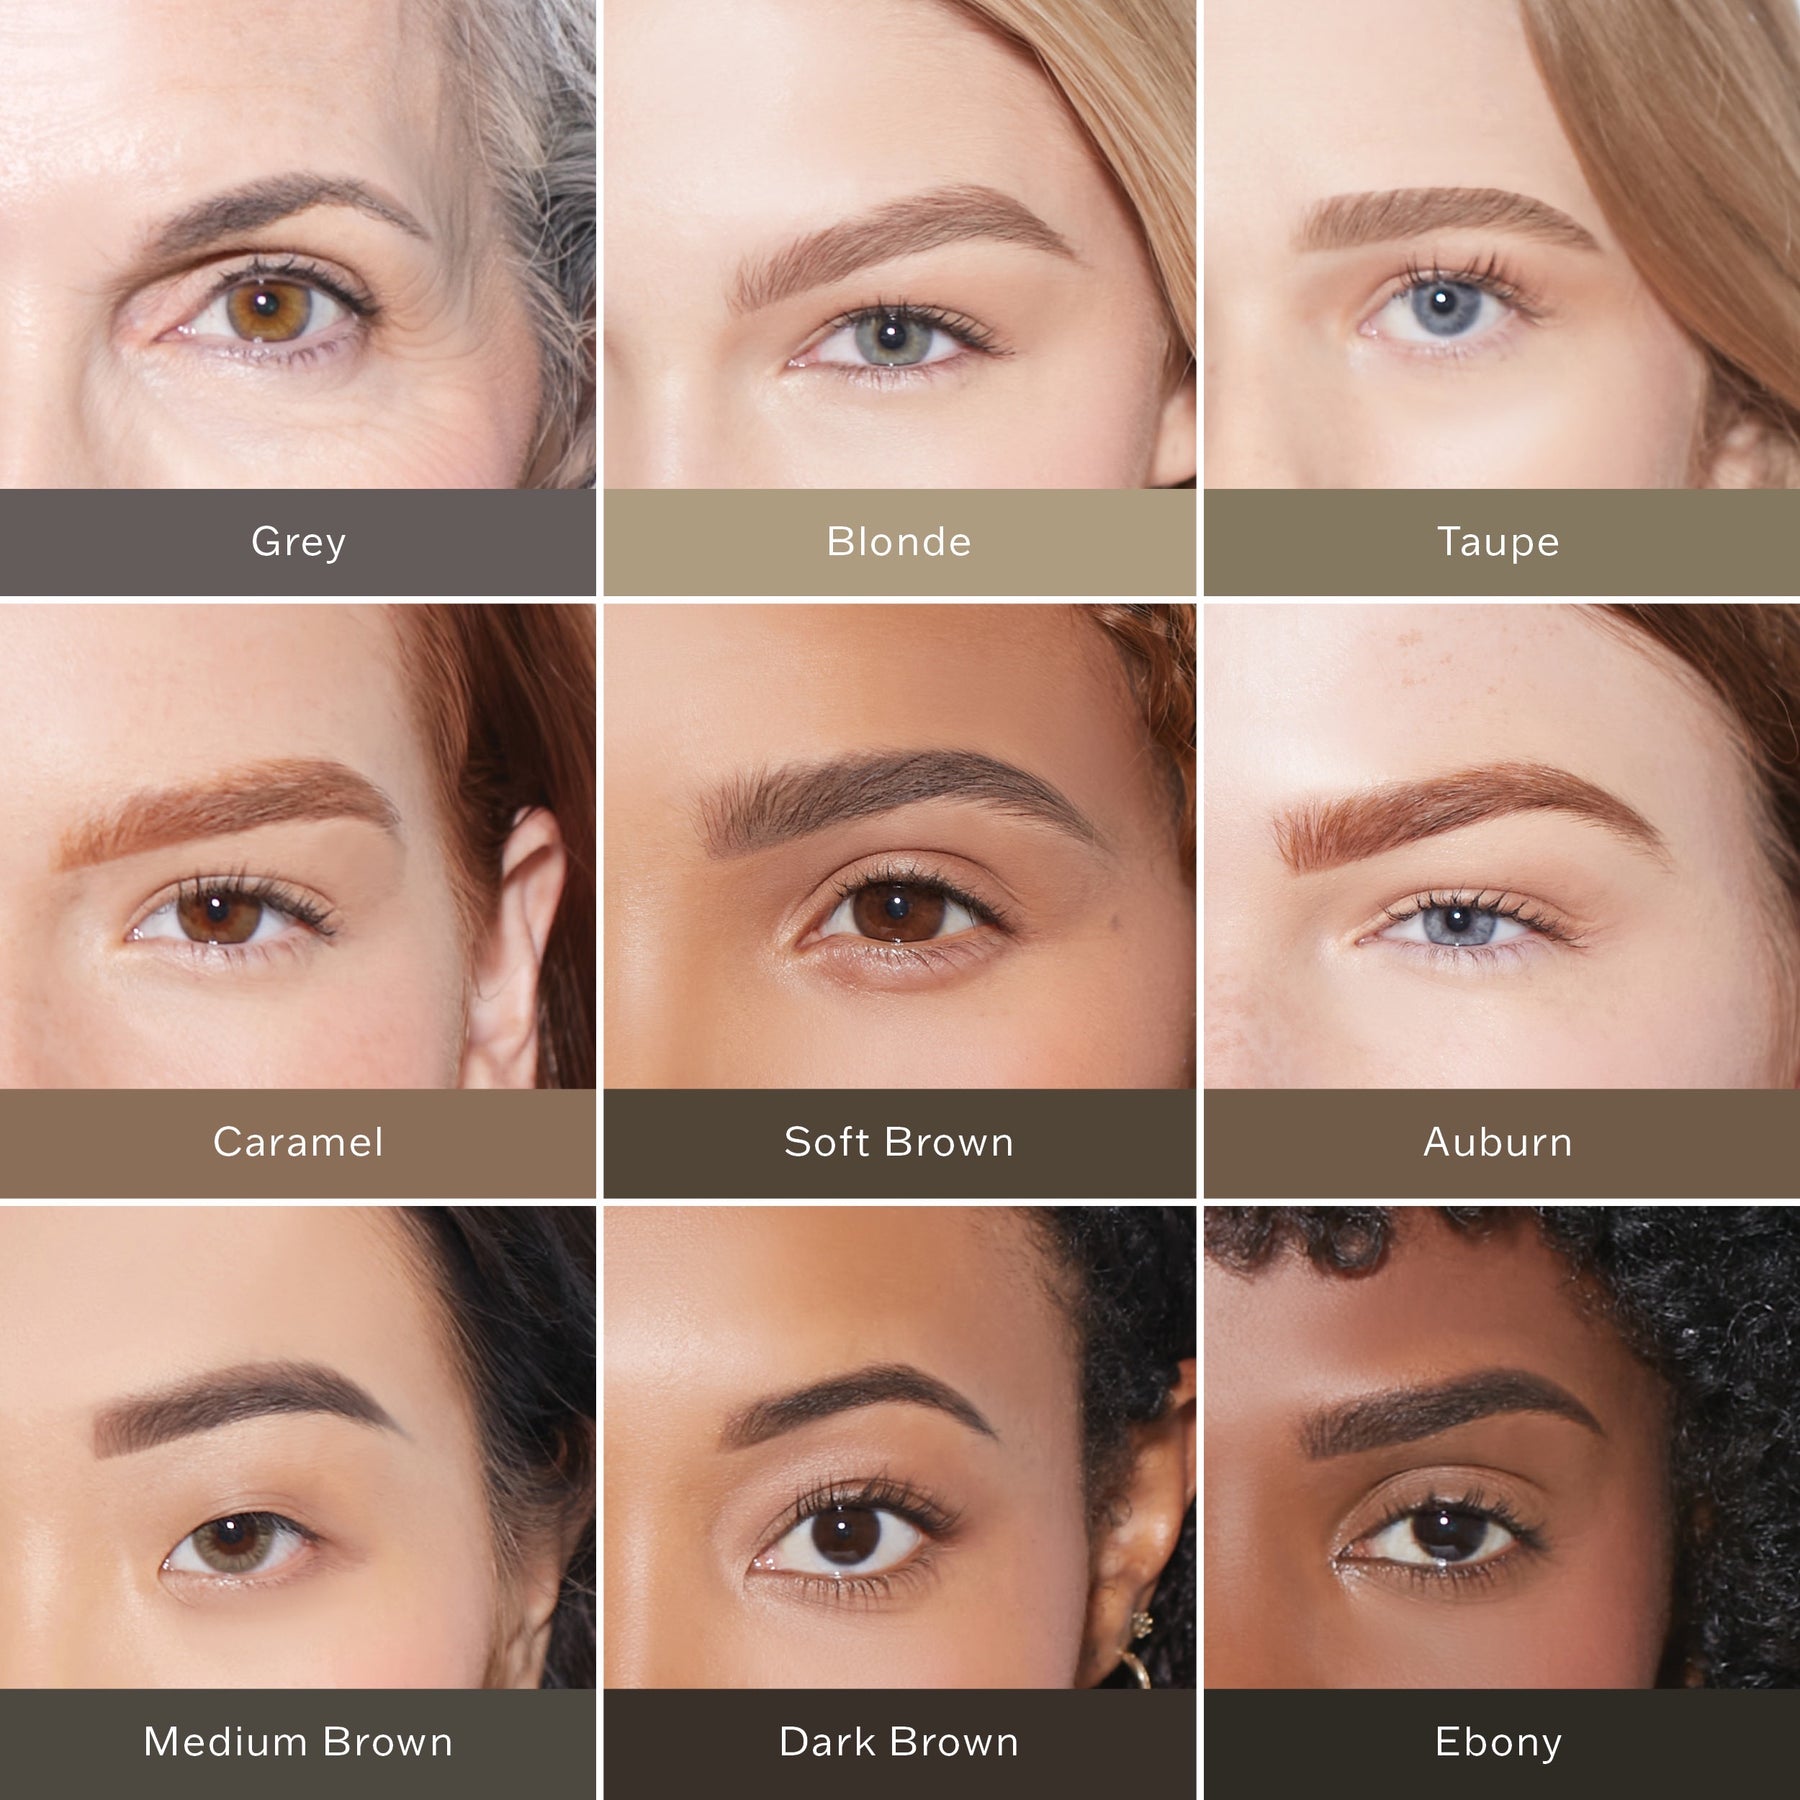
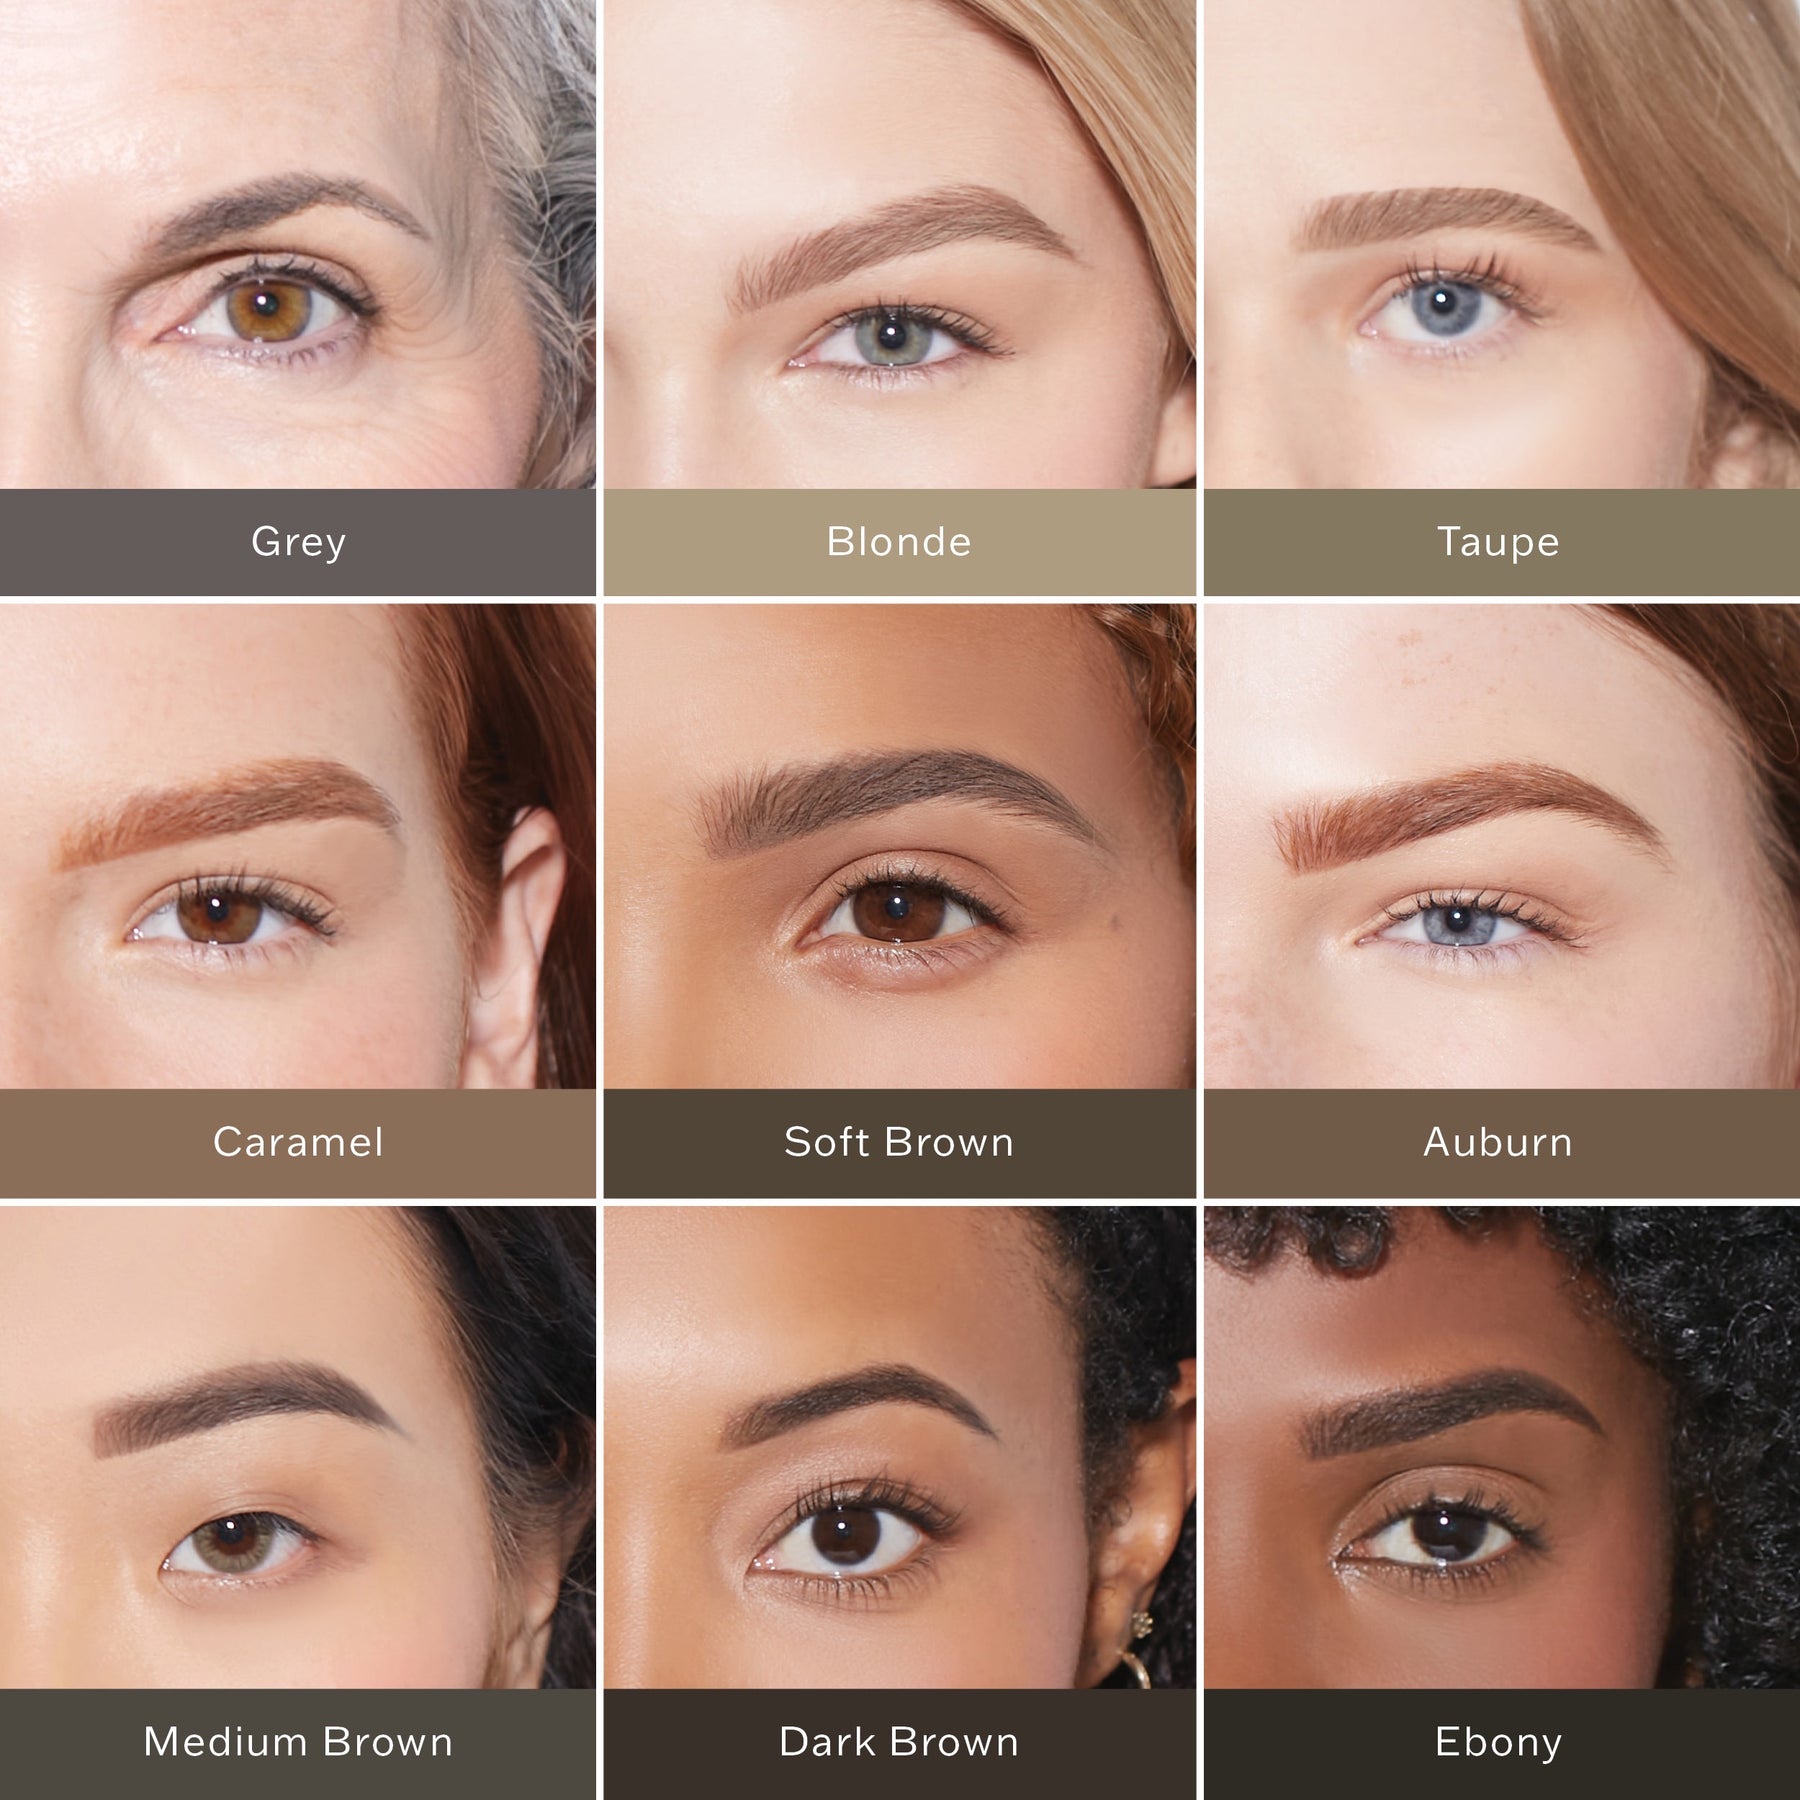
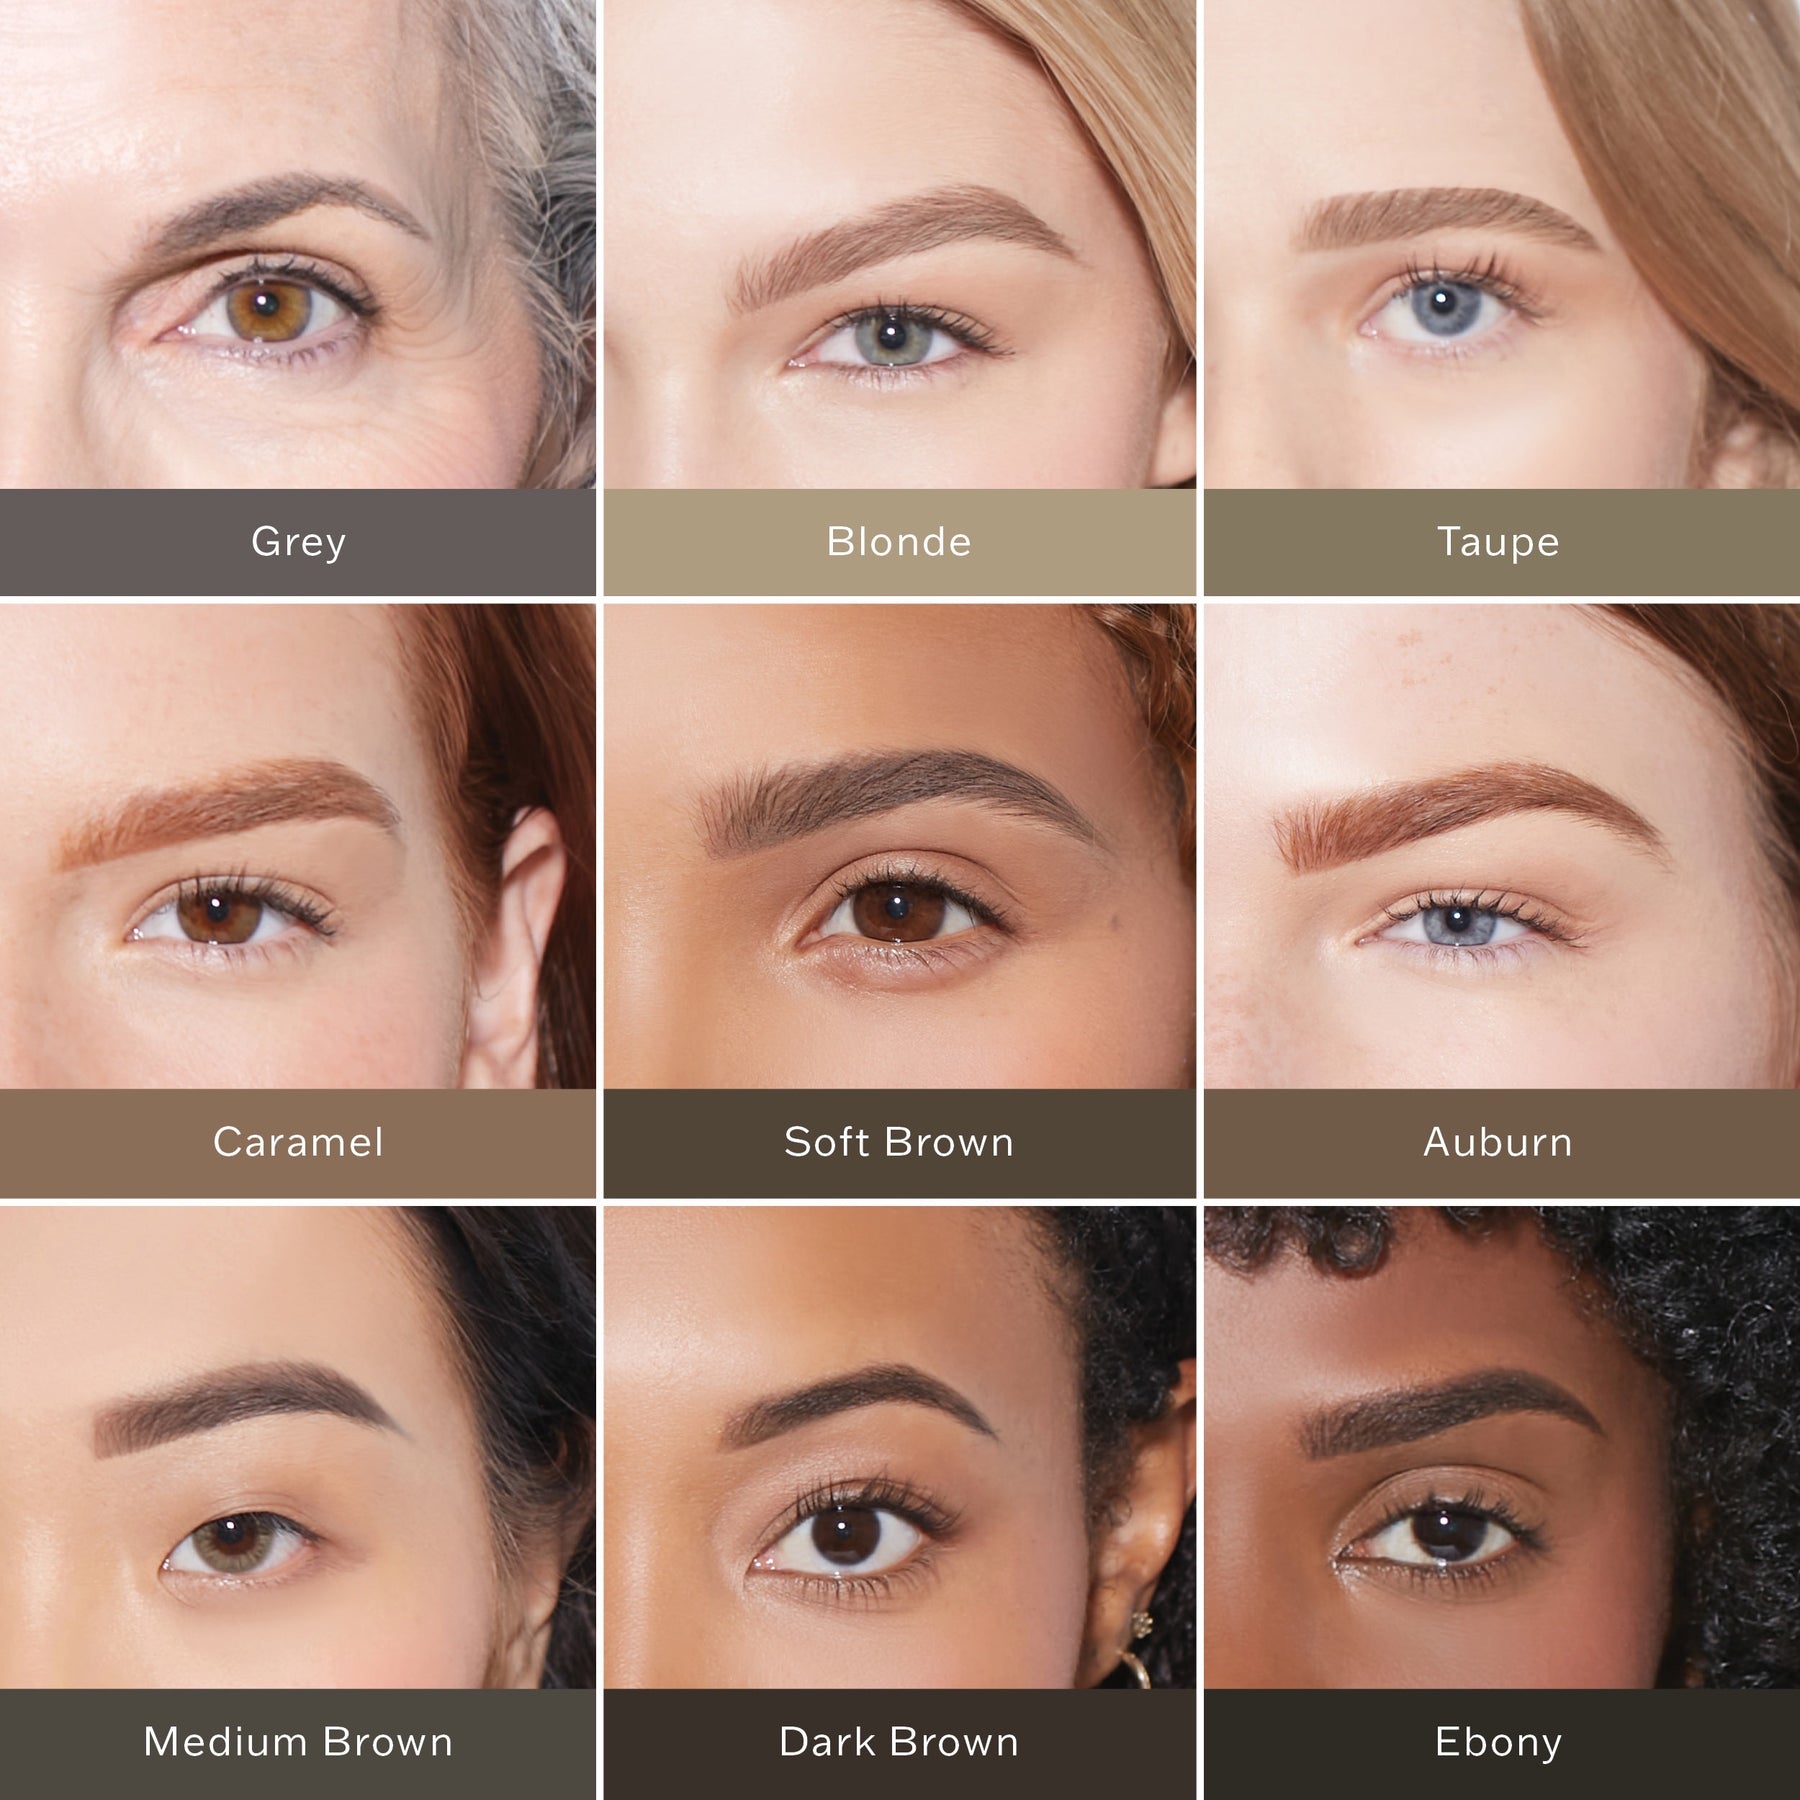
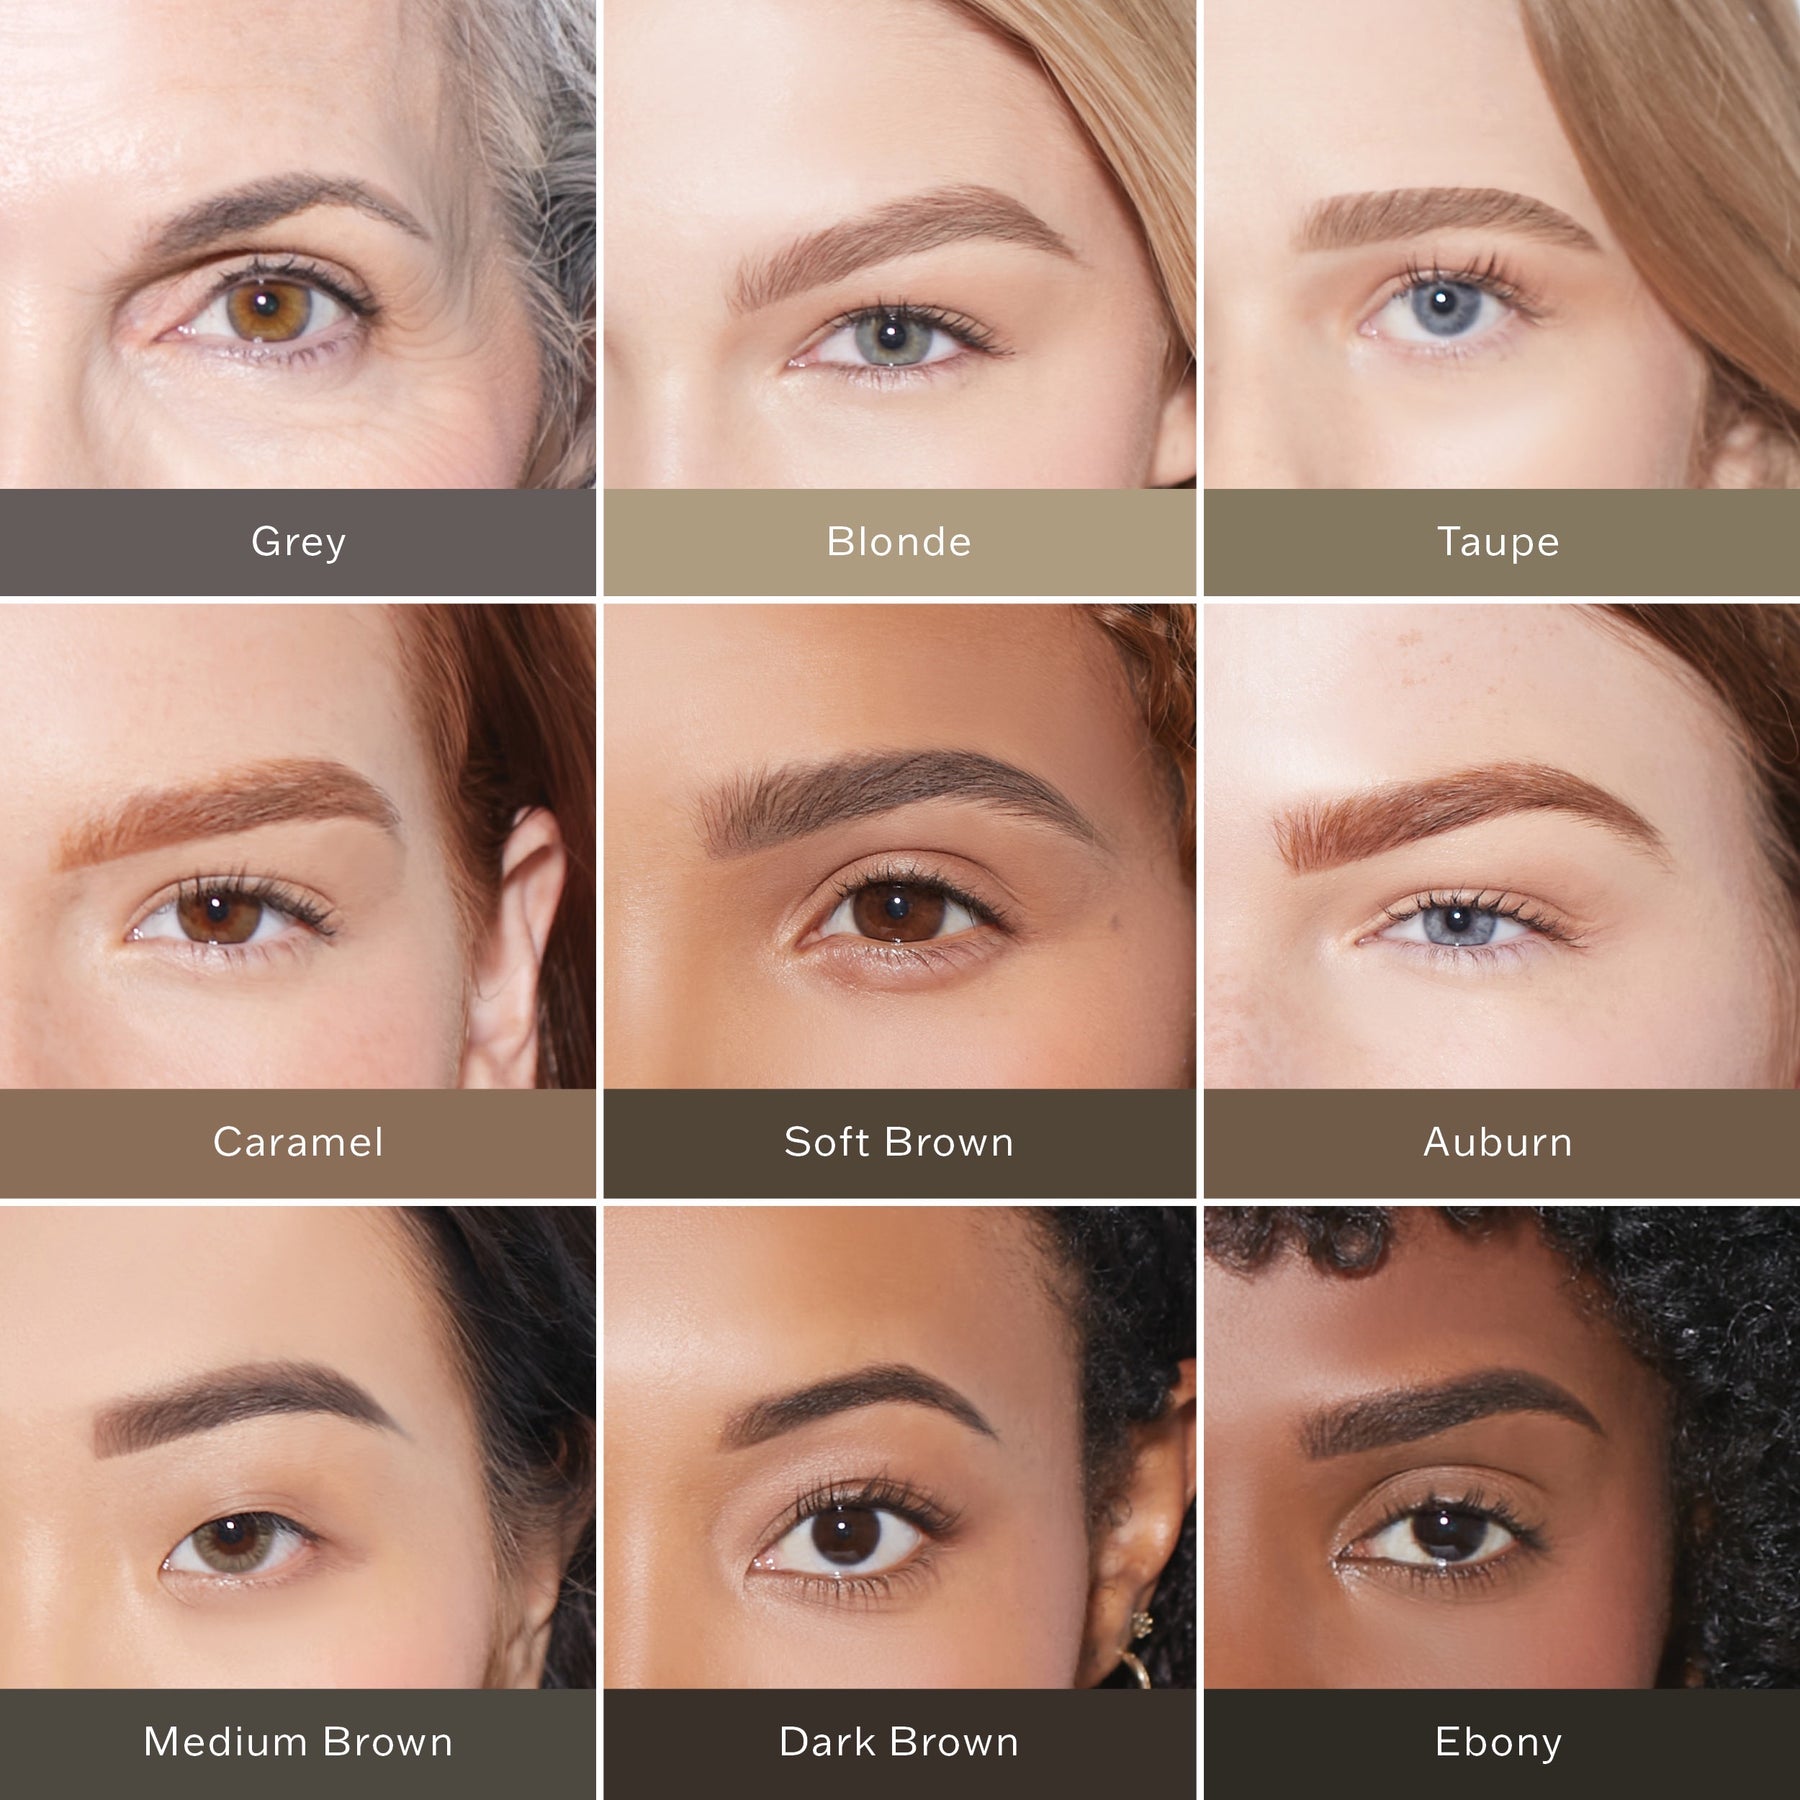
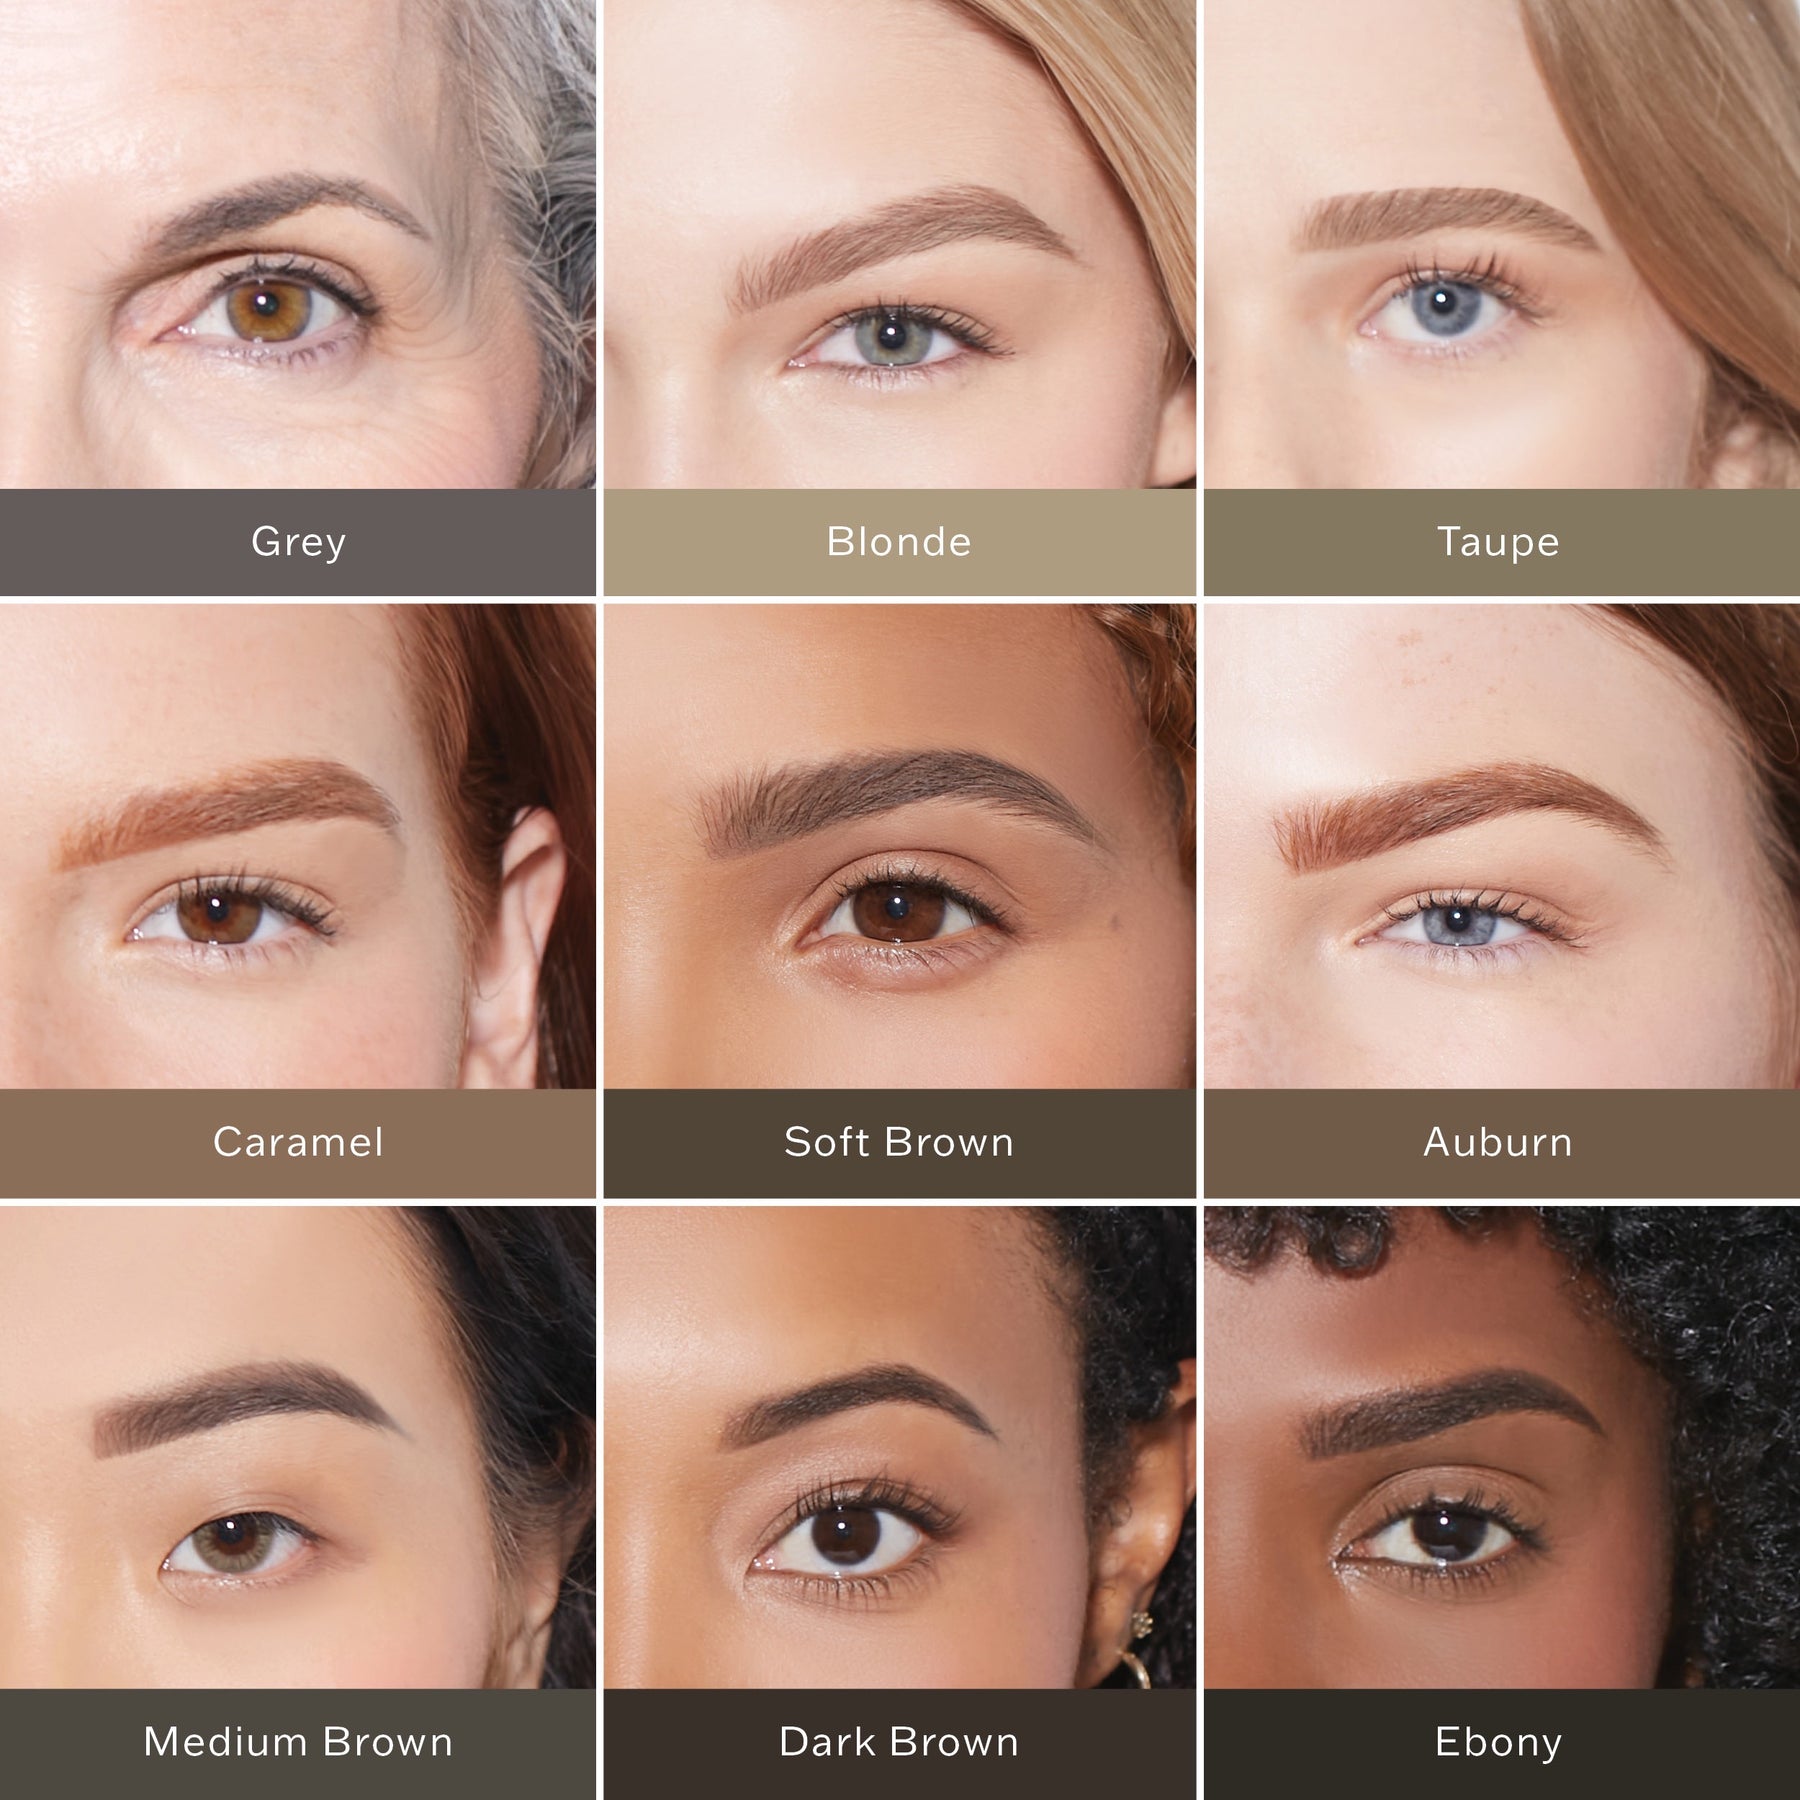
Choosing your pomade shade is the most important first step for a natural look. If you choose a color that is too bright, it will make you seem washed out, and if you select one that is too dark, it will appear too bold.
If you want to get the correct shade for you, the simplest method is to match it to the color of your hair. For example, if you have blonde hair, go for a lighter brow pomade; if you have brunette hair, go for a darker shade.
If you are ready to match your brow color, head to our color match quiz. You will be able to locate the ideal tone for your complexion in the provided palette.
Then, head over and grab your eyebrow stencil kit to get started.
Pick the right stencil
Now that you have your products, it's time to select the stencil that best fits your brow shape. There are several different stencils to choose from, so take a look at each one and and pick the one that looks closest to your natural brow shape.
Apply Pomade and Blend
Place the stencil on the brow and gently tap the sponge into the eyebrow pomade. This specialized pomade is designed to give you a natural look that lasts all day. Wipe the stencil off, flip it over, & repeat on the other eyebrow.
Important pomade application tip : For a soft and natural brow, we recommend applying a lighter amount of pomade near the front of the brow, so it doesn’t appear too boxy.
Blend the pomade using the spoolie end of the sponge brush. Comb through your brows in an upward motion to get rid of any excess pomade.
If you find that the pomade is a little too thick or dark, you can always lighten it up by using a cotton swab dipped in makeup remover. Just lightly wipe the cotton swab over areas that look too dark or intense.
Follow Up With The Brow Swipe Pen
The brow swipe pen is the perfect way to add a finishing touch to your brows. The pen will help to fill in any sparse areas and give you a natural, full look.
Use the pen with a light flicking motion to create definition, depth and to add texture to your brows.
Additional Tips to Help You Fill In Eyebrows Naturally
Along with the tips we provided above, consider these as well:
- Use a light hand: To master how to fill in brows naturally, less is definitely more. It's better to start with a little bit of product and then build up as needed than it is to go overboard from the start.
- Use short, feathery strokes: This will help you achieve a natural look that resembles your real brow hair.
- Use a setting powder: If you find that the pencil or pomade is a little too intense, lightly dust it with a setting powder. This will help to set the product and give you a softer look.
- Fill in your brows before doing your makeup: This will help you avoid any smudging or fallout during your makeup routine. This is especially important in learning the basics of how to fill in brows with a pencil.
- Don't forget to brush through your brows: This will help to distribute the product evenly.
- Don't over pluck: We know it can be tempting to pluck a few stray hairs here and there, but resist the urge. Over plucking can actually cause your brows to appear thinner over time.
Teaching yourself how to fill in brows naturally doesn't have to be difficult. Just remember to start with a light hand and use short, feathery strokes for the best results. Sometimes it takes a little practice, but in time you will find what option works best for you.
To learn more application tips, you can explore our blog further and visit us on instagram for tutorials and tips.

